5 Scan
194
Scan
5
2
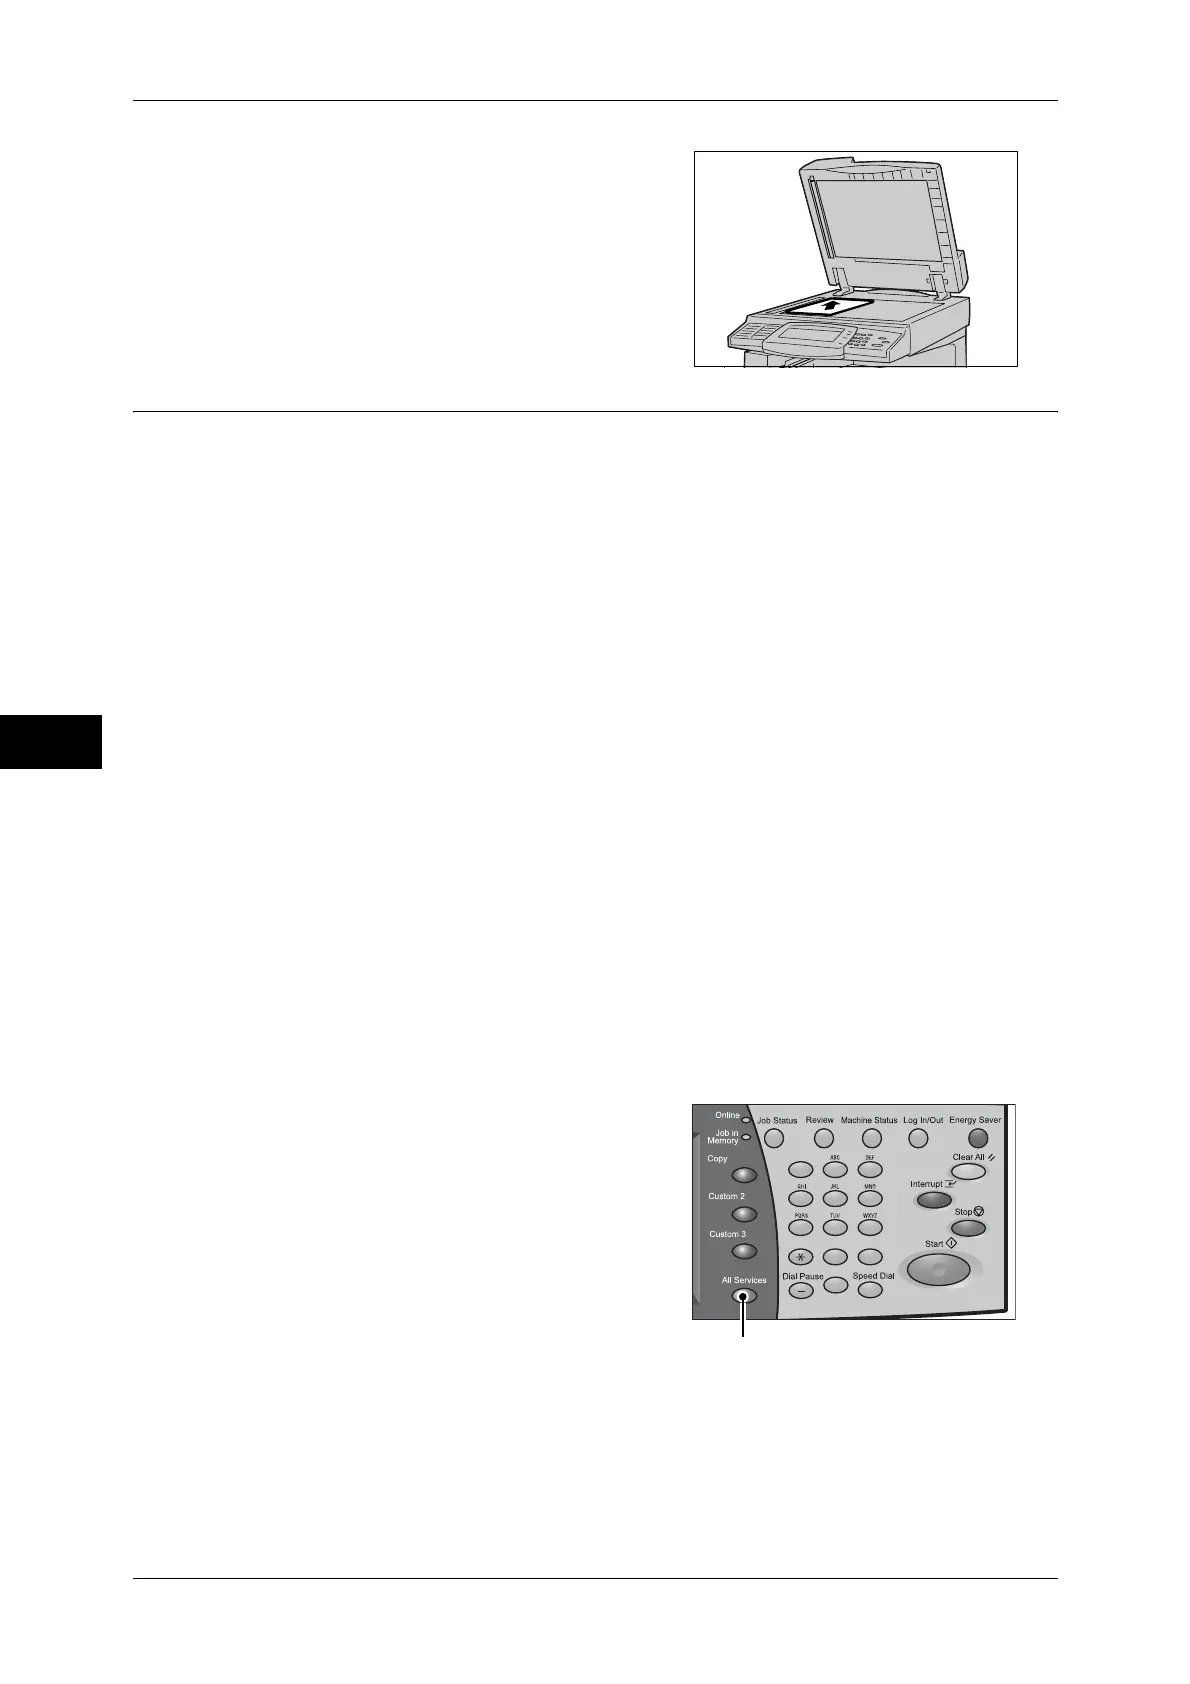
Place the document face down, and align it
against the top left corner of the document
glass.
3
Close the document cover.
Step 2 Selecting Features
On the [All Services] screen, you can select from 4 scan modes: E-mail, Scan to
Mailbox, Network Scanning, and Scan to PC. You can select features on each mode.
Note • Features displayed may vary depending on the model of your machine.
• When the Auditron mode used, a user ID and passcode may be required. Ask your system
administrator for the user ID and passcode.
• To use the scan features, network settings are required. For information on the network
settings, refer to "9 Scanner Environment Settings" in the Administrator Guide.
E-mail
Scans a document, and sends the scanned data as an e-mail attachment after
converting the data to TIFF, JPEG, PDF, Docuworks, or XPS.
Scan to Mailbox
Scans a document and saves the scanned data into a mailbox on the machine.
You need to create a mailbox in advance. For information on how to create a mailbox, refer to "5 Tools"
> "Setup" > "Create Mailbox" in the Administrator Guide.
Network Scanning
Scans a document using a job template created on CentreWare Internet Services.
Scan to PC
Scans a document and sends the scanned data to a network computer via the FTP or
SMB protocol.
The following describes how to store scanned data into a mailbox.
1
Press the <All Services> button.
123
456
789
0#
C
<All Services> button
 Loading...