7-37
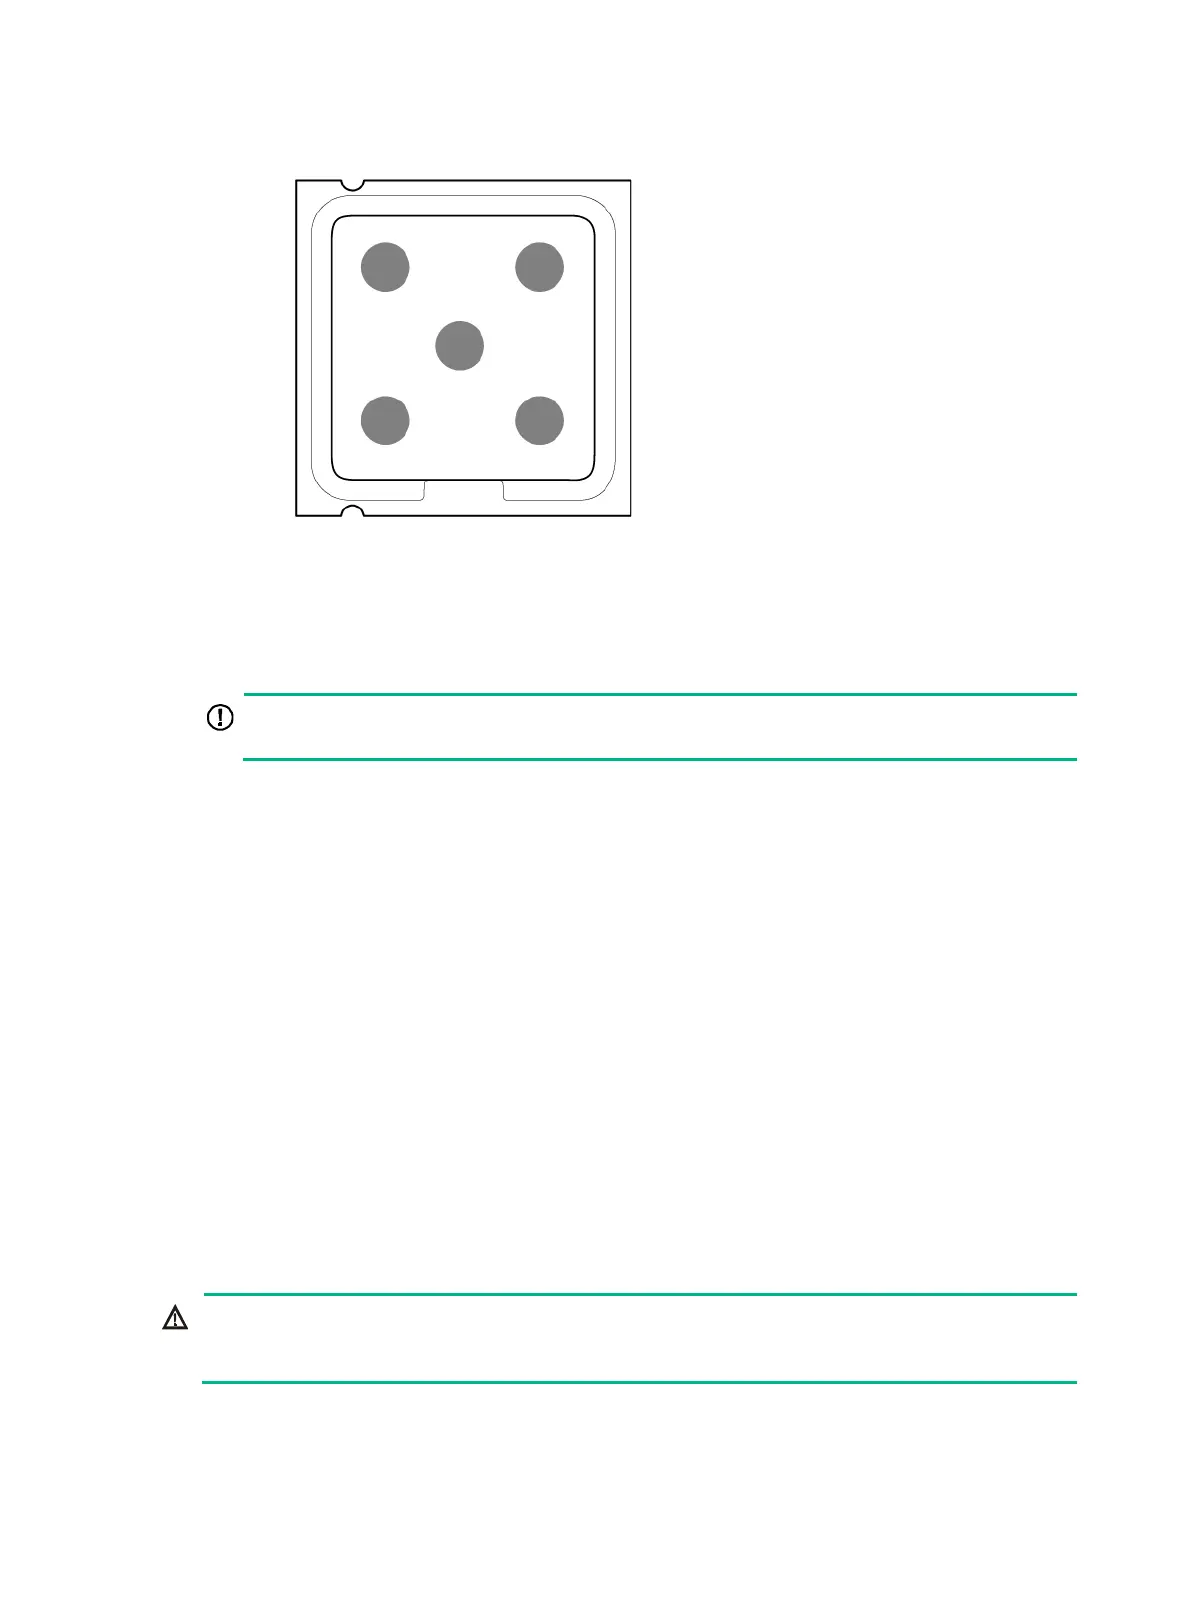
Figure 7-42 Smearing thermal grease onto the processor
3. Install the retaining bracket onto the heatsink. For more information, see "Installing processors."
4. Install the heatsink onto the server. For more information, see "Installing processors."
5. Paste bar code label supplied with the processor over the original processor label on the
heatsink.
IMPORTANT:
This step is required for you to obtain H3C's processor servicing.
6. Install the removed air baffles in the compute module. For more information, see "Replacing air
baffles in a compute module."
7. Install the removed riser card and PCIe module in the compute module. For more information,
see "Installing a riser card and a PCIe module in a compute module."
8. Install the co
mpute module access panel. For more information, see "Replacing a compute
module a
ccess panel."
9. Install the compute module. For more information, see "Installing a compute module."
10. Install the re
moved security bezel. For more information, see "Installing the security bezel."
11. Connect the power cord. For more information, see "Connecting the power cord."
12. Powe
r on the server. For more information, see "Powering on the server."
Verifying the replacement
Log in to HDM to verify that the processor is in a correct state. For more information, see HDM online
help.
Replacing a DIMM
WARNING!
To avoid bodily injury from hot surfaces, allow the server and its internal modules to cool before
touching them.
Procedure
1. Power off the server. For more information, see "Powering off the server."

 Loading...


