3-5
Connecting an Ethernet cable
About this task
Perform this task before you set up a network environment or log in to the HDM management
interface through the HDM network port to manage the server.
Prerequisites
Install an mLOM or PCIe Ethernet adapter. For more information, see "Installing Ethernet adapters."
Procedure
1. Determine the network port on the server.
{ To connect the server to the external network, use an Ethernet port on an Ethernet adapter.
{ To log in to the HDM management interface, use the HDM dedicated network port or shared
network port. For the position of the HDM network port, see "Rear panel view."
2. Determine the type of the Ethernet cable.
Verify the connectivity of the cable by using a link tester.
If you are replacing the Ethernet cable, make sure the new cable is of the same type with the old
cable or compatible with the old cable.
3. Label the Ethernet cable by filling in the names and numbers of the server and the peer device
on the label.
As a best practice, use labels of the same kind for all cables.
If you are replacing the Ethernet cable, label the new cable with the same number as the
number of the old cable.
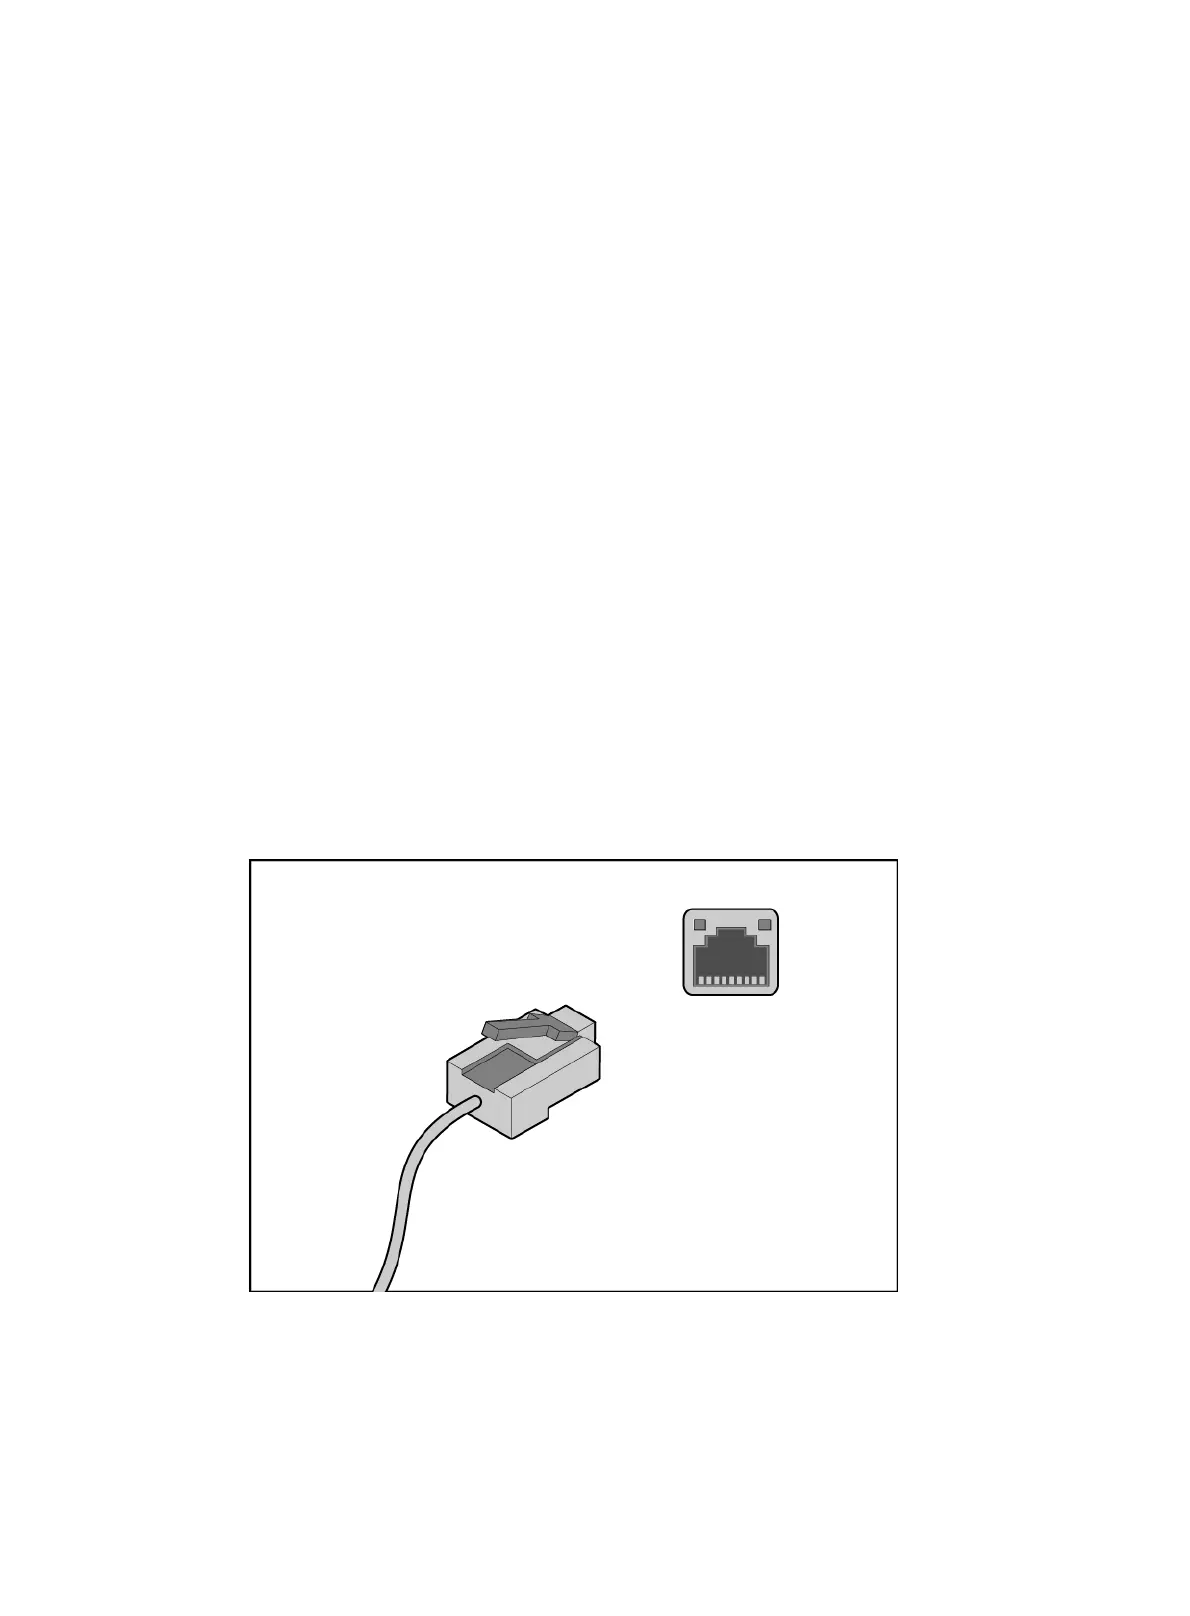
4. Connect one end of the Ethernet cable to the network port on the server and the other end to
the peer device.
Figure 3-6 Connecting an Ethernet cable
5. Verify network connectivity.
After powering on the server, use the ping command to test the network connectivity. If the
connection between the server and the peer device fails, make sure the Ethernet cable is
correctly connected.
6. Secure the Ethernet cable. For information about how to secure cables, see "Securing cables."

 Loading...


