6-39
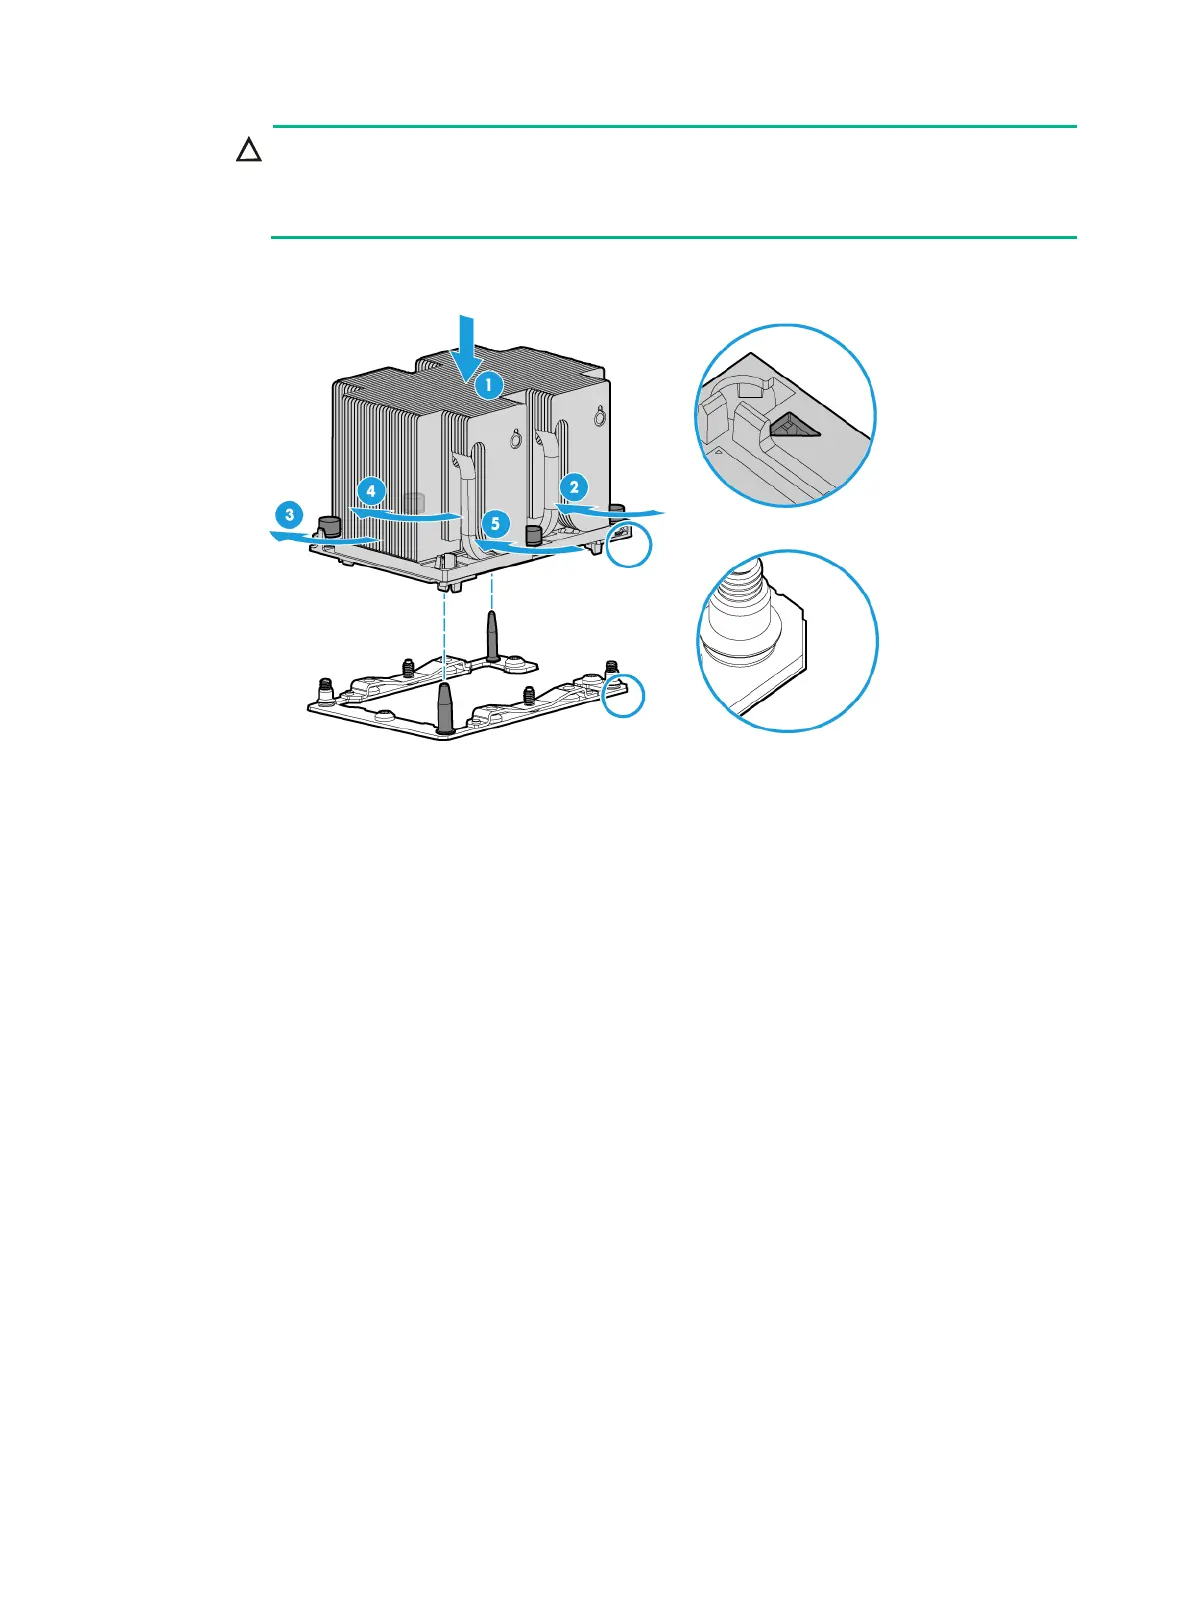
CAUTION:
Use an electric screwdriver and set the torque to 1.4 Nm (12 in-lbs) when fastening the
screws. Failure to do so may result in poor contact of the processor and the main board or
damage to the pins in the processor socket.
Figure 6-46 Attaching the retaining bracket and heatsink to the processor socket
11. Install DIMMs. For more information, see "Installing DIMMs."
12. Install the removed air baffles. For more information, see "Replacing air baffles in a compute
module."
13. Install the compute module access panel. For more information, see "Replacing a compute
module a
ccess panel."
14. Install the compute module. For more information, see "Installing a compute module."
15. Install the removed security bezel. For more information, see "Installing the security bezel."
16. Connect the power cord. For more information, see "Connecting the power cord."
17. Powe
r on the server. For more information, see "Powering on the server."
Verifying the installation
Log in to HDM to verify that the processor is operating correctly. For more information, see HDM
online help.
Installing DIMMs
The server supports DCPMMs and DRAM DIMMs (both LRDIMM and RDIMM supported).
Compared with DRAM DIMMs, DCPMMs provide larger capacity and can protect data from getting
lost in case of unexpected system failures.
Both DCPMMs and DRAM DIMMs are referred to as DIMMs in this document, unless otherwise
stated.

 Loading...


