6-38
b. Install the retaining bracket onto the heatsink. As shown in Figure 6-44, align the alignment
triangle on the retaining bracket with the cut-off corner of the heatsink. Place the bracket on
top of the heatsink, with the four corners of the bracket clicked into the four corners of the
heatsink.
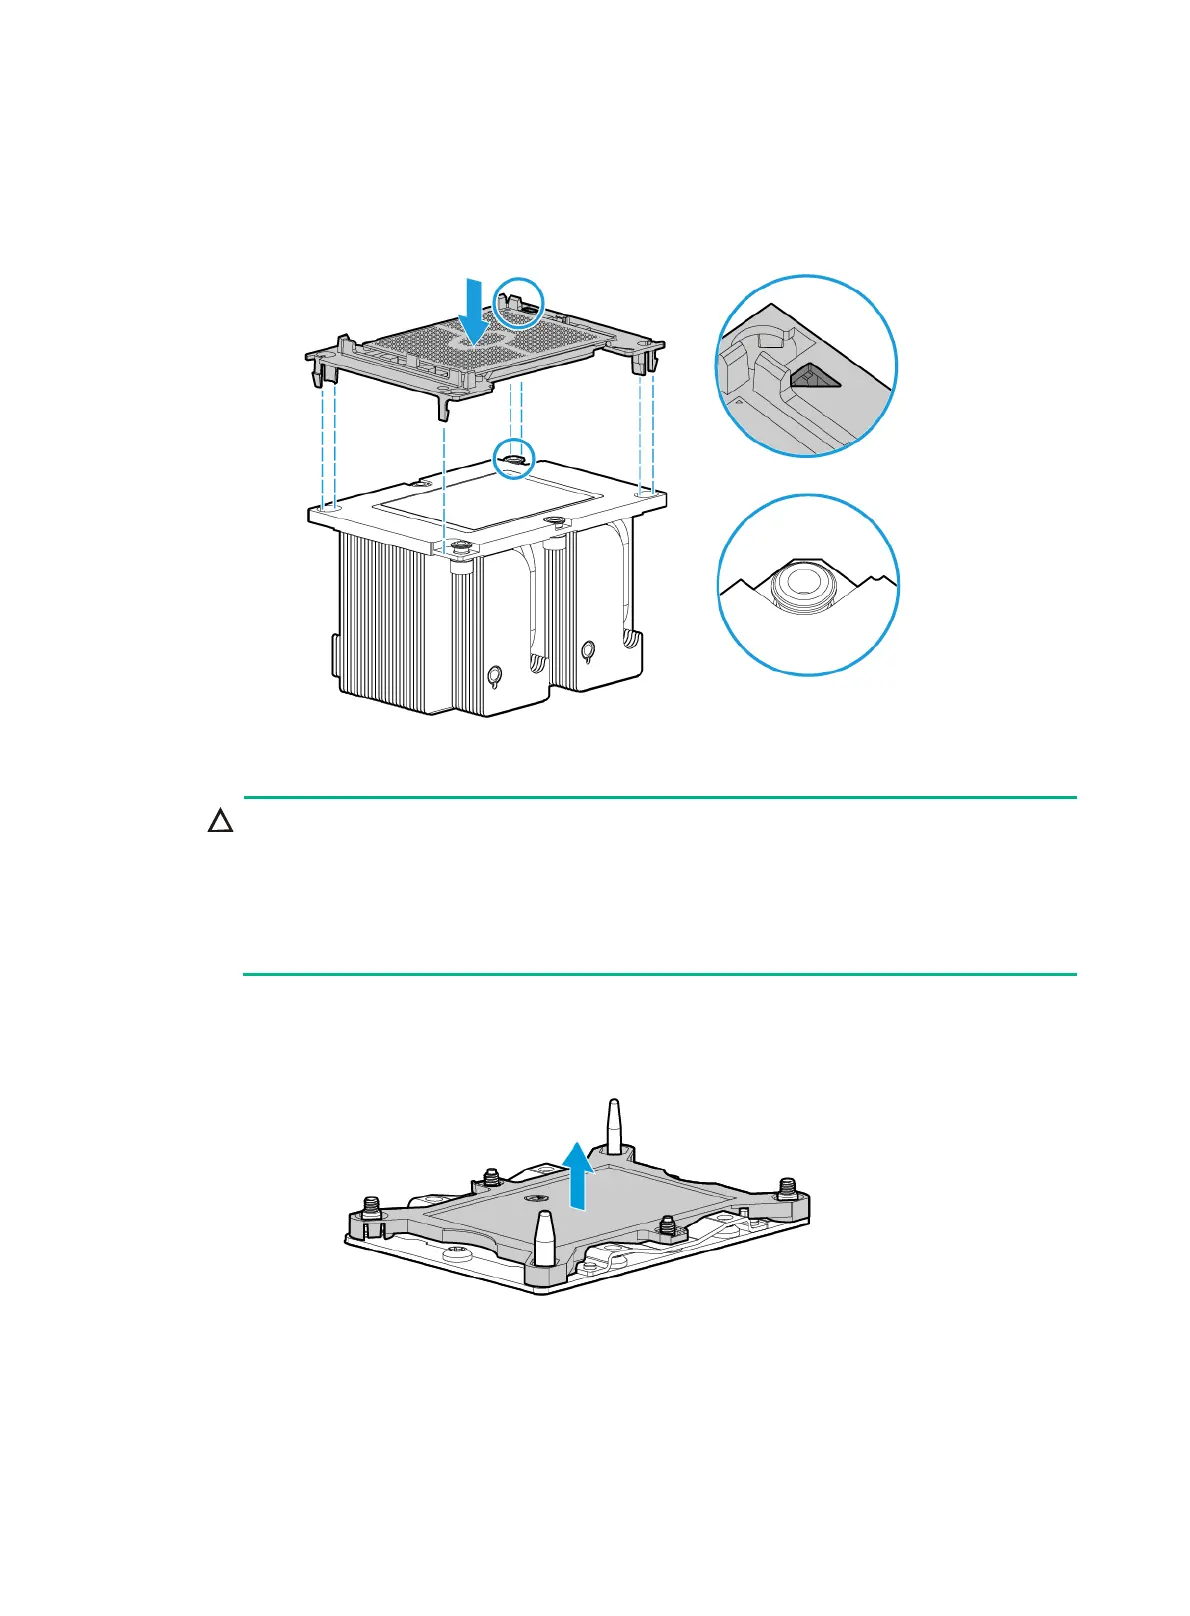
Figure 6-44 Installing the processor onto the heatsink
9. Remove the processor socket cover.
CAUTION:
• Take adequate ESD preventive measures when you remove the processor socket cover.
• Be careful not to touch the pins on the processor socket, which are very fragile. Damage to
pins will incur main board replacement.
• Keep the pins on the processor socket clean. Make sure the socket is free from dust and
debris.
Hold the cover by the notches on its two edges and lift it straight up and away from the socket.
Put the cover away for future use.
Figure 6-45 Removing the processor socket cover
10. Install the retaining bracket and heatsink onto the server, as shown in Figure 6-46.
a. Place the heatsink on the processor socket. Make sure the alignment triangle on the
retaining bracket and the pin holes in the heatsink are aligned with the cut-off corner and
guide pins of the processor socket, respectively, as shown by callout 1.
b. Fasten the captive screws on the heatsink in the sequence shown by callouts 2 through 5.

 Loading...


