7-40
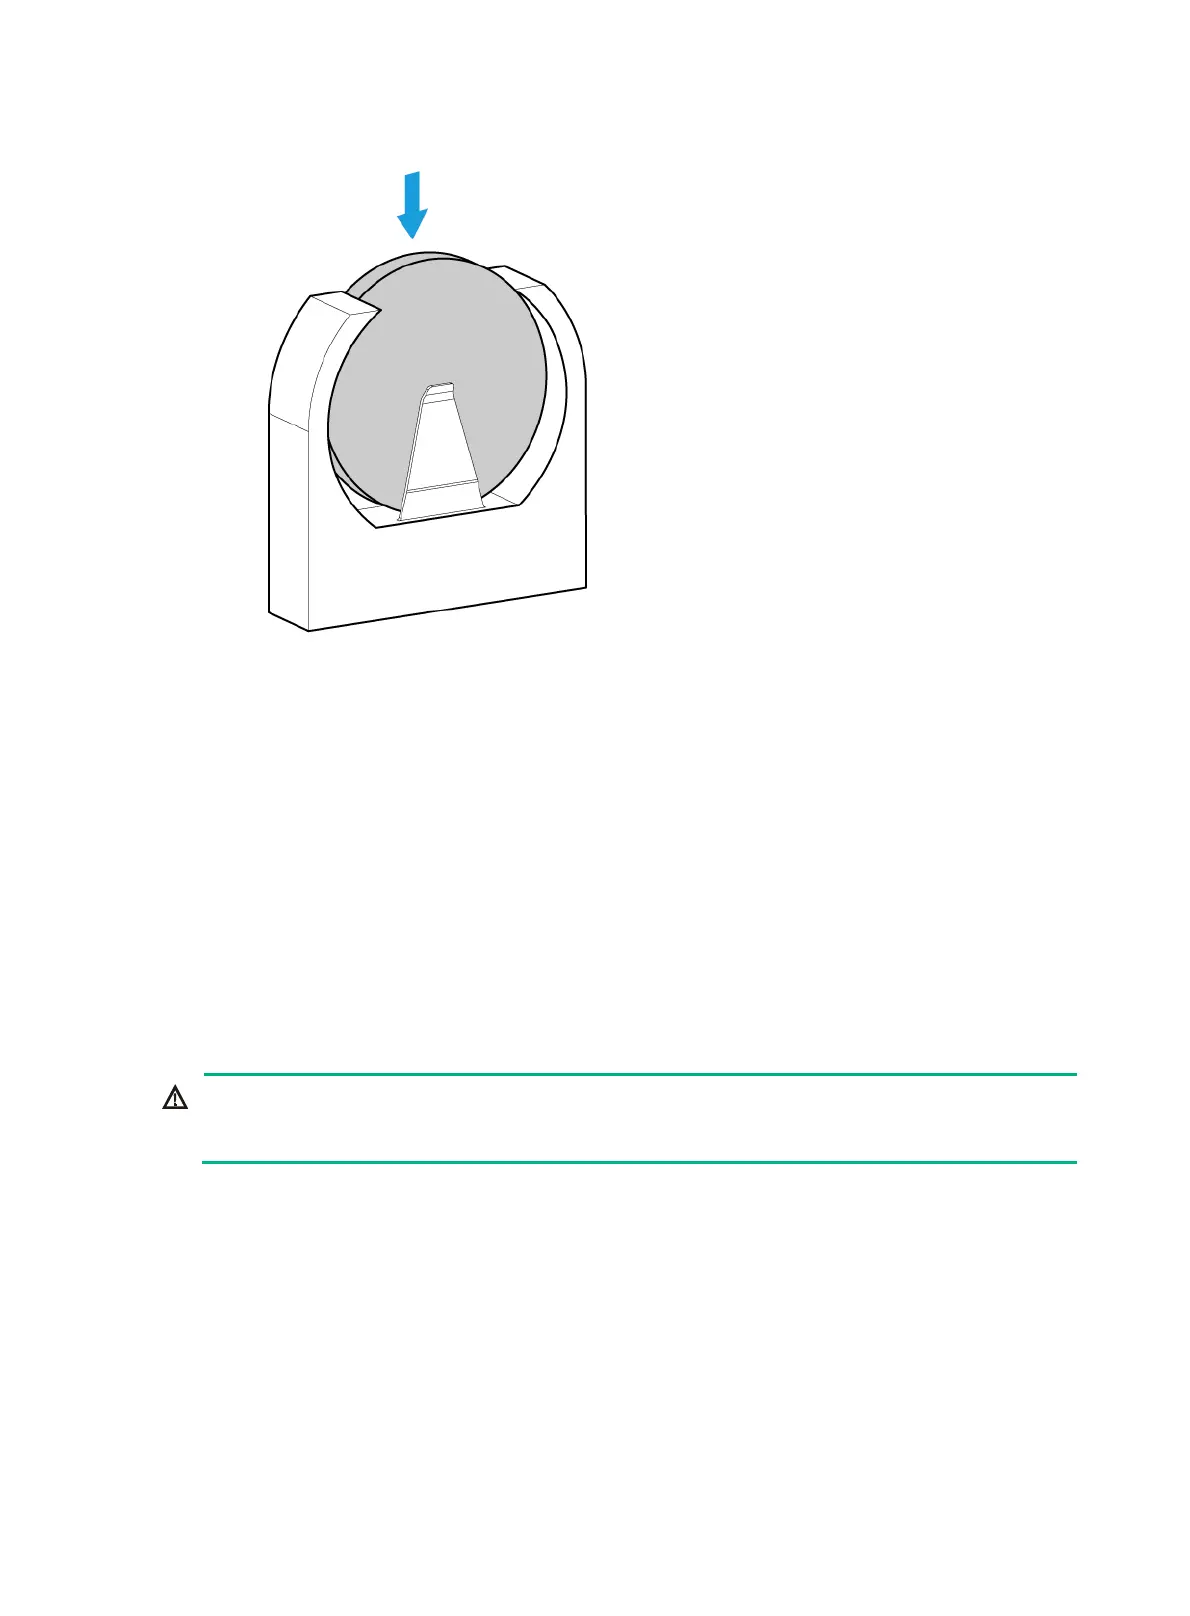
Figure 7-45 Installing the system battery
2. Install the management module. For more information, see "Installing the management
module."
3. Connect cables to the management module.
4. Connect the power cord. For more information, see "Connecting the power cord."
5. Powe
r on the server. For more information, see "Powering on the server."
6. Acce
ss the BIOS to reconfigure the system date and time. For more information, see the BIOS
user guide for the server.
Verifying the replacement
Verify that the system date and time is displayed correctly on HDM or the connector monitor.
Replacing drive backplanes
WARNING!
To avoid bodily injury from hot surfaces, allow the server and its internal modules to cool before
touching them.
The procedure is the same for 4SFF, 4SFF NVMe, and 24SFF drive backplanes. This section uses a
4SFF drive backplane as an example.
To replace the drive backplane:
1. Power off the server. For more information, see "Powering off the server."
2. Remove the
security bezel, if any. For more information, see "Replacing the security bezel."
3. Remove the compute module. For more information, see "Removing a compute module."
4. Remove the drives attached to the backplane. For more information, see "Replacing a
SAS/SATA dr
ive."
5. Remove the compute module access panel. For more information, see "Replacing a compute
module a
ccess panel."

 Loading...


