. . . . .
MONITORING A SITE
Timeline
MAXPRO NVR 3.1 Operator’s Guide 135
Timeline
Playing Recorded Video using the Timeline
Timeline enables you to play recorded video from a particular date and time. A timescale is
displayed in the lower part of the Timeline window. You can refer to the divisions in the
timescale to locate a video recording in the timeline. Using the date and time calendar box in
the timeline window, you can select a date and time from which you want to play recorded
video.
You can add comments and mark points of interest in the timeline using the bookmark feature
(See Marking Points of Interest in the Timeline using Bookmarks section). This enables you to
locate moments of interest when reviewing recorded video. You can also add mark in and
mark out points in a timeline (See Playing Recorded Video Using Mark In and Mark Out Points
in the Timeline section) to play a selected part of video repeatedly. Clips of the video recorded
in MAXPRO NVR can be created from marked points in the timeline.
To play recorded video using the timeline
1. Click the Viewer tab.
2. Select the camera. To select the camera, double-click the video source in the Site
window. You can also drag and drop the camera on a panel in the salvo layout. The video
is displayed in the panel. Alternatively, you can click on a panel displaying video to select
the corresponding camera from which you want to view video. A timeline appears in the
Timeline window with the name of the camera on the left in full timeline mode.
3. Play the recorded video from a date and time in one of the following ways.
• Click on the timeline from where you want to view video. You can refer to the divisions on
the timescale that is displayed in the lower part of the timeline window to locate the date
and time.
Note: You can set any timescale between seconds and days using the
slider. Move the slider left or right as required. This helps you to locate the video
recording in the timeline. Click to view the divisions on the left of the
timescale. Click to view the divisions on the right of the timescale.
Or
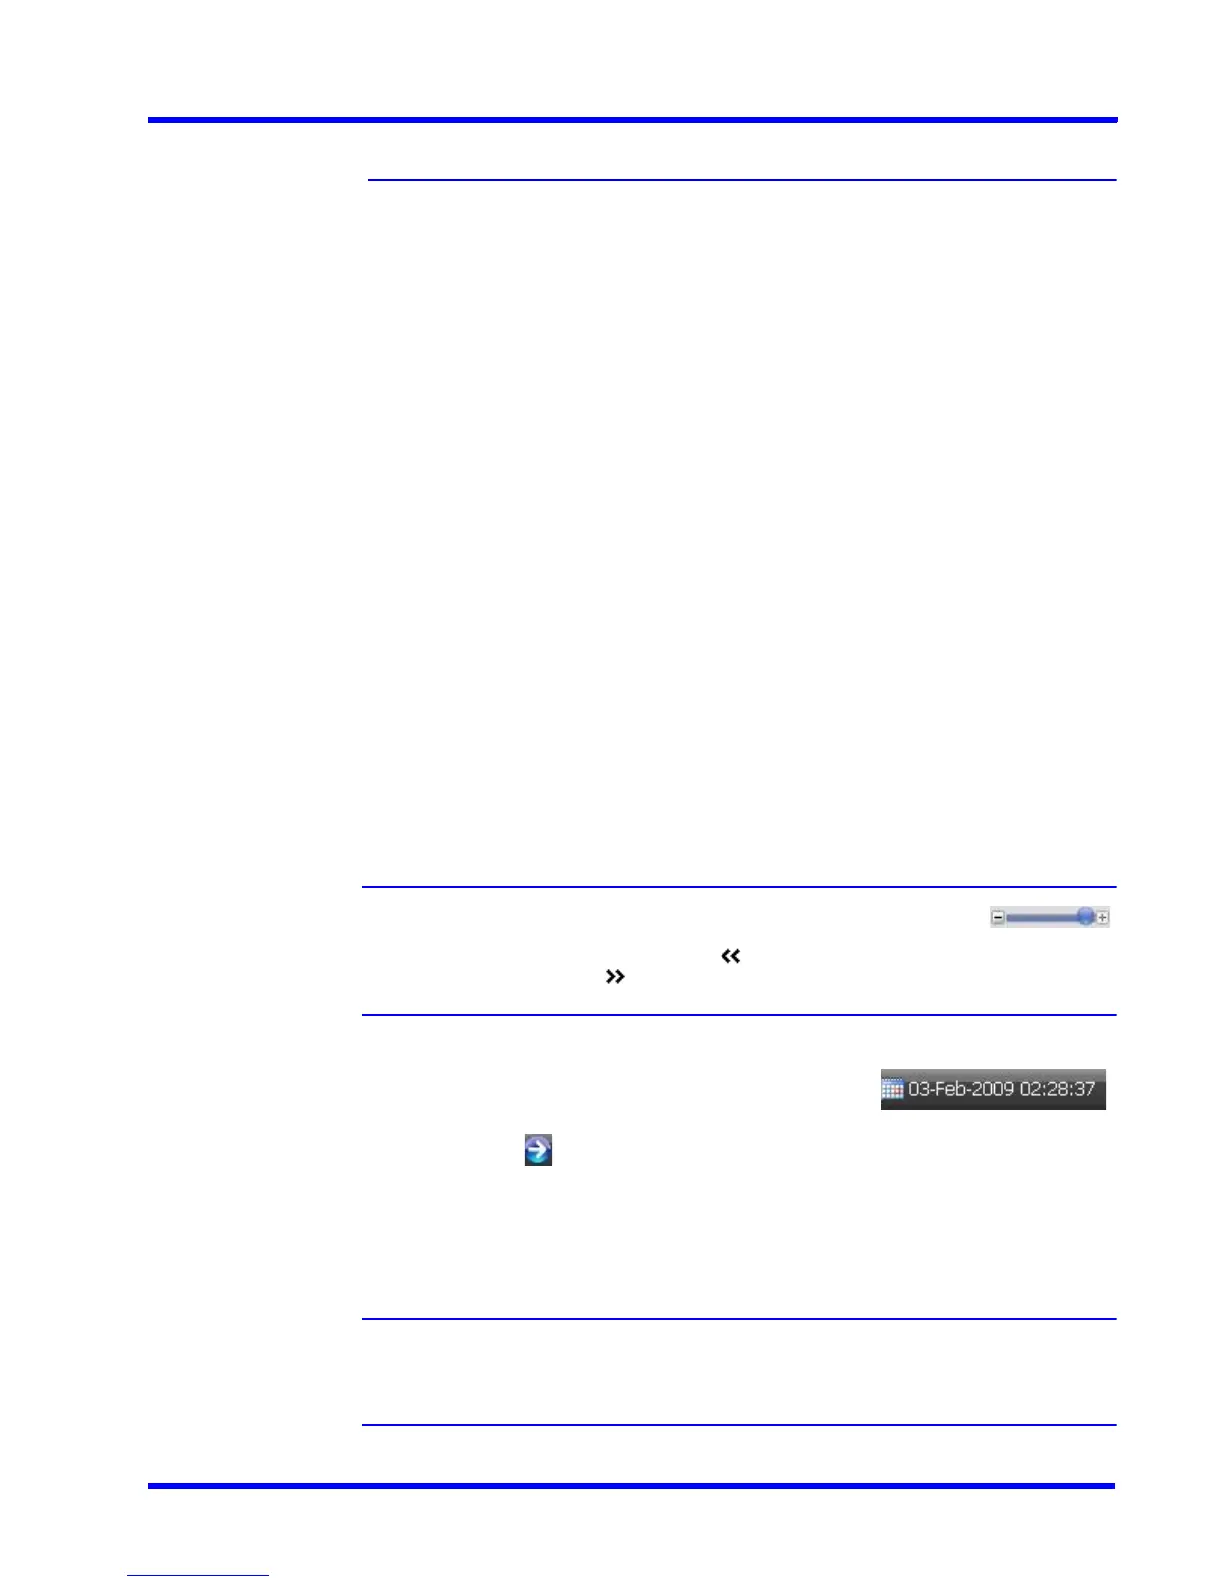
• Select the date and time in the date and time calendar box
and then click . The video recording is played from the selected date and time.
In the timeline, the time duration for which recording is available is indicated in green color.
The time duration for which recording is not available is indicated in white color. This helps
you to locate the video recording in the timeline.
Note: The timeline shows the green color and gray color only for the cameras
connected to MAXPRO NVR. You can click the timeline to play the recorded
video. The following table lists the colors that appear in the timeline.