MONITORING A SITE
Timeline
138 MAXPRO NVR 3.1 Operator’s Guide
5
Playing Recorded Video Using Mark In and Mark
Out Points in the Timeline
Mark in and Mark out feature is useful when you want to play a portion of video repeatedly.
You can add a mark in point to mark the start date and time in the timeline. To mark the end
date and time, add a mark out point in the timeline. The portion of the timeline between a mark
in and mark out point is referred to as a loop.
You can add bookmarks between a loop to identify moments of interest in the video. See
Marking Points of Interest in the Timeline using Bookmarks section. The video in a loop can
also be saved as a clip. See Creating Clips section.
Creating a Loop by adding a Mark In and Mark Out Point in the
Timeline
To create a loop
1. Click to select the timeline in the Timeline window in which you want to add mark in and
mark out points.
Or
Click a panel displaying video to select the corresponding timeline.
2. To set the start date and time of the loop, add a mark in.
To add a mark in
Click the point in the timeline where you want to add a mark in and click .
Alternatively, you can right-click the point in the timeline where you want to add a mark
in and click Add Mark In in the context menu. The mark in can also be added from a
panel displaying video. Right-click the panel and click Add Mark In in the context
menu. The mark in is added at the corresponding date and time in the timeline.
Mark In add a mark in point in the timeline. You can
also add a mark in point by pressing the
CTRL + I keys.
See Video Recording and Viewing section.
Mark Out add a mark out point in the timeline. You can
also add a mark out point by pressing the
CTRL + O keys.
See Video Recording and Viewing section.
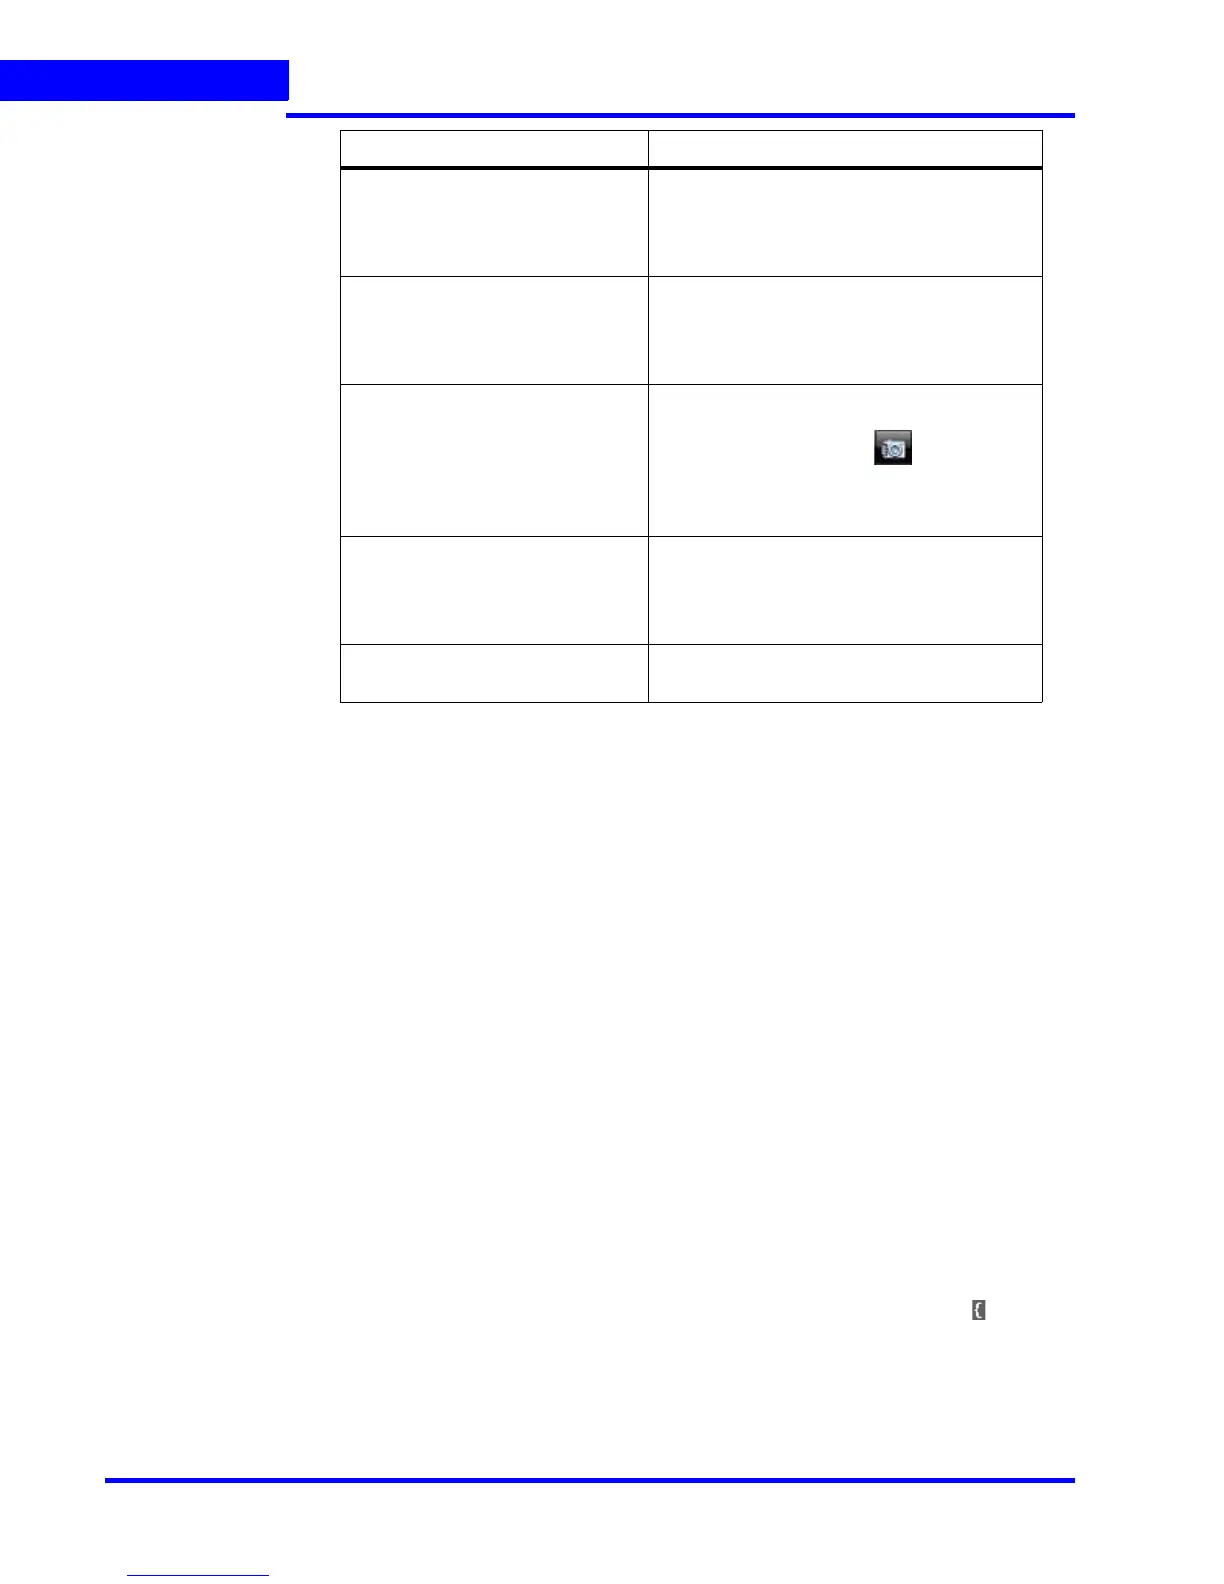
Save Image save the frame displayed in the panel as an
image in the BMP format.
Alternatively, you can click in the
toolbar on the top of the salvo layout to save
the image in BMP format. See Saving Images
section.
Save Image As save the frame displayed in the panel in
different image formats such as JPG, PNG,
and GIF.
See Saving Images section.
Show Surrounding Cameras to view video from the associated cameras.
See Surrounding Cameras section.
Command Click to...