Sampling
P0
P1 P2 P3 P4 P8
81
OrigKey (Original Key) [C–1...G9]
Specify the key that will play the sample at its original pitch
(i.e., the pitch at which it was recorded). The pitch will
change in semitone steps relative to the original key.
For example, suppose that you recorded a sample with
“OrigKey” of F2. When the zone of the index is C2–B2,
pressing the F2 key would playback the sample at its origi-
nal pitch. Pressing F#2 would playback the sample a semi-
tone higher. Pressing E2 would playback the sample a
semitone lower. The pitch of this sampled sound will change
in semitone steps between C2 and B2, centered at F2.
The original key location can also be viewed in “Keyboard &
Index.”
If “Constant Pitch” (3–1b) is checked, the sample will
be sounded at its original pitch by all notes in the zone.
TopKey (Top Key) [C–1...G9]
Specify the highest key in the zone of the index. The zone is
defined by this “Top Key.” For example, suppose that you
set a “Top Key” of B2 for index 001/002, and a “Top Key” of
B3 for index 002/002. This means that the zone of index 001
will be B2 and lower, and the zone of index 002 will be C3–
B3.
Range
This indicates the zone (area) that was determined by the
“Top Key” setting.
The sample selected by “Sample” will sound in this area.
The zone for each index can also be viewed in “Keyboard &
Index.”
Create
This creates an index. Use this when you wish to add a sam-
ple to a multisample. When you press the Create button, a
new index will be created according to the Create Zone Pref-
erence (0–3a, 3–2a) parameters “Position,” “Zone Range,”
and “Original Key Position.” If you wish to delete an index
or exchange indexes, use P3: Multisample.
If when you execute “Create” (0–1b, 3–1c) or “Insert”
(3–1c) it is not possible to create a new index according
to your Create Zone Preference settings, one of the fol-
lowing dialog boxes will appear. If you wish to create a
new index, perform the following procedure.
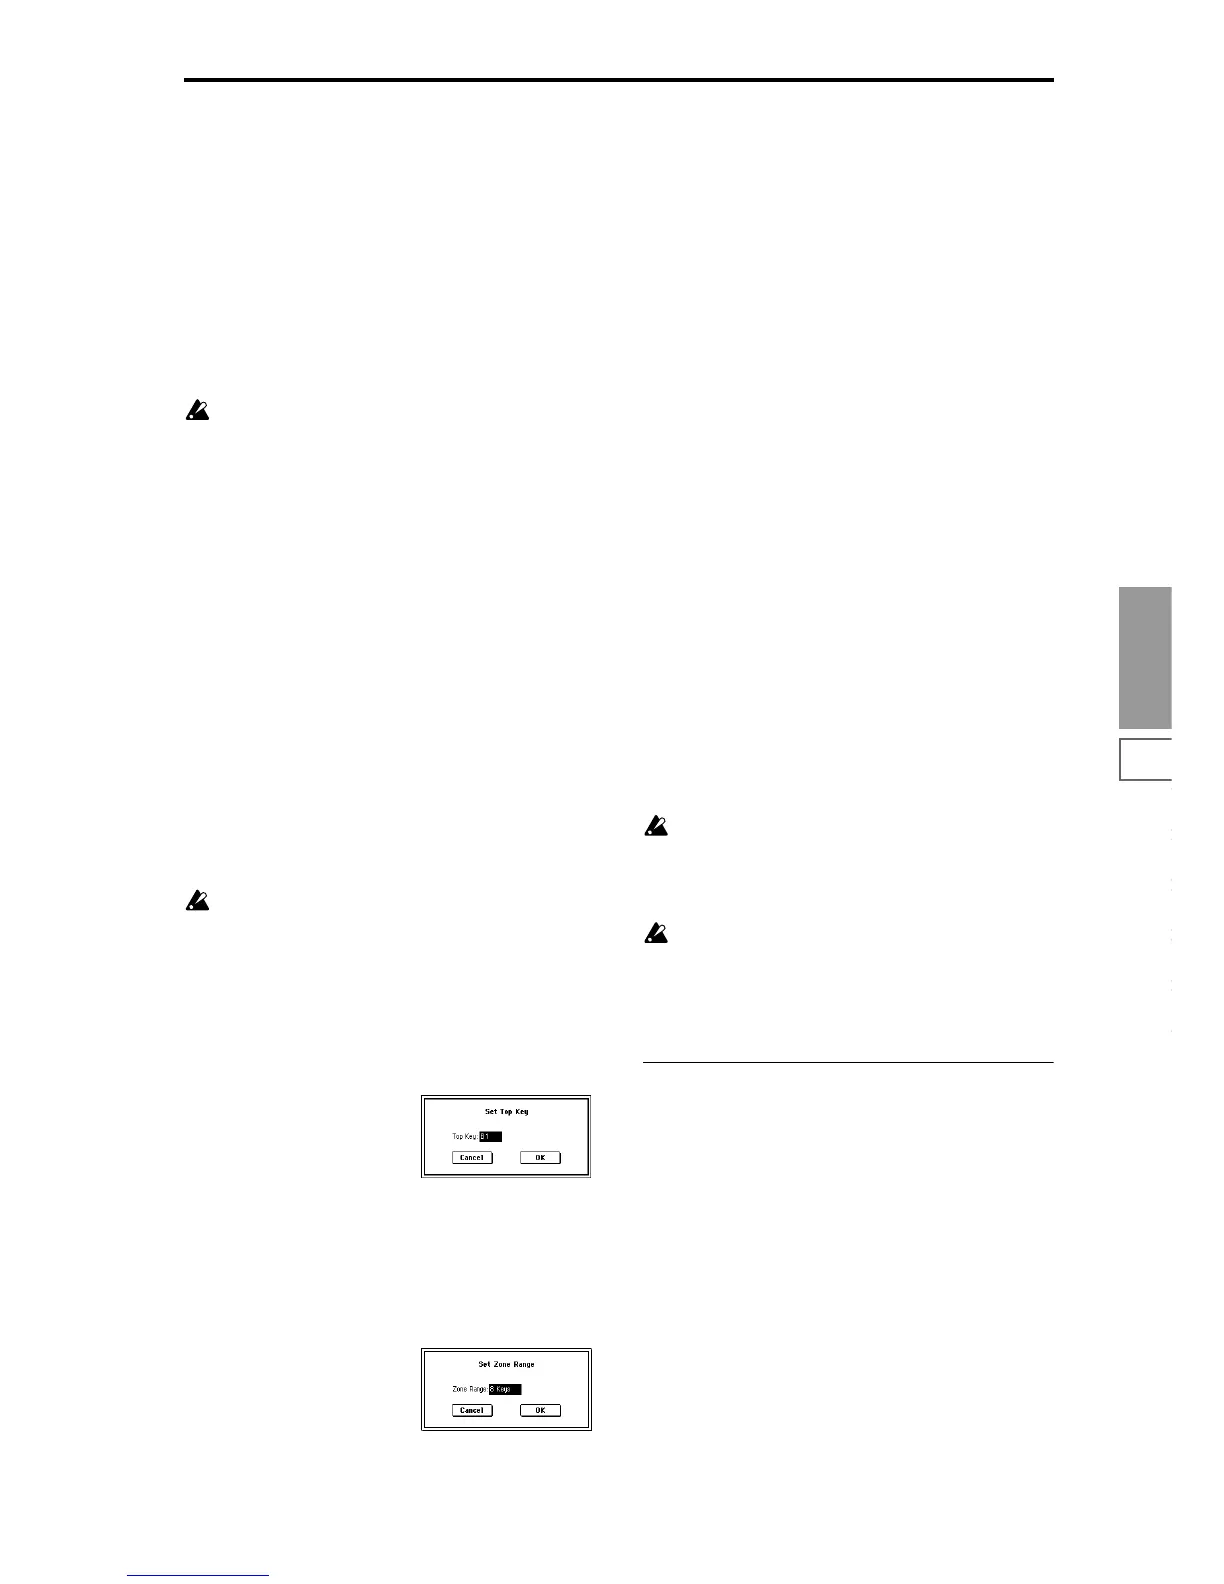
• Set Top Key: Select “Index” 001, set “Position” (0–3a,
3–2a) to Left (to Selected Index), and execute “Create”
or “Insert” to open the dialog box. So that a new index
can be created at the left of index 1, re-set the “Top
Key” setting, and press the OK button.
• Set Zone Range: If you execute “Create” when it is not
possible to create a new index according to the Create
Zone Preference settings, the following dialog box will
appear. This dialog box will also appear if you execute
“Insert” when it is not possible to create a new index
with the contents of the “Cut” or “Copy” (3–1c). Re-set
the “Zone Range” (0–3a, 3–2a), and press the OK
button.
Stereo
A “Stereo” indication will appear here if you have selected a
stereo multisample or sample, or if you recorded a sample
with “Sample Mode” (0–1c) set to Stereo.
About stereo multisamples and stereo samples
Stereo multisamples: Under the following conditions, two
multisamples will be handled as a stereo multisample.
• If you checked “Stereo” when creating a new
multisample (i.e., selected a new multisample in “MS”
0–1a)
• If you executed the “MS Mono To Stereo” (0–1H) page
menu command
• If you sampled with “Sample Mode” (0–1c) set to Stereo
In these cases, a stereo multisample that meets the following
conditions will be created automatically.
1. The last two characters of the two multisample names
will be -L and -R respectively, and the earlier portion of
the names are identical.
2. The two multisamples will have the same number of
indexes, and their zone settings are identical.
Stereo samples: Under the following condition, two sam-
ples will be handled as a stereo sample.
• When the samples were recorded with a “Sample
Mode” (0–1c) setting of Stereo.
• If you executed the “Sample Mono To Stereo” (0–1H)
page menu command
In this case, a stereo sample that meets the following condi-
tions will be created automatically.
1. The last two characters of the sample name will be -L and
-R respectively, and the earlier portion of the names are
identical.
2. Two samples that satisfy condition 1. for stereo multi-
samples are selected.
Stereo multisamples and samples are distinguished
internally by their multisample name or sample name.
If you use “Rename MS” (0–1F) or “Rename Sample”
(0–1C) etc. to modify the multisample name or sample
name, please pay attention to the above conditions.
As a condition of a stereo sample, the sampling rates
must be identical. You can verify the sampling rate of a
sample by using the page menu command “Rate Con-
vert” (1–1K). Be aware that if you use “Rate Convert” to
convert the -L and -R samples to differing sampling
rates, they will not be handled as a stereo sample.
0–1c: REC Sample Setup (Recording Sample Setup)
Here you can select the memory bank into which you will
sample, specify the sampling time, and select either mono or
stereo sampling.
RAM Bank [RAM1, RAM2, RAM3, RAM4]
Select the memory bank into which you will sample. The
sample data memory is organized into four banks, each with
16 Mbytes. The TRITON comes with 16 Mbytes of memory
(SIMM) installed as standard. In this case, RAM1 will
always be selected as the memory bank, and it will not be
possible to select RAM2, 3, or 4.
By installing separately sold 72-pin SIMM boards you can
expand the memory to a maximum of 64 Mbytes (two 32
Mbyte SIMM boards) (
☞p.237).