NET Series
Front Panel Operation
Page 126 Firmware Ver. 1.00.42/Software Ver. 1.0.2.6 LEIGHTRONIX, INC.
2010-07-09
REBOOTING CONTROLLER
Each NET Series Controller can be rebooted from the front panel. Simultaneously
hold down the “
↓” and “→” keys, and then press “↑.” The schedule status remains the
same as it was before the reboot.
FORCING AN EVENT
The force event function allows you to perform a PRO-BUS or DVply (only NET-164 or
NET-EC) control function and/or a switch from the Controller’s front panel, with
optional switch delay (see Table 23, Performing PRO-BUS/DVply Control Function
and/or Switch from Front Panel).
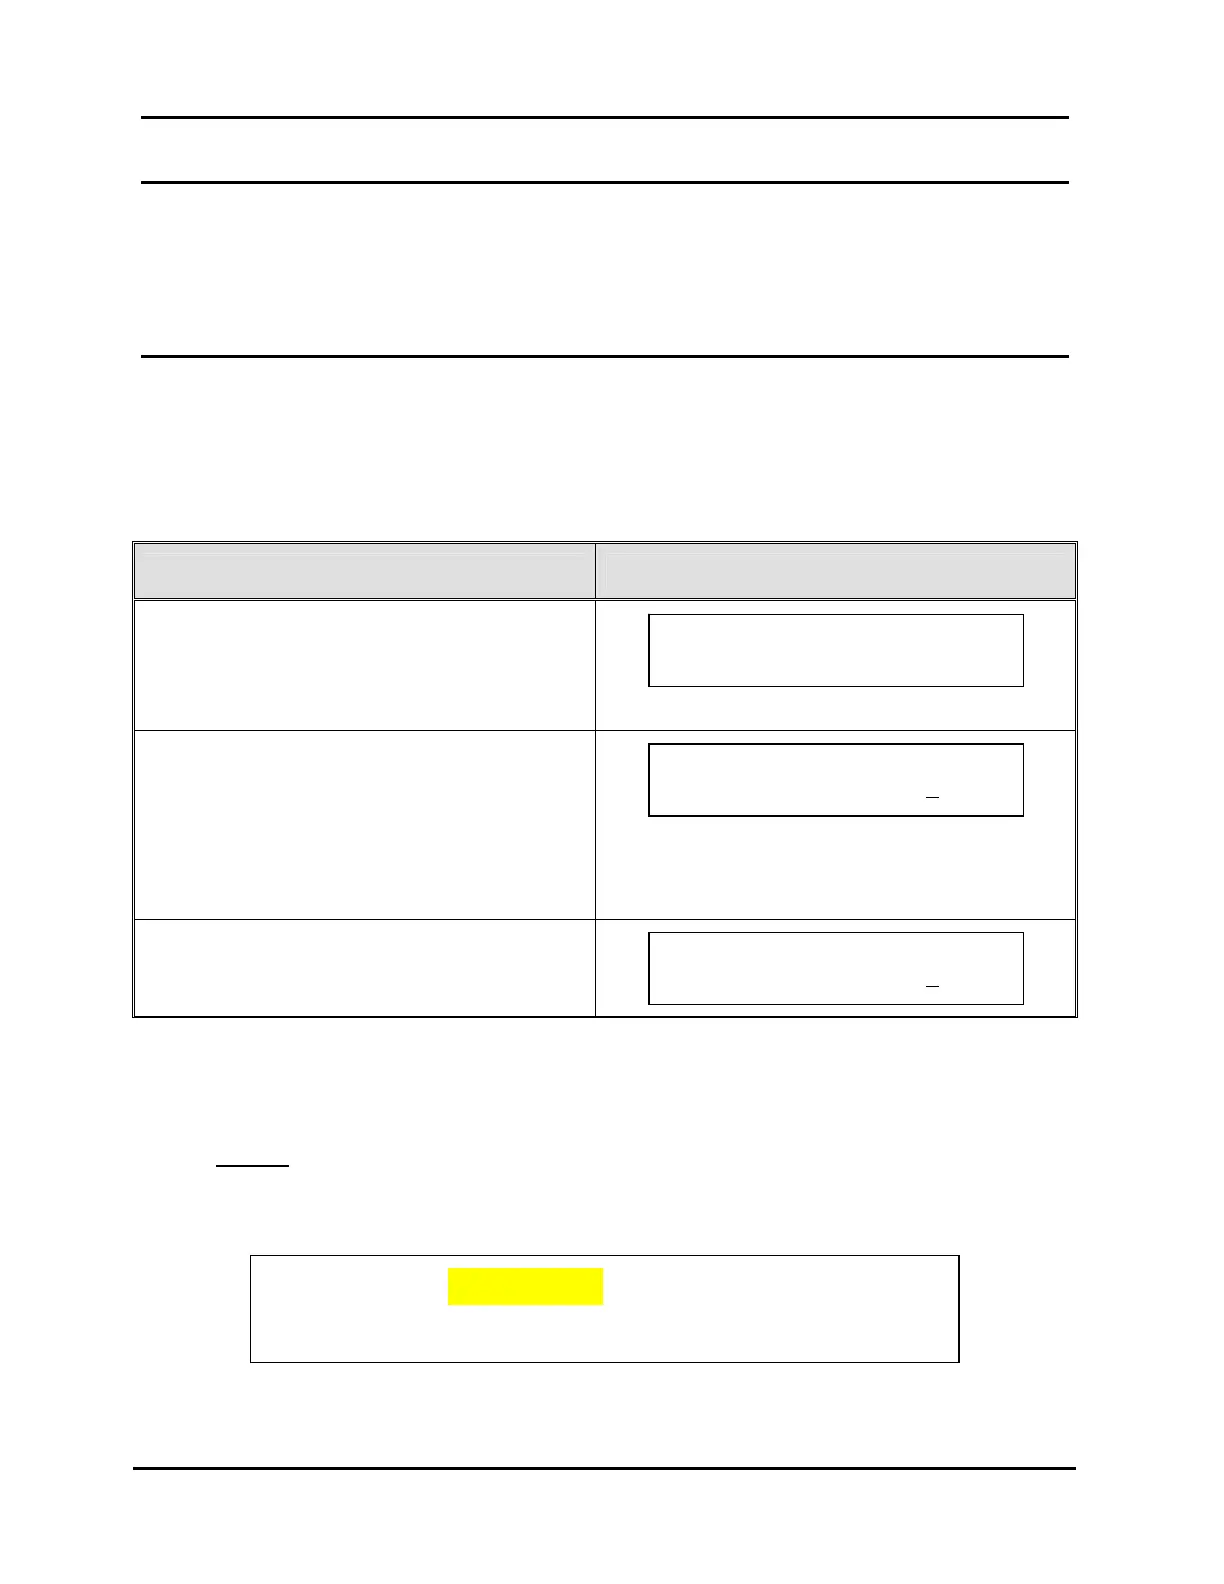
Table 23, Performing PRO-BUS/DVply Control Function and/or Switch from Front Panel
FORCE EVENT STEPS CORRESPONDING SCREEN DISPLAYS
1. From the “MAIN MENU” screen, press “↑” or
“↓” to proceed to “Force Event.”
2. Press “→” to select “Force Event.”
3. Press “→” or “←” to position the underscore
under the editable fields and press “↑” or “↓”
to edit the values.
4. Press “→” to enter next screen.
NOTE: The force event editable fields are
described in more detail following this
table.
5. Either press “→” again to perform the force
event or “←” to abort changes.
The following is a list of the editable force event fields as illustrated with NET-164
screen display examples. The highlighted parts of the illustrations indicate the
various changes that may be made to the editable fields.
Device
Device number (see Illustration 96)
Illustration 96, NET-164 Example: Device Number Selected for Forced Event
Force: Dev. 1 ------
Switch 1$1 2 3 4 in –s
Press ~ to force event
Switch 1$- 2 3 4 in 3
s
Force: Dev. 1 Play
Switch 1$- 2 3 4 in 3
s
MAIN MENU Use `/ˆ
Force Event
~