NET Series
Controller Installation and Configuration
Page 34 Firmware Ver. 1.00.42/Software Ver. 1.0.2.6 LEIGHTRONIX, INC.
2010-07-09
EDITING DNS ADDRESSES
Obtain domain name server (DNS) addresses from your technical support personnel
or network administrator. See Table 10, Editing DNS Addresses from Front Panel, for
editing instructions.
The DNS address is used if the “Auto Log Email” feature is implemented and a simple
mail transfer protocol (SMTP) mail server is given by name, not IP address. The DNS
Server can be queried to resolve the name into an IP address. Enter the IP
address(es) of the DNS Server(s) available to your network in the DNS #1 and #2
entry fields.
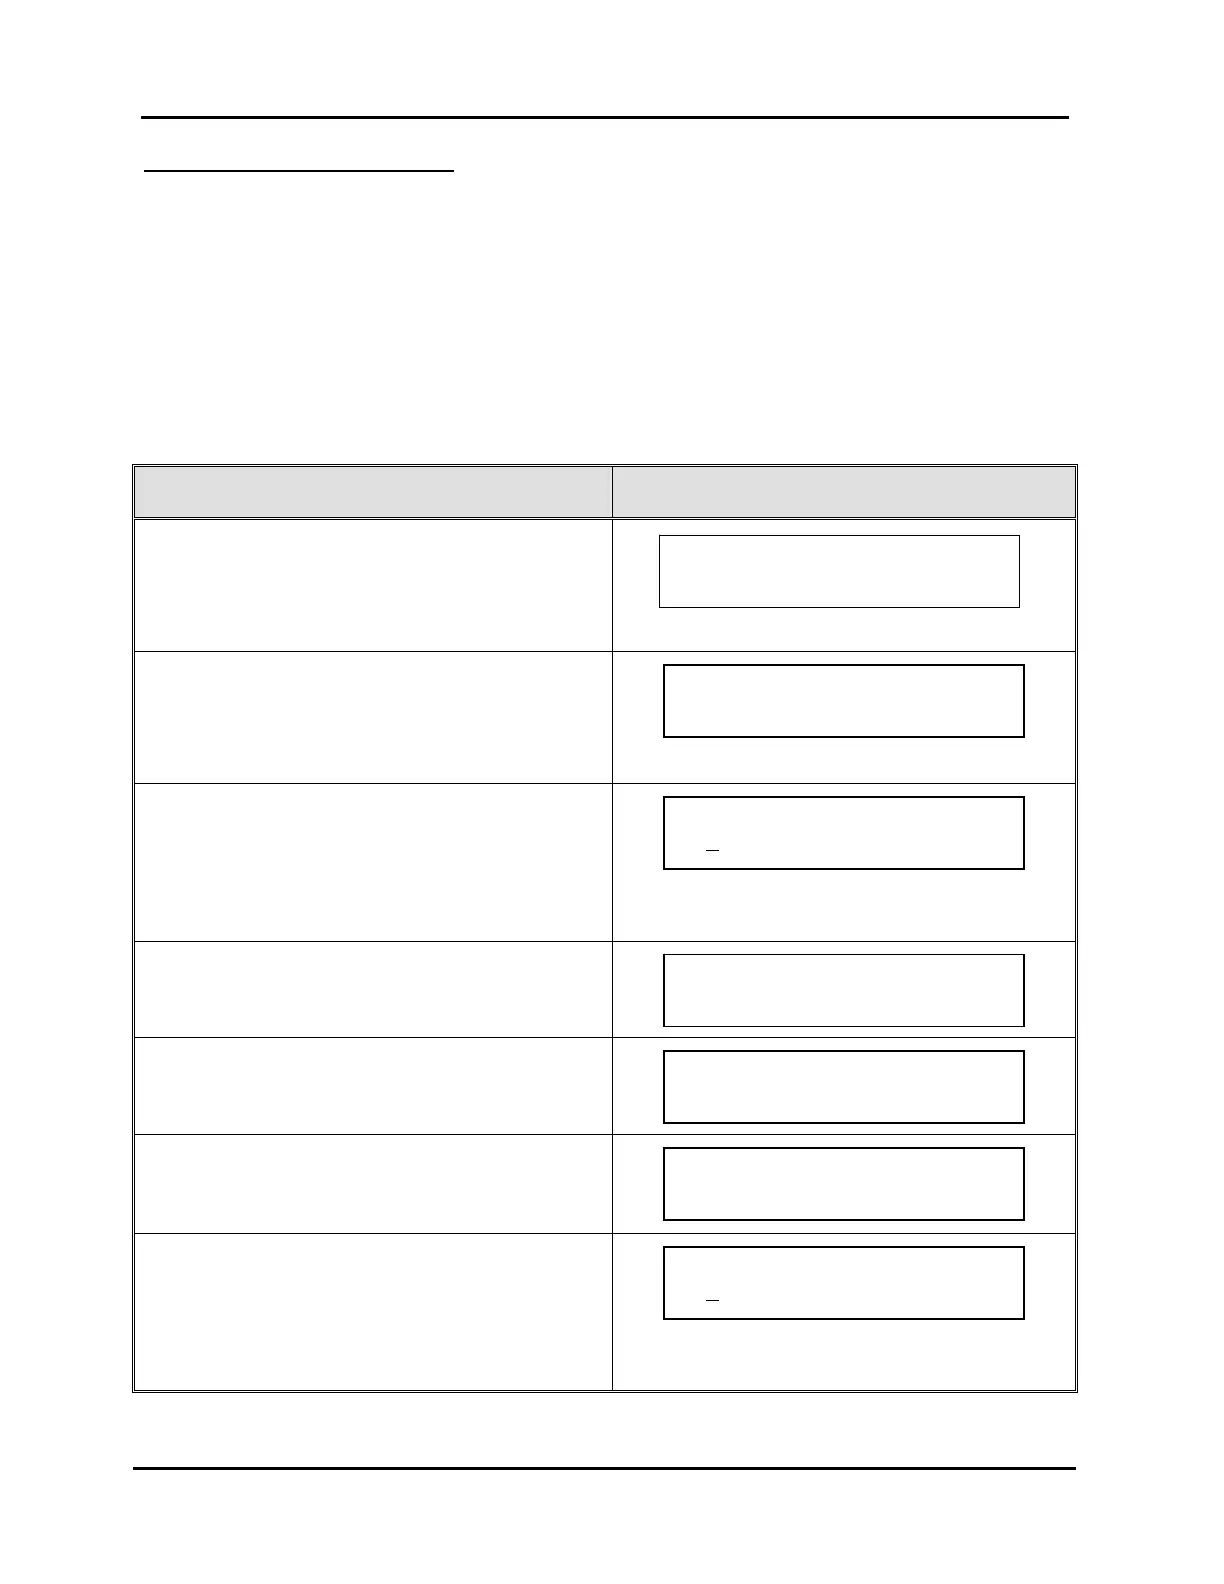
Table 10, Editing DNS Addresses from Front Panel
DNS ADDRESS CONFIGURATION STEPS CORRESPONDING SCREEN DISPLAYS
1. From the “MAIN MENU” screen, press “↑” or
“↓” to proceed to “TCP/IP Configuration.”
2. Press “→” to select “TCP/IP Configuration.”
3. Press “↑” or “↓” to proceed to “Edit DNS #1
Address.”
4. Press “→” to select “Edit DNS #1 Address.”
5. Press “→” or “←” to position the underscore
under the editable fields and press “↑” or “↓” to
edit the values.
6. Press “→” to enter next screen.
7. Either press “→” again to save your changes or
“←” to abort changes.
8. Press “↑” to proceed to “Edit DNS #2 Address.”
9. Press “→” to select “Edit DNS #2 Address.”
10. Press “→” or “←” to position the underscore
under the editable fields and press “↑” or “↓” to
edit the values.
11. Press “→” to enter next screen.
Enter new DNS #2 address
0
. 0. 0. 0 (none)
IP CONFIG MENU Use `/ˆ
Edit DNS #2 Address
~
IP CONFIG MENU Use `/ˆ
Edit DNS #1 Address
~
Press ~ to confirm
DNS #1 static address.
Enter new DNS #1 address
0
. 0. 0. 0 (none)
IP CONFIG MENU Use `/ˆ
Edit DNS #1 Address
~
MAIN MENU Use `/ˆ
TCP/IP Configuration ~