4A-3390-13645--2 495 POWERHEAD
REATTACH CRANKCASE COVER
After the application of the Loctite Master Gasket
Sealing Kit, place crankcase cover onto block, and
align.
Recheck that bolt holes and bolts are clean to as-
sure accurate torque.
Insert bolts - note 2 sizes and finger tighten.
Loctite End Cap Bolt and install in remaining (End
Cap to Cover) hole.
Torque Crankcase Cover Bolts.
IMPORTANT: This is a Double Torque Pattern.
10 6
24
812
95 13
7
11
6
5
2
1
4
3
8
7
Torque large bolt sequence first.
1st Torque Pattern (#1-8) on Large Bolts -
25 lb. ft. (33.9 Nm)
2nd Torque Pattern (#1-12) on Small Bolts - 18
lb. ft. (24.4 Nm)
Torque all (lower) end cap bolts (3 bolts) to
18 lb. ft. (24.4 Nm)
Reattach bleed line hose
NOTE:
Inspect ALL hoses on reinstallation; replace
when necessary.
Note on Major Cover Gaskets: These are new
gaskets impregnated with a coating that causes the
gasket to retain torque. It is not necessary to use
sealant on gasket, or Loctite on bolts.
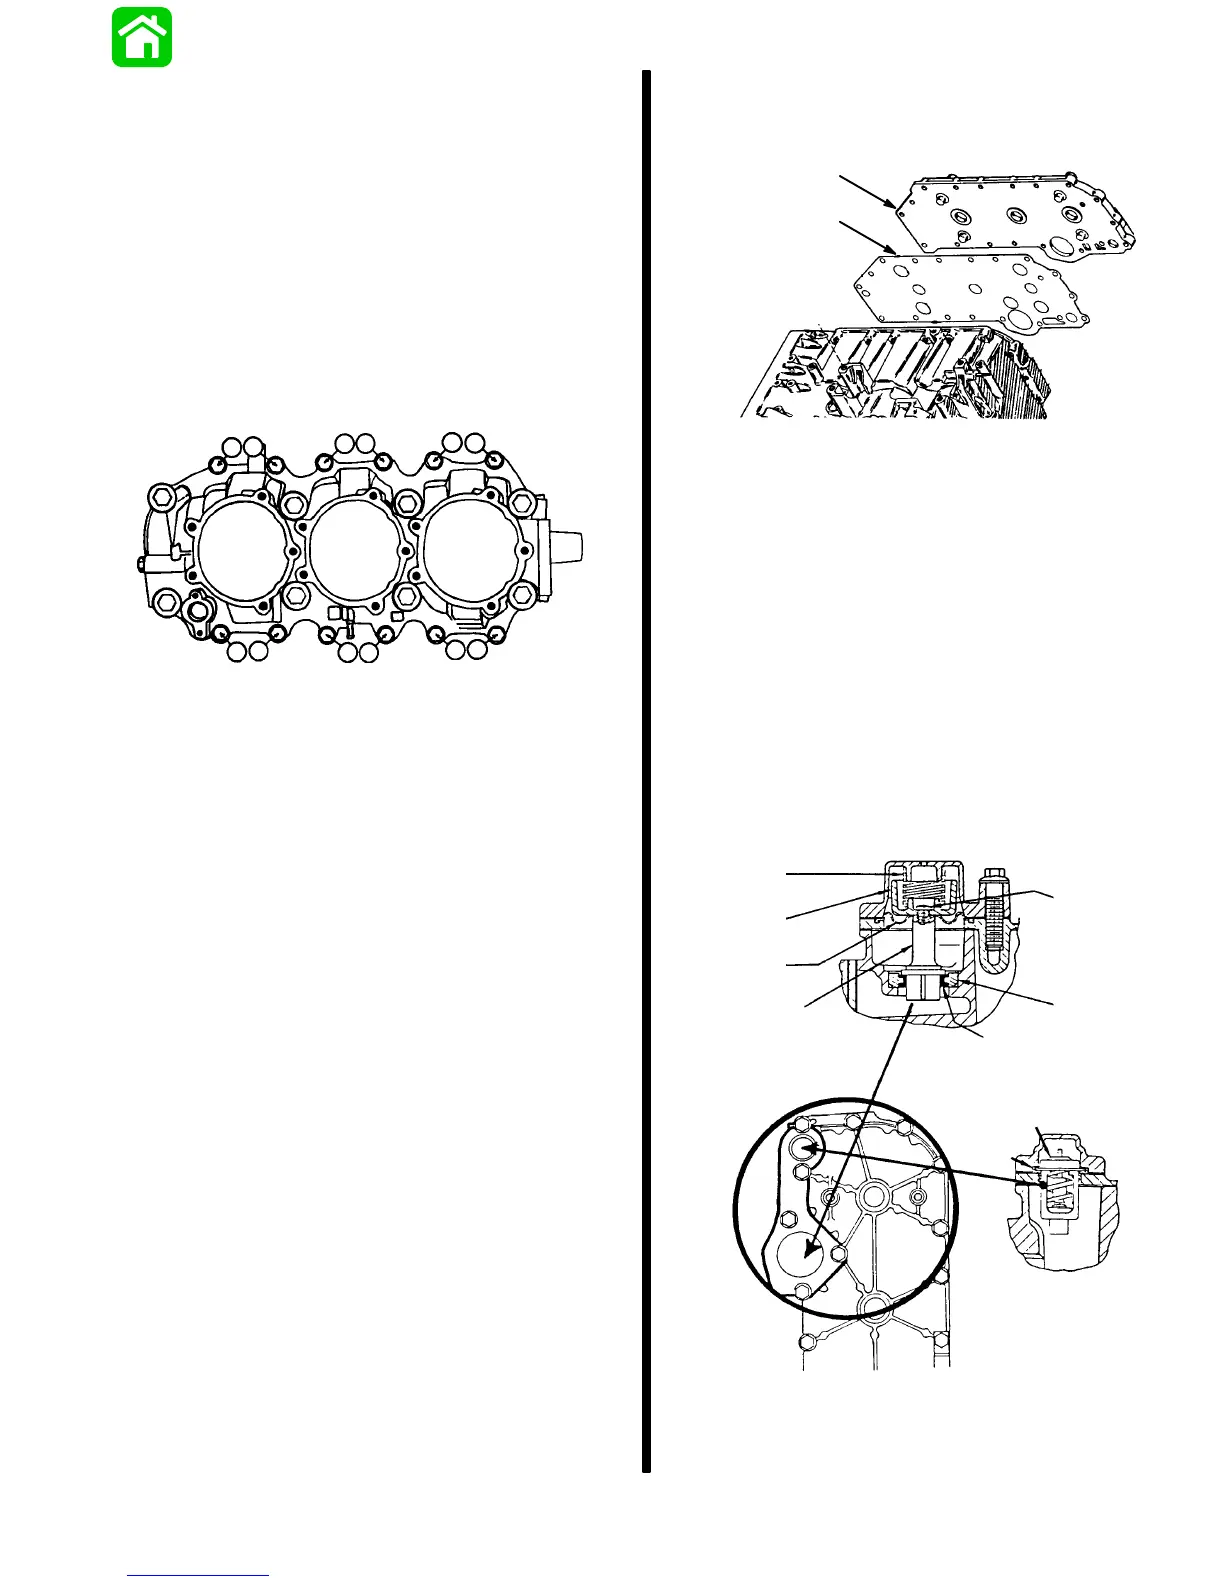
Cylinder Block Cover
Align cover and gasket on block.
a
b
a - Cover
b - Gasket
Install thermostat cover and components, as
follows:
1. Insert poppet valve (d) into valve seat (f).
2. Install cover gasket over poppet.
3. Insert thermostat (h) into well.
4. Align cover, with poppet spring (a) seated as
shown.
5. Depress cover, and insert bolts - finger tighten.
Note seating of thermostat gasket (h) and poppet
gasket diaphragm (c). These, and gasket “g” are re-
placeable when necessary.
a
b
c
d
e
f
g
h
i
NO TORQUE
REQUIREMENT
TIGHTEN
SECURELY IF
DISASSEMBLED
Position clips, align cover holes and insert bolts -
finger tighten (located under bolts #2 and 10).
Insert remaining cover bolts - finger tighten.