110 4 ENGINE SYMPTOMS DIAGNOSTICS
9. Remove the oil pan following the procedure in the
Engine Service Manual.
10. Install radiator pressure tester with the
appropriate adapter.
WARNING: To avoid serious personal
injury, possible death and damage to the
engine:
• Always allow the engine to cool for 15
minutes.
• Wrap a thick cloth around the cap.
• Loosen cap slowly a quarter to half turn.
• Pause for a moment to avoid water or
steam scalding.
• Continue to turn the cap and remove.
• Never add cold coolant to a hot engine.
This can result in a cracked cylinder head
or crankcase.
• Never use water as a coolant substitute.
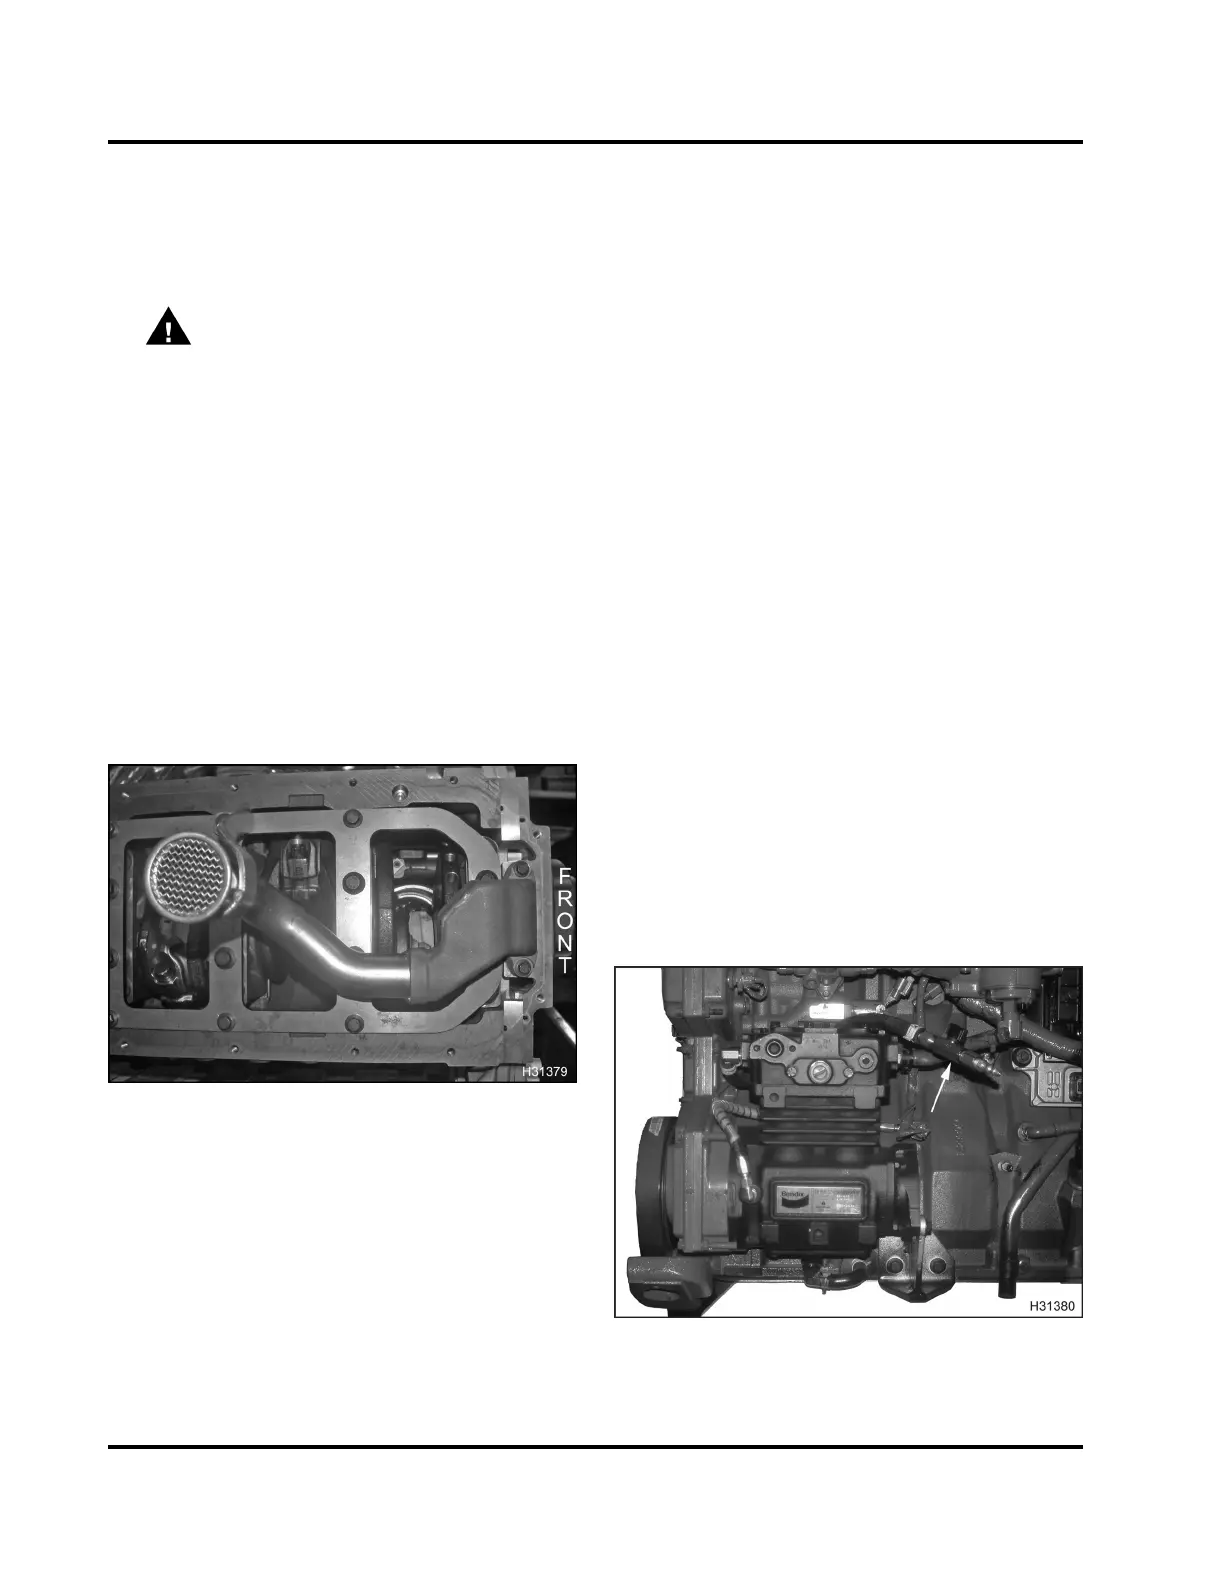
Figure 124 Bottom of engine
11.Pressurizecoolingsystemto96kPa(14psi).
Look for coolant leaks.
• If the engine is equipped with an air
compressor, and is leak ing from the
compressor oil drain-back hose or from the
left side o f the front cover, do “Air Compressor
Leak Test.”
• If the engine does not have an air compressor,
and is leaking from the front cover area or the
oil pick-up tube, do “Front Cover Inspection”
(page 111).
• If a leak is noticed between the cylinder
sleeve and piston, replace the injector sleeve
for that cylinder. Follow the procedure in the
Engine Service Manual.
• If a leak is noticed between the cylinder
sleeve and the engine block, replace the
cylinder sleeve crevice seal for that cylinder.
Follow the procedure in the Engine Service
Manual.
• If a leak is noticed from the oil drain-back ports
(camshaft side), do “Cylinder Head Leak Test”
(page 112).
• Ifnoleakisnoticed,leavepressureoncooling
system overnight and check the f ollowing day.
• If no leak is noticed after ov ernight pressure
test, do the following sequential tests until
problem is found:
A. “Front Cover Inspection” (page 111)
B. “Cylinder Head Leak Test” (page 112)
12. After an y repairs are com plete, test the c ooling
system again to va lid ate the repair.
Air Compressor Leak Test
Figure 125 Air compressor test setup
1. Drain coolant from the system.
EGES-270-1
Read all safety instructions in the "Safety Information" section of this manual before doing any procedures.
Follow all warnings, cautions, and notes.
© August 2008 Navistar, Inc.
 Loading...


