74 3 DIAGNOSTIC SOFTWARE OPERATION
4. From the KOEO Diagnostics menu, select
Continuous Monitor and select Run to start
the te s t.
WARNING: To avoid serious personal injury,
possible death, or damage to the engine or
vehicle, be careful to avoid rotating parts (belts
and fan) and hot engine surfaces.
5. Wiggle connectors and wires at all suspected
problem loc ation s. If circuit continuity is
interrupted, the EST will d isp la y DTCs related to
the condition.
6. Correct problem causing active DTCs.
7. Clear DTCs.
Figure 64 C lose session
8. When finished with this test, selec t Session from
menu bar, then Close.
Output State Low Test
NOTE: ThistestcanonlybedonewiththeEST;
MasterDiagnostics® software is required.
The Output State Low test allows the technician to
diagnose the operation of the output signals and
actuators.
In the Output State Low test mod e, the ECM pulls
down the output voltage to the low state. This grounds
the low side driver circuits and actuates the output
components controlled by the ECM.
During Output State Low test, the output of the c ircuit
in question can be monitored with a DMM. The DMM
measures a low voltage state as the outputs are
toggled. The actual voltag e will v ary with the circuit
tested.
NOTE:
• A Breakout Box or Breakou t H arne ss and a DMM
are required to monitor the suspected circuit or
actuator.
• DTCs are not set by the ECM during this test.
The following actuators are activated when toggled
low during the test:
• Injection Pressure Reg ulator (IPR) (electrical
circuit only)
• Engine Fan (EFAN) relay (optio nal) (electrical
circuit and inspect if clutch is engaged)
• Radiator Shutter Enable (RSE) (optional)
(electrical circuit, audible, a nd visual in sp ection
of shutter position)
• EGR (audible and visual inspection only)
continuous monitorin g by EGR drive module
• VGT vanes full open (electrical circuit, audible,
and visual inspection of actuator arm)
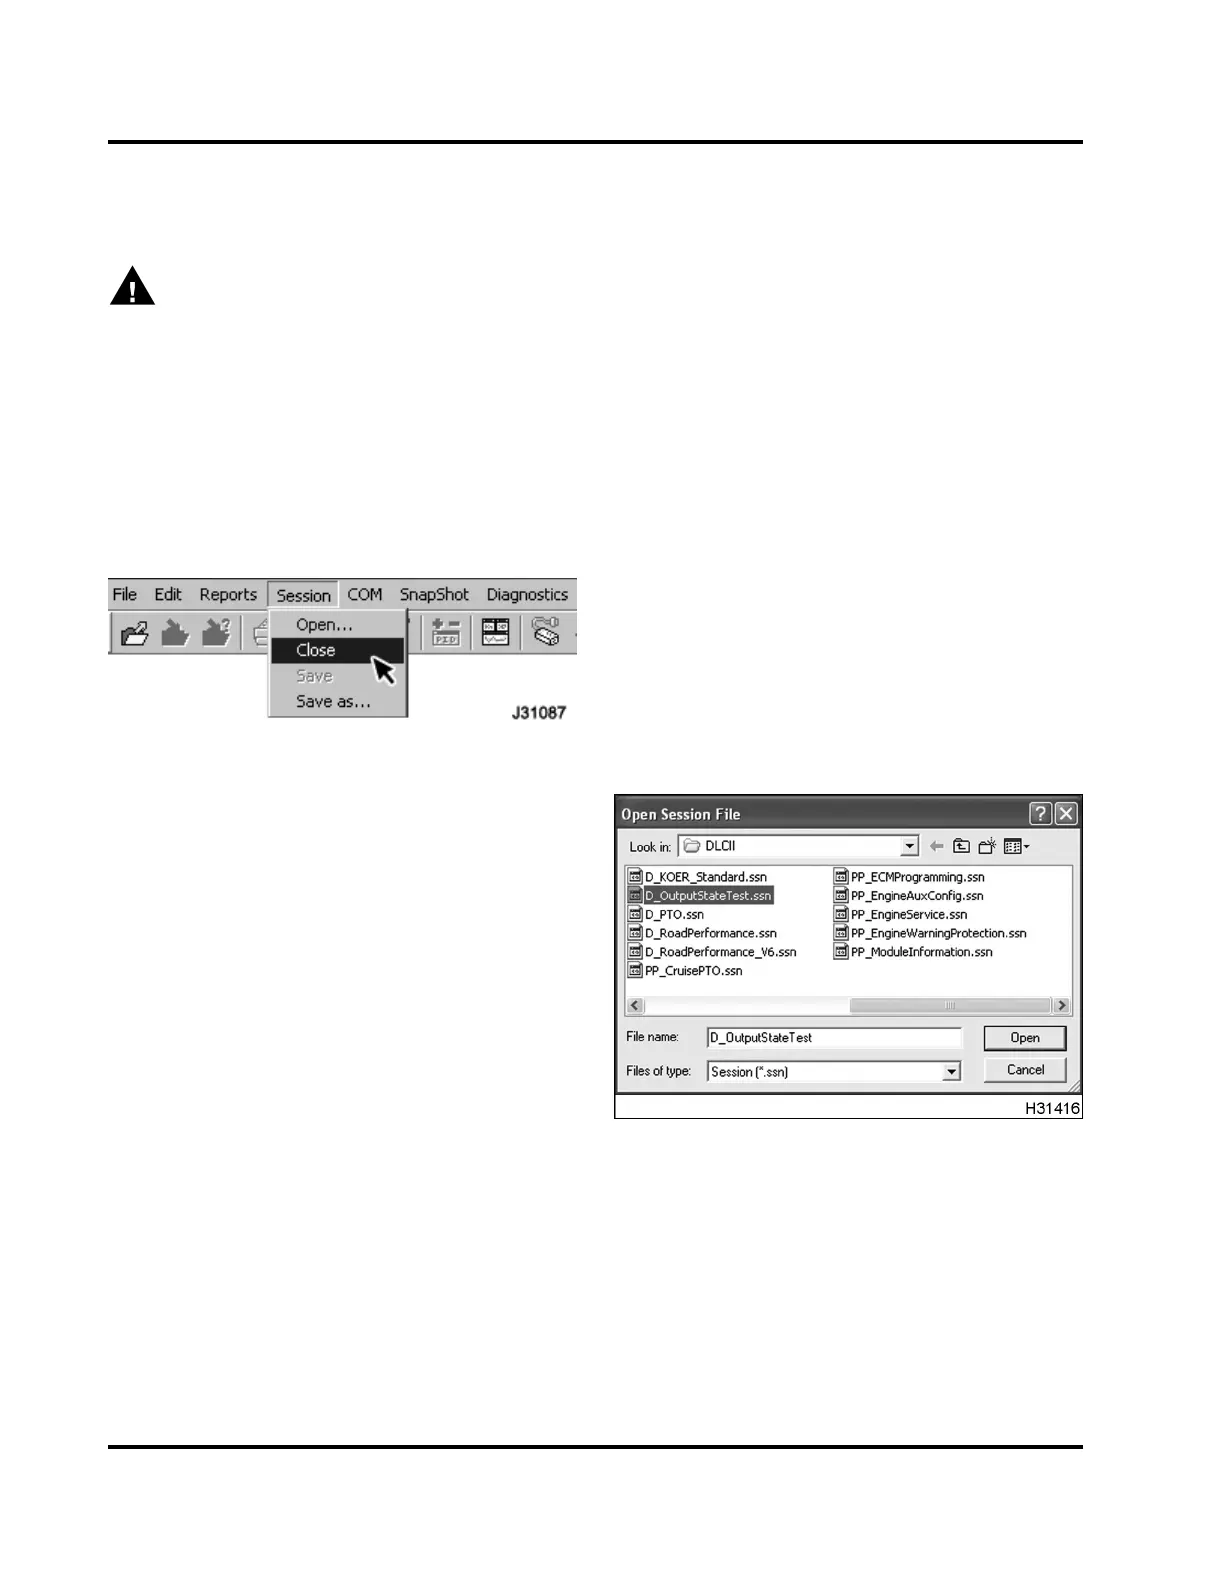
Figure 65 Output State Test Session
1. Select D_OutputStateTest.ssn from the open
session file window.
EGES-270-1
Read all safety instructions in the "Safety Information" section of this manual before doing any procedures.
Follow all warnings, cautions, and notes.
© August 2008 Navistar, Inc.
 Loading...


