Running a Project with CX-Simulator SECTION 6 Projects
102
The CX-Supervisor runtime environment starts, and automatically runs the
project in a separate dialog box which is given the name of the project. It
allows examination of project alarm details and the run history.
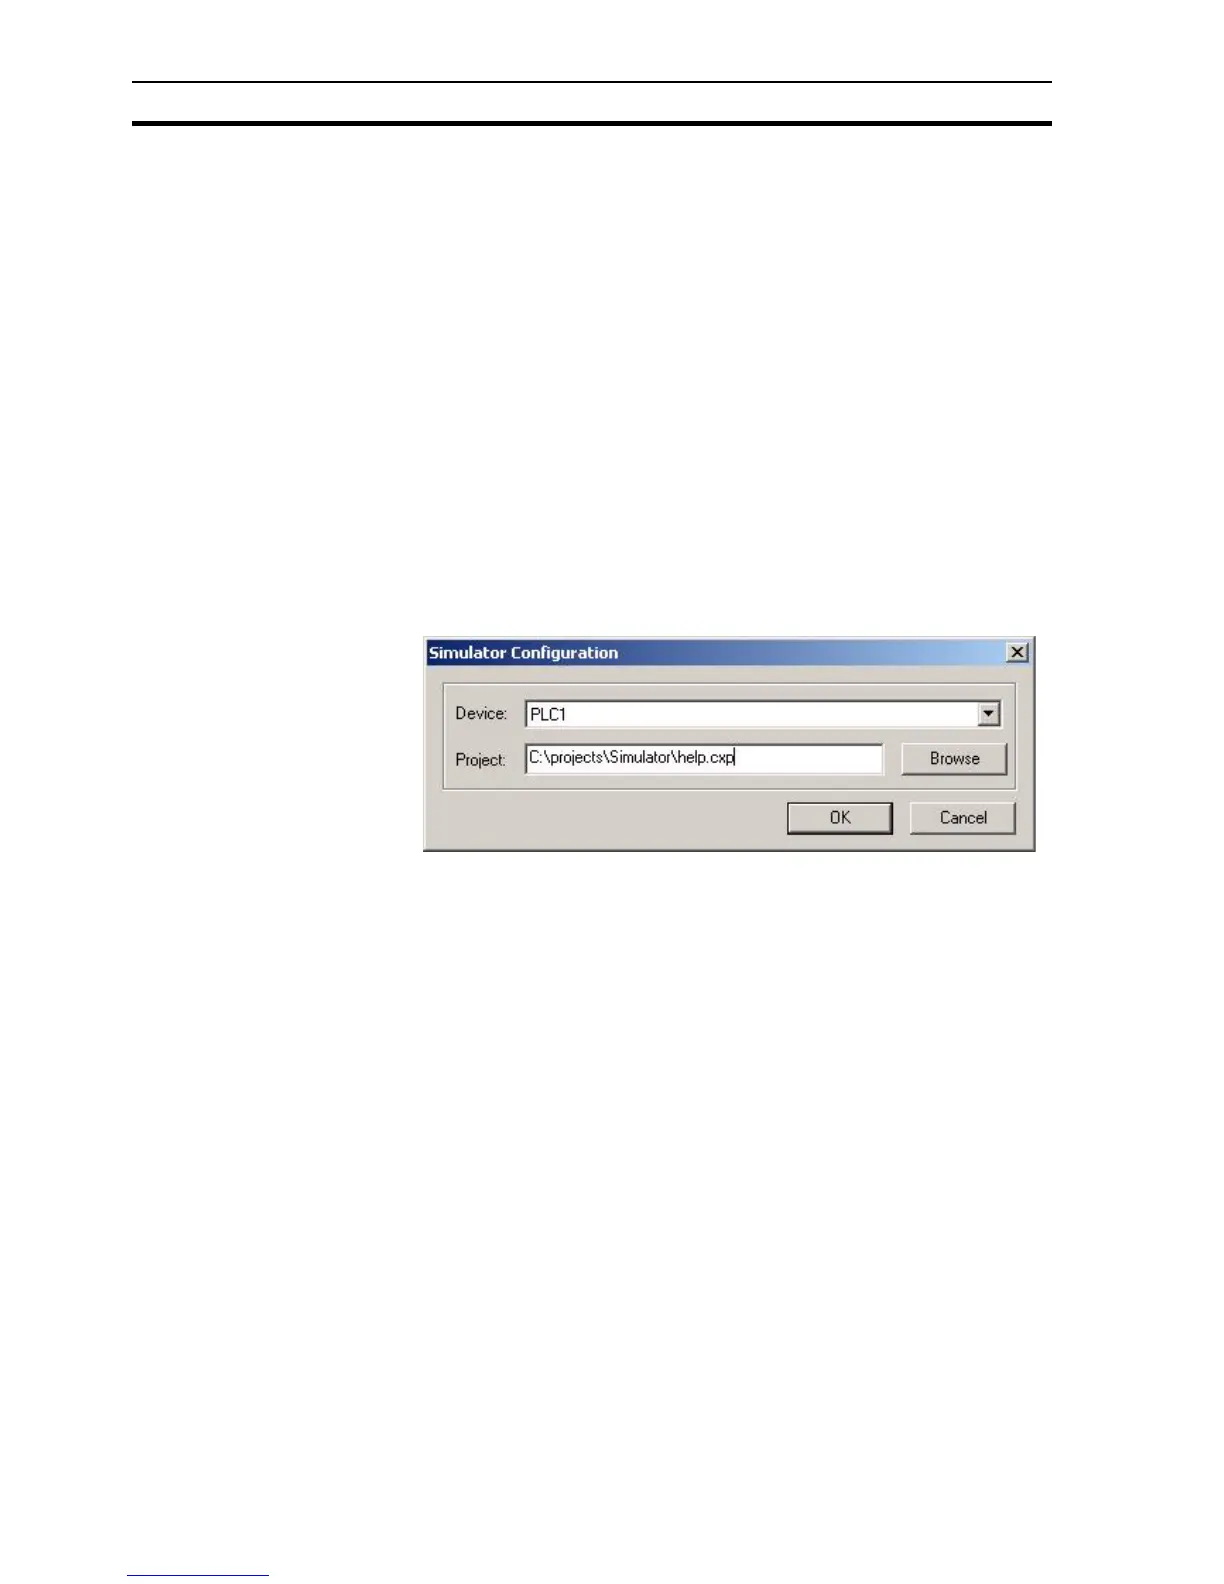
6-13 Running a Project with CX-Simulator
The 'Run with Simulator' option enables you to test CX-Supervisor
applications without the need for the configured devices to be physically
connected.
How to use Integrated
Simulation
1. Click 'Run With Simulator' from the 'Project' menu.
2. Select the device to be simulated
3. Select the CX-Programmer project to be 'run'.
4. Close CX-Programmer to end integrated simulation.
6-13-1 Requirements and Limitations
Both CX-Programmer and CX-Simulator must be installed to enable integrated
simulation in CX-Supervisor. At the time of writing CX-Simulator is limited to
simulating a single CS or CJ series PLC. For CX-Programmer projects with
multiple devices, only the first device will be simulated.
NOTE: The One-Click simulation feature is designed to test the functionality of
your PLC program and CX-Supervisor application. It is not intended to
simulate communications or hardware performance and is likely to perform
slower than the actual hardware.
6-14 Save Runtime As
When the project has been compiled and run, the compiled version of the
project may be saved into another directory location or onto another disc for
issue to the target equipment. CX-Supervisor asks for a location and name for
the runtime project. This is a standard Windows dialog box and operation
depends on your operating system. Please consult your Microsoft
documentation for full details. The default file type is *.SR2.