Runtime Actions SECTION 9 Animation
136
expression reaches the Minimum Value. A value within the maximum and
minimum values results in a proportionate movement between the left and
right positions.
To abort the Horizontal Move definition, click the Cancel button. By clicking the
Browse button, a point may be directly specified, as described in chapter 9,
Runtime Actions. When completed, click the OK button. If invalid data has
been inserted into any field, a descriptive error message opens.
9-3-7 Vertical Move
Objects can be animated by moving either up or down. This can be specified
via the Move (Vertical) dialog box.
To access the Move (Vertical) dialog box to add an action, select Move
(Vertical) from the animation list and click the Add Action button. To access the
Move (Vertical) dialog box to modify an action, select Move (Vertical) from the
animation list and click the Modify Action button. Refer to chapter 9, Objects,
for a list of the objects to which this action is applicable.
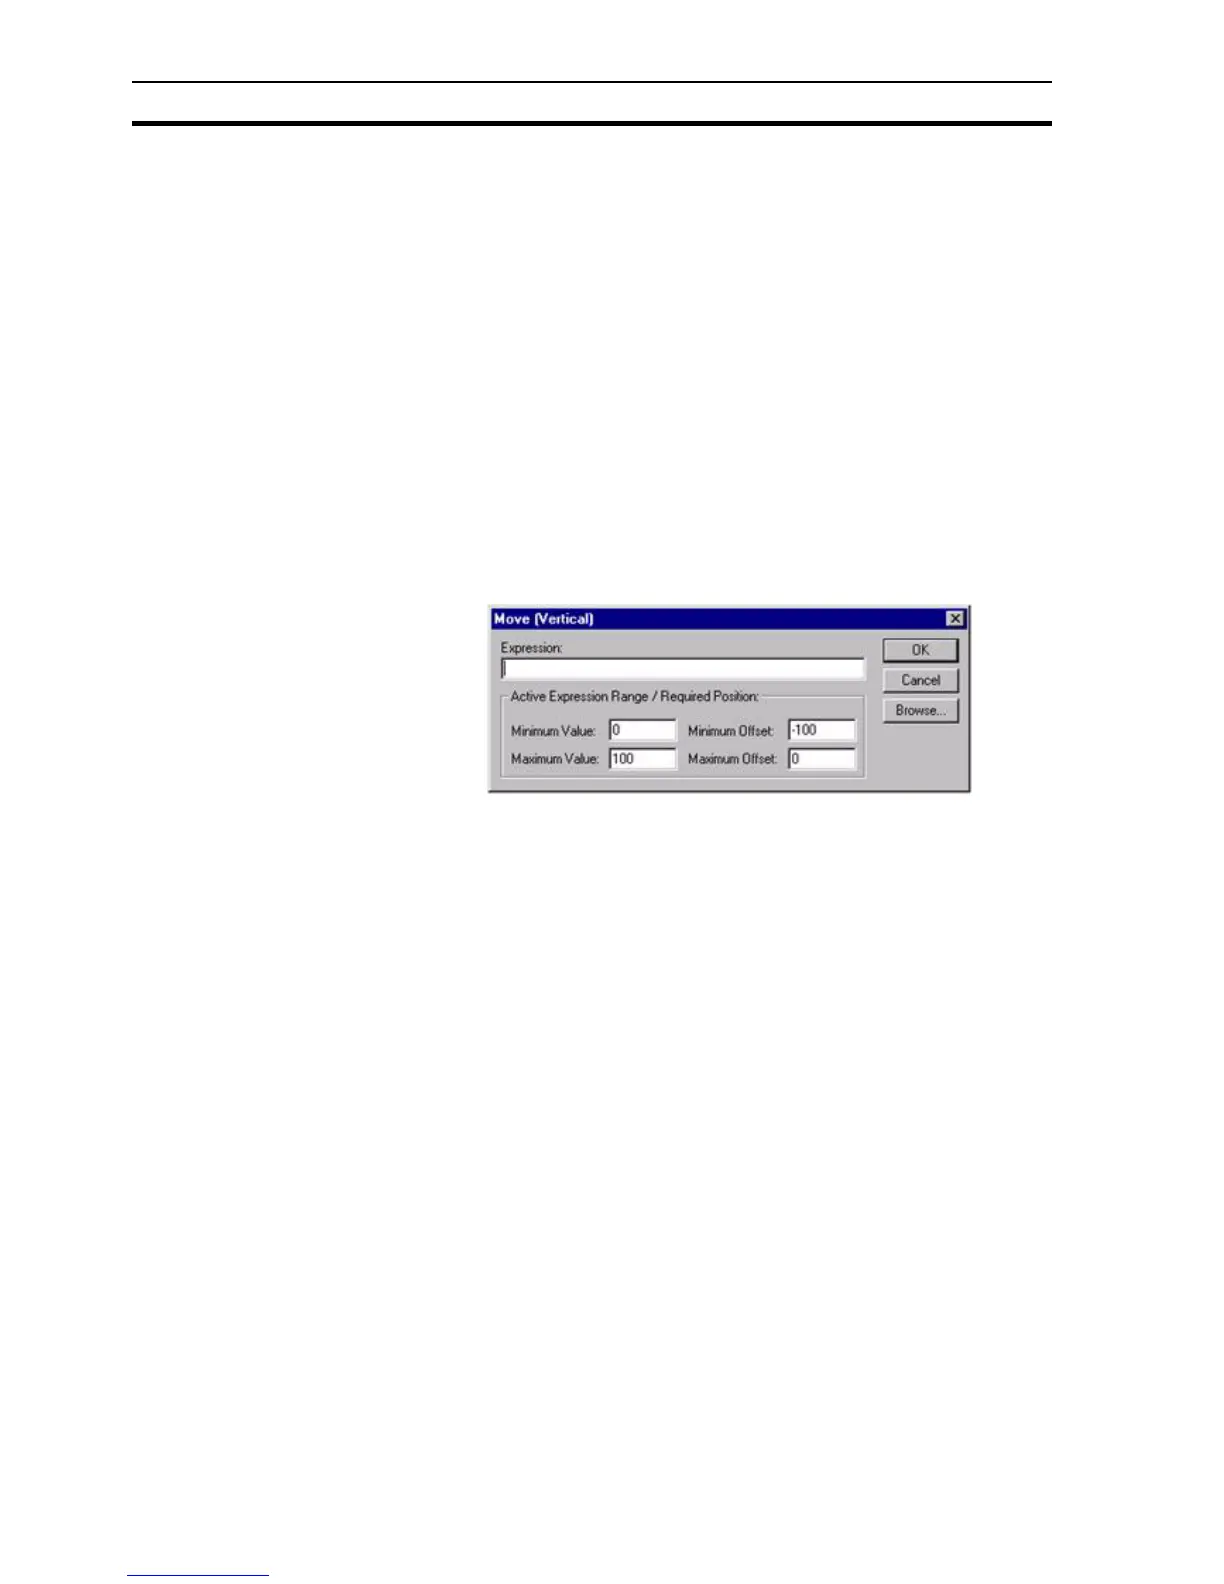
On selection of the Move (Vertical) action, the Move (Vertical) dialog box
opens:
To define the animation, an expression based on the status of a point must be
entered in the Expression: field. The boundaries in which the object moves are
inserted into the Active Expression Range/Required Position: fields. The
Maximum Offset specifies the number of pixels upwards (from its initial
position) that the object moves, when the result of the expression reaches the
Maximum Value. The Minimum Offset specifies the number of pixels
downwards (from its initial position) that the object moves, when the result of
the expression reaches the Minimum Value. A value within the maximum and
minimum values results in a proportionate movement between the top and
bottom positions.
To abort the Vertical Move definition, click the Cancel button. By clicking the
Browse button, a point may be directly specified, as described in chapter 9,
Runtime Actions. When completed, click the OK button. If invalid data has
been inserted into any field, a descriptive error message opens.
9-3-8 Resize Width
Objects can be animated by shrinking or expanding horizontally. This can be
specified via the Resize (Width) dialog box.
To access the Resize (Width) dialog box to add an action, select Resize
(Width) from the animation list and click the Add Action button. To access the
Resize (Width) dialog box to modify an action, select Resize (Width) from the
animation list and click the Modify Action button. Refer to chapter 9, Object, for
a list of the objects to which this action is applicable.
On selection of the Resize (Width) action, the Resize (Width) dialog box
opens: