Manipulating Objects SECTION 4 Objects
71
There are a number of different grid sizes available: 4, 8, 16, 32 and 64 pixels.
The Snap To Grid function snaps to the nearest grid.
To align page objects and view a grid, select Grid from the View menu.
Select the required grid size or click on Snap to Grid to align the most recently
entered objects on the chosen grid. The grid can be turned off by selecting Off.
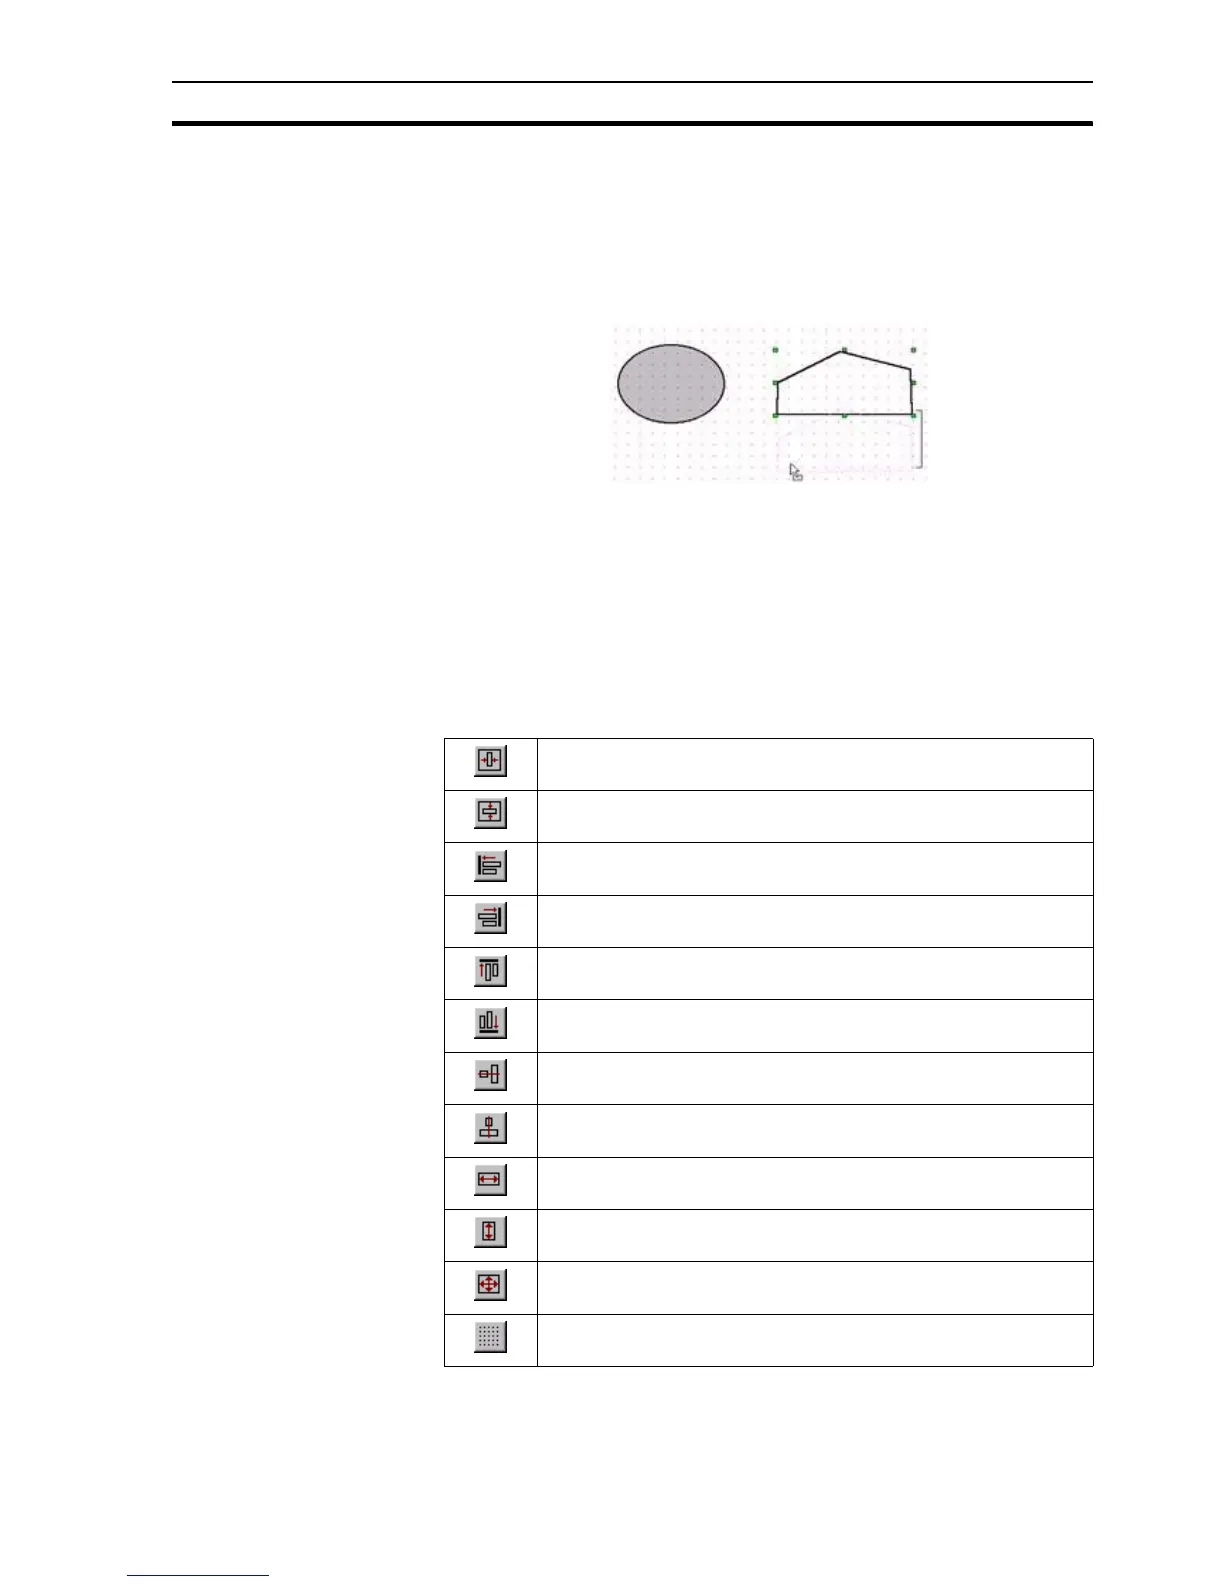
An example of the use of the grid is shown below:
In this example, the selected polyline is in the process of being moved down.
The presence of the grid governs the movement of the object in all directions.
As the object is moved, its position "snaps" an equal distance from the original
position of the object against the grid. Currently, the object has been moved
five grid steps down (shown by the bracket).
4-5-13-1 Alignment Toolbox
Objects on a page can be aligned in a variety of ways using the Alignment
toolbar.
It is possible to:
Centre objects on a page horizontally.
Centre objects on a page vertically.
Align objects along their left edge.
Align objects along their right edge.
Align objects along their top edge.
Align objects along their bottom edge.
Align objects on their horizontal centres.
Align objects on their vertical centres.
Make objects the same width
Make objects the same height.
Make objects the same width and height.
Align objects to the grid.