Device Configuration SECTION 6 Projects
82
On completion, click the OK button to continue, or the Cancel button to abort
the operation. Values specified may be set as default by clicking the Make
Default button.
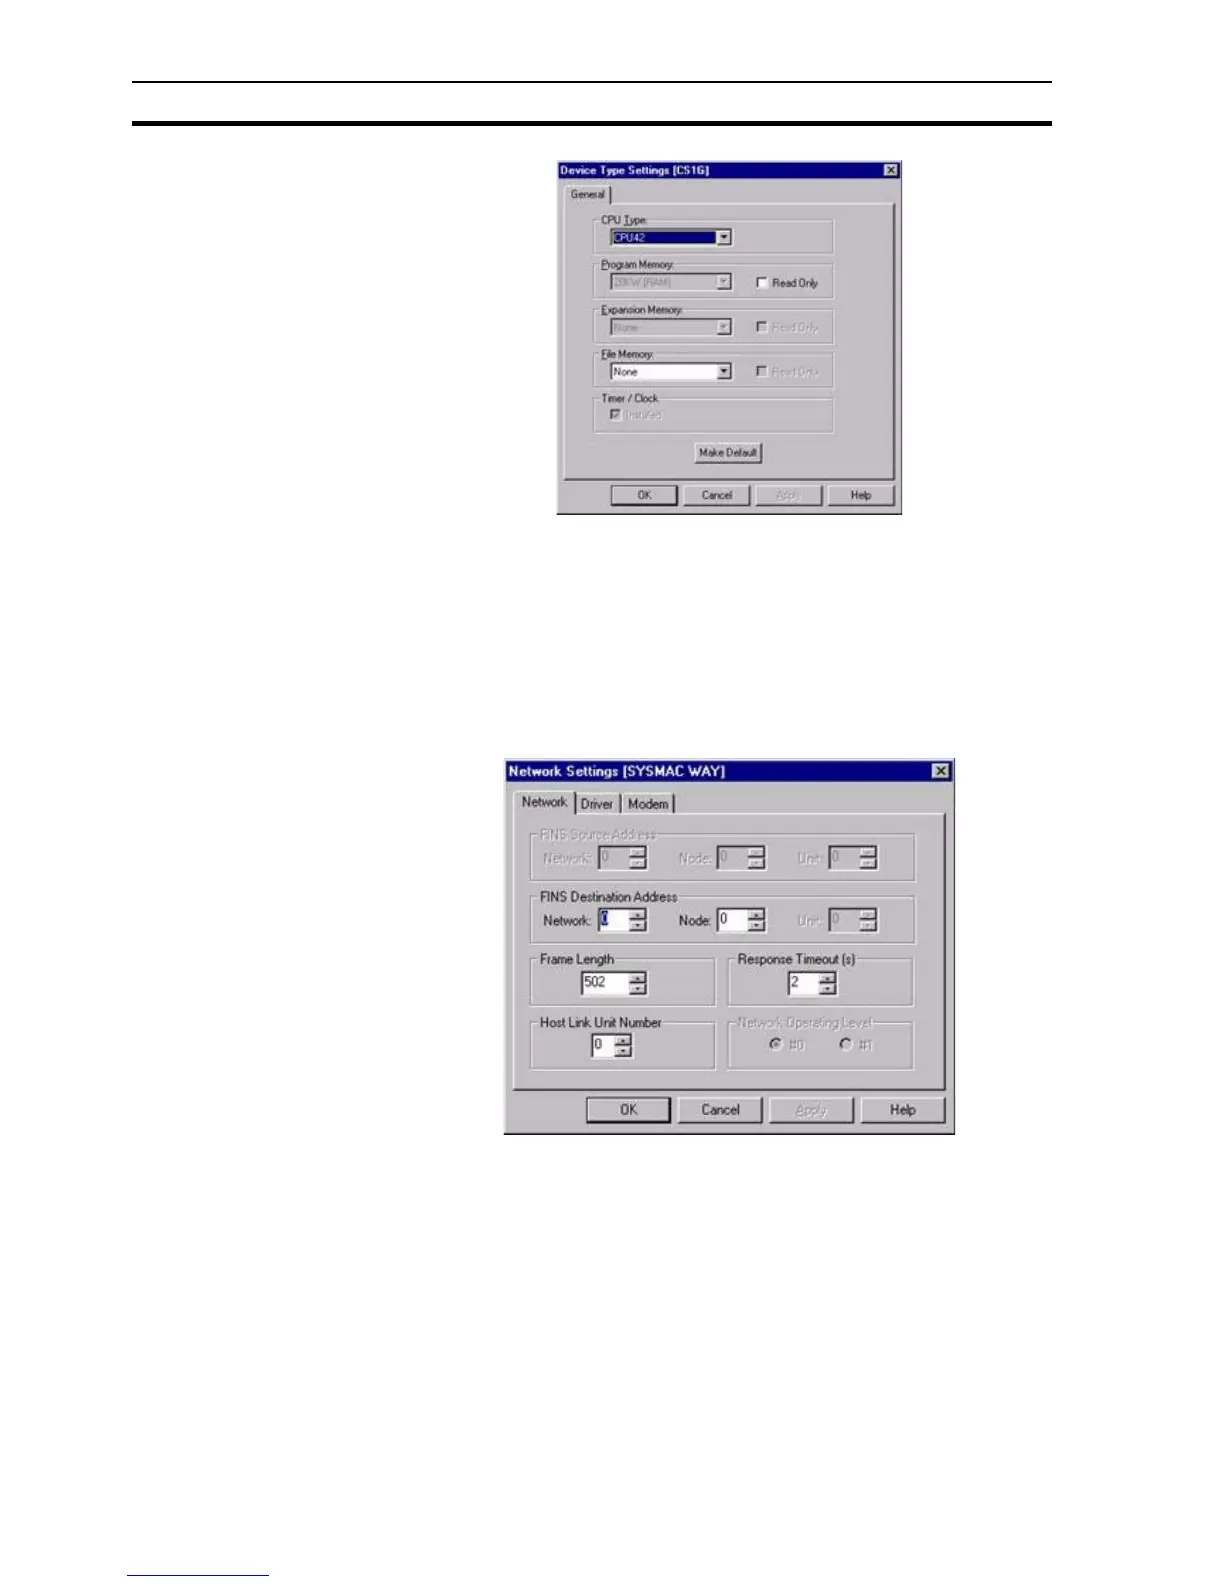
A network may be specified for the selected PLC, by selecting from the
Network: field. The networks available are dependent on the device type
selected.
To open the Network Settings dialog box, click the Setup button:
The Unit Number is the identifier for the network being configured.
The Destination Network Address and Destination Node Number identify
the connection point to the network.
A PLC can be selected to act as a gateway to the PLC being edited; this list is
restricted to the PLCs contained in the current project.
Selecting the Driver tab results in the Driver Configuration view being
displayed; this part of the Network Settings dialog box helps to ensure that
data is transmitted correctly over the network.
Note: The possible settings for PLC configuration depend upon the type of PLC
selected (this applies also to the Read Only and Timer/Clock fields).