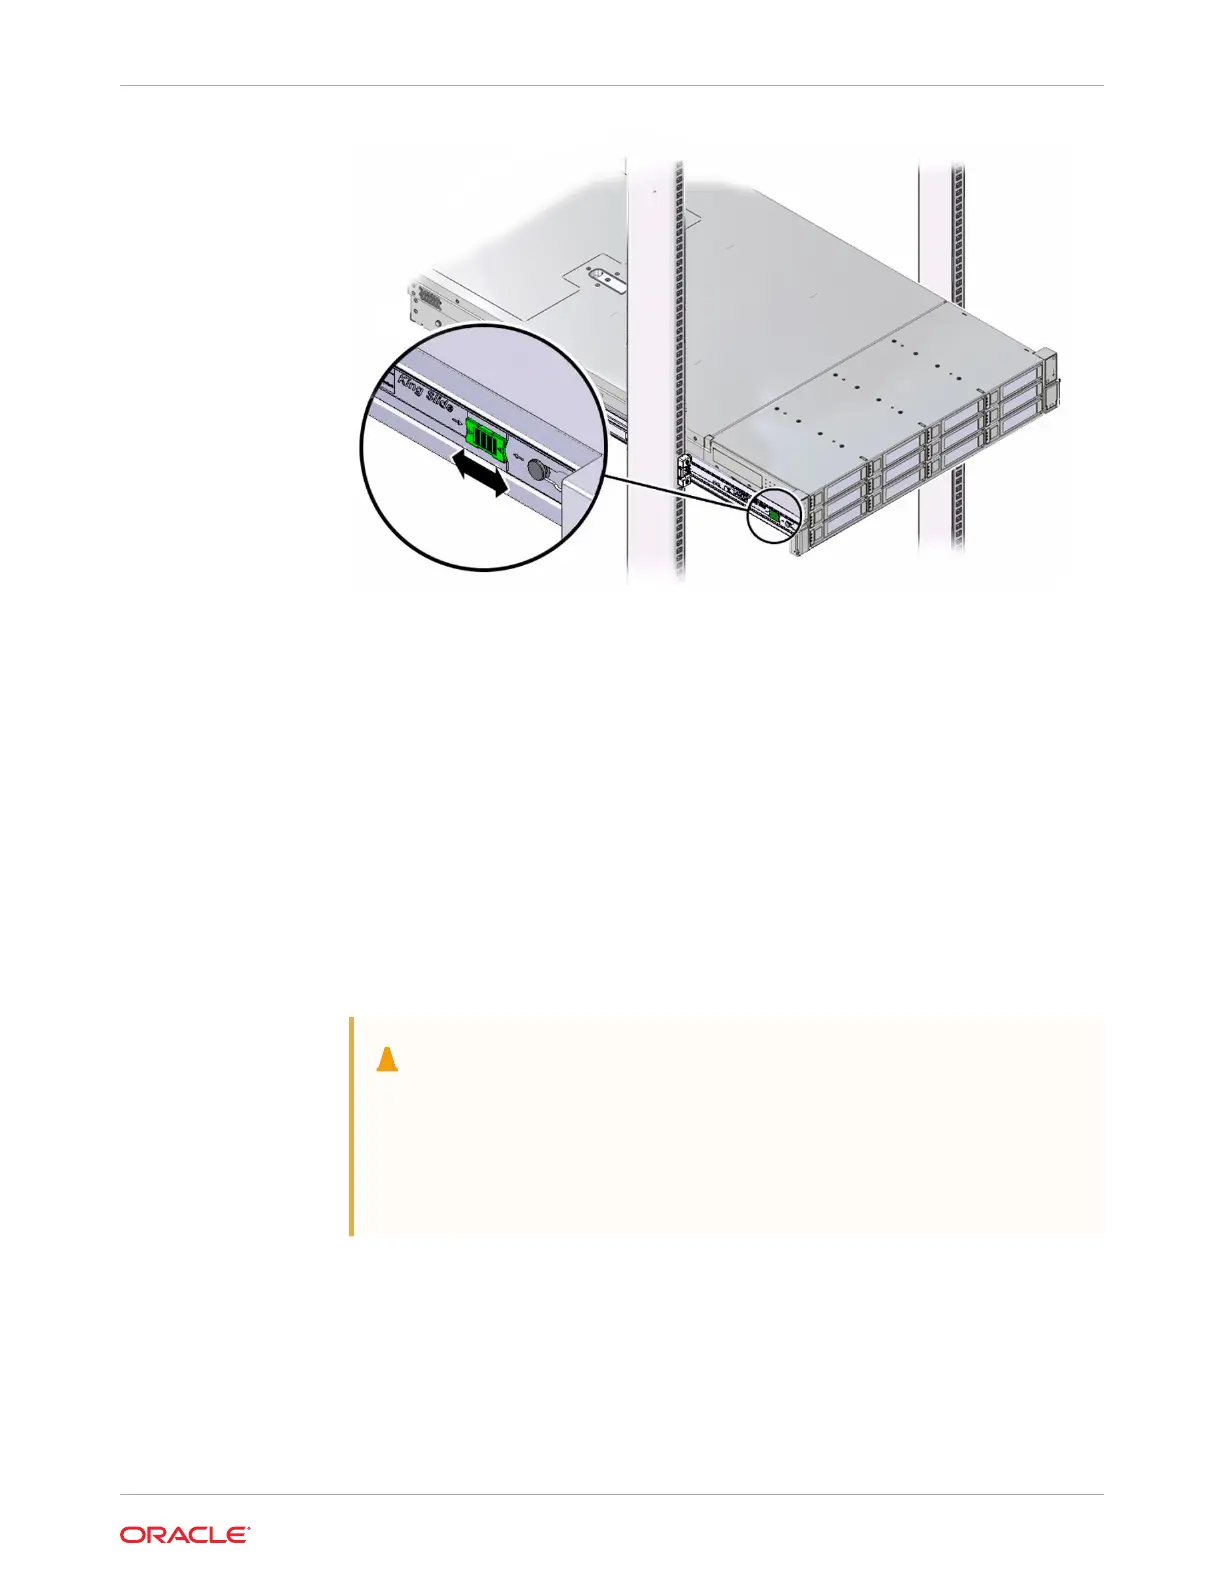
c. Continue pushing the server into the rack until the slide-rail locks (on the front of the
server) engage the slide-rail assemblies.
You hear a click when the server is in the normal rack position.
11. Connect cables to the server, as required.
See Reconnect Power and Data Cables.
12. Open the CMA cable covers, route the server cables through the CMA cable troughs (in
the order specified in the following steps), close the cable covers, and secure the cables
with the six Velcro straps.
a. First through the front-most cable trough.
b. Then through the small cable trough.
c. Then through the back-most cable trough.
Caution:
When securing the cables with the Velcro straps located on the front slide
bar, ensure that the Velcro straps do not wrap around the bottom of the
slide bar. Otherwise, expansion and contraction of the slide bar might be
hindered when the server is extended from the rack and returned to the
rack.
Appendix C
Rackmounting the Server
C-23