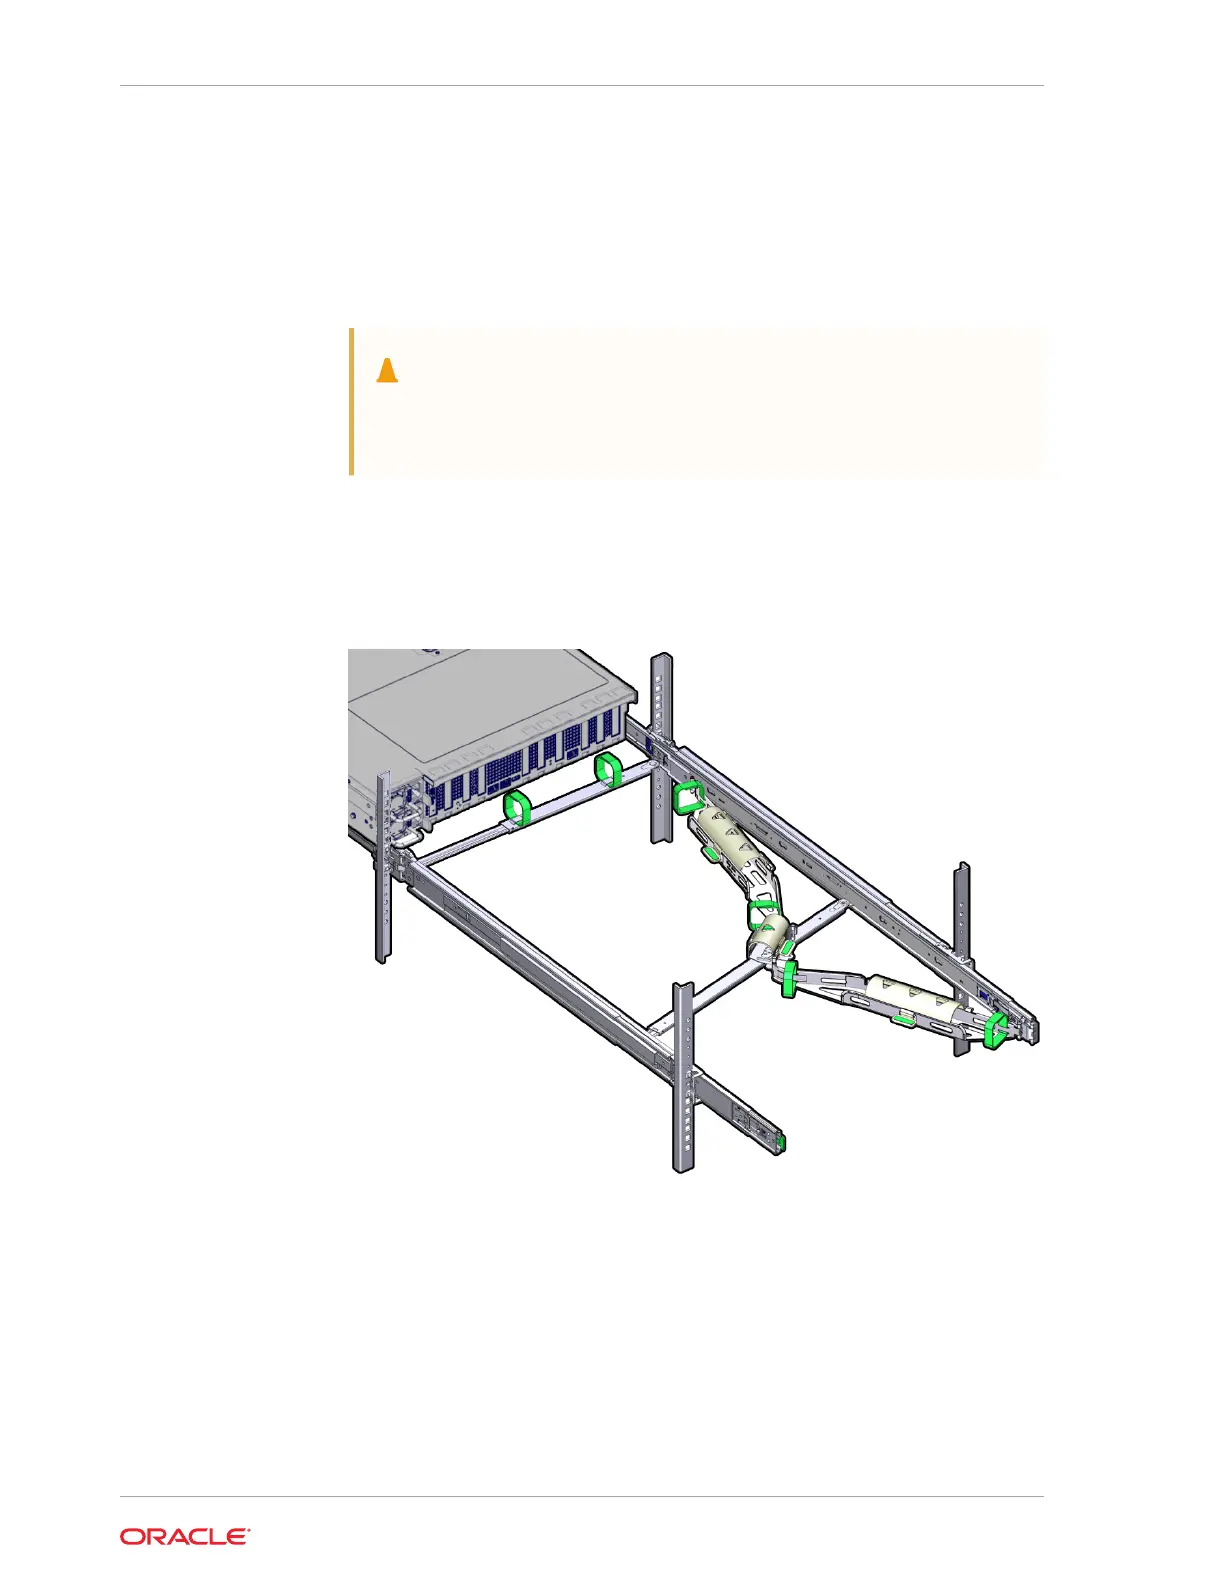
8. Gently tug on the four CMA connection points to ensure that the CMA connectors
are fully seated before you allow the CMA to hang by its own weight.
9. To verify that the slide-rails and the CMA are operating properly before routing
cables through the CMA:
a. Ensure that the rack anti-tilt bar is extended to prevent the rack from tipping
forward when the server is extended.
Caution:
To reduce the risk of personal injury, stabilize the rack cabinet and
extend the anti-tilt bar before extending the server from the rack.
For instructions to stabilize the rack, see Stabilize the Rack.
b. Slowly pull the server out of the rack until the slide-rails reach their stops.
c. Inspect the attached cables for any binding or kinks.
d. Verify that the CMA extends fully with the slide-rails.
10. To return the server to the rack:
a. Simultaneously pull and hold the two green release tabs (one on each side of
the server) toward the front of the server while you push the server into the
rack. As you push the server into the rack, verify that the CMA retracts without
binding.
b. To pull the green release tabs, place your finger in the center of each tab, not
on the end, and apply pressure as you pull the tab toward the front of the
server.
Appendix C
Rackmounting the Server
C-22