RFC 4072S
80 / 272
PHOENIX CONTACT 108580_en_02
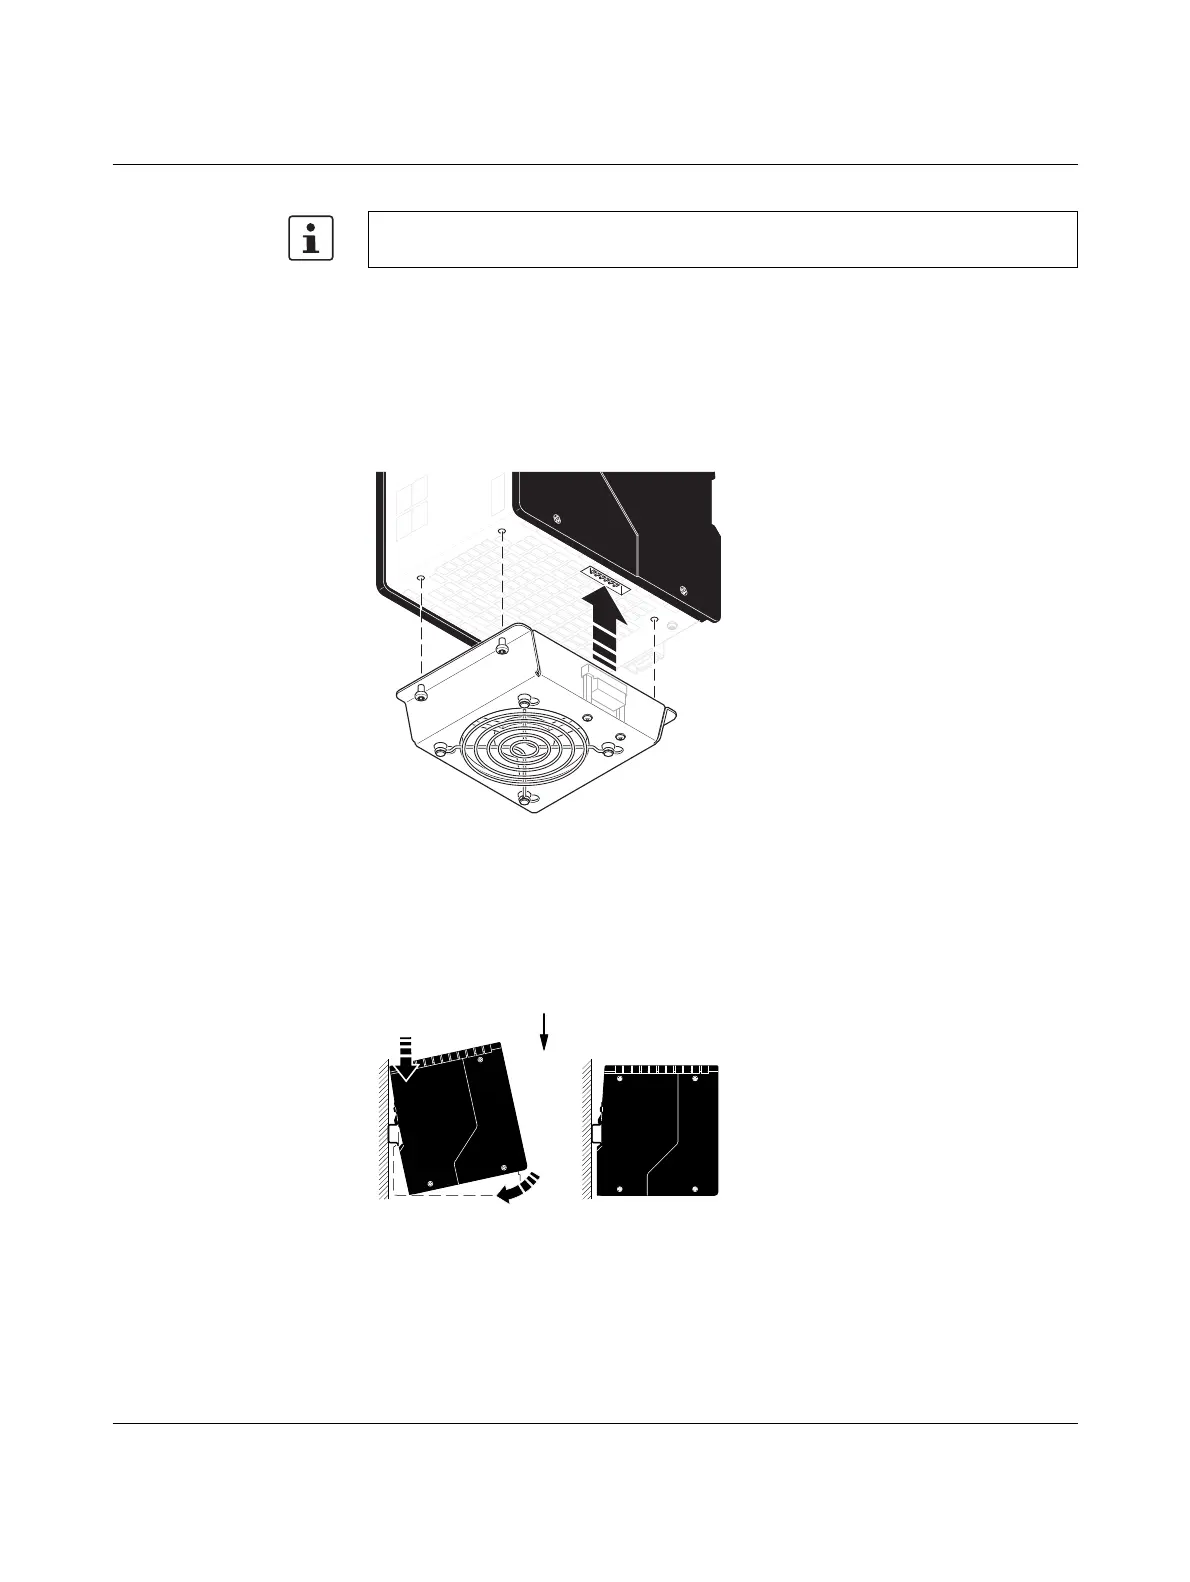
7. Mount the fan module to the bottom of the RFC using the four screws, as shown in
Figure 3-11.
a) Position the fan module on the bottom of the RFC according to Figure 3-11. Make
sure that the COMBICON connector is fitted properly.
b) Tighten all four M4 screws equally using a recommended tightening torque of
2.2 Nm (3 Nm, maximum) so that they cannot loosen accidentally (e.g., due to
vibration).
Figure 3-11 Mounting the RFC FAN MODULE fan module
8. Mount the replacement device according to Section “Mounting the RFC 4072S” on
page 72. Make sure that the device is secured on the DIN rail.
9. Snap the RFC onto the DIN rail and check that it is securely locked in place (see
Figure 3-12).
Figure 3-12 Snapping the RFC onto the DIN rail
If you wish to operate the replacement device with the fan module, proceed as follows:

 Loading...