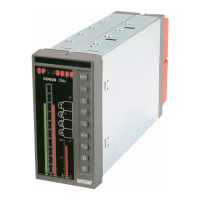
CONF
600 PLUS – User’s Manual
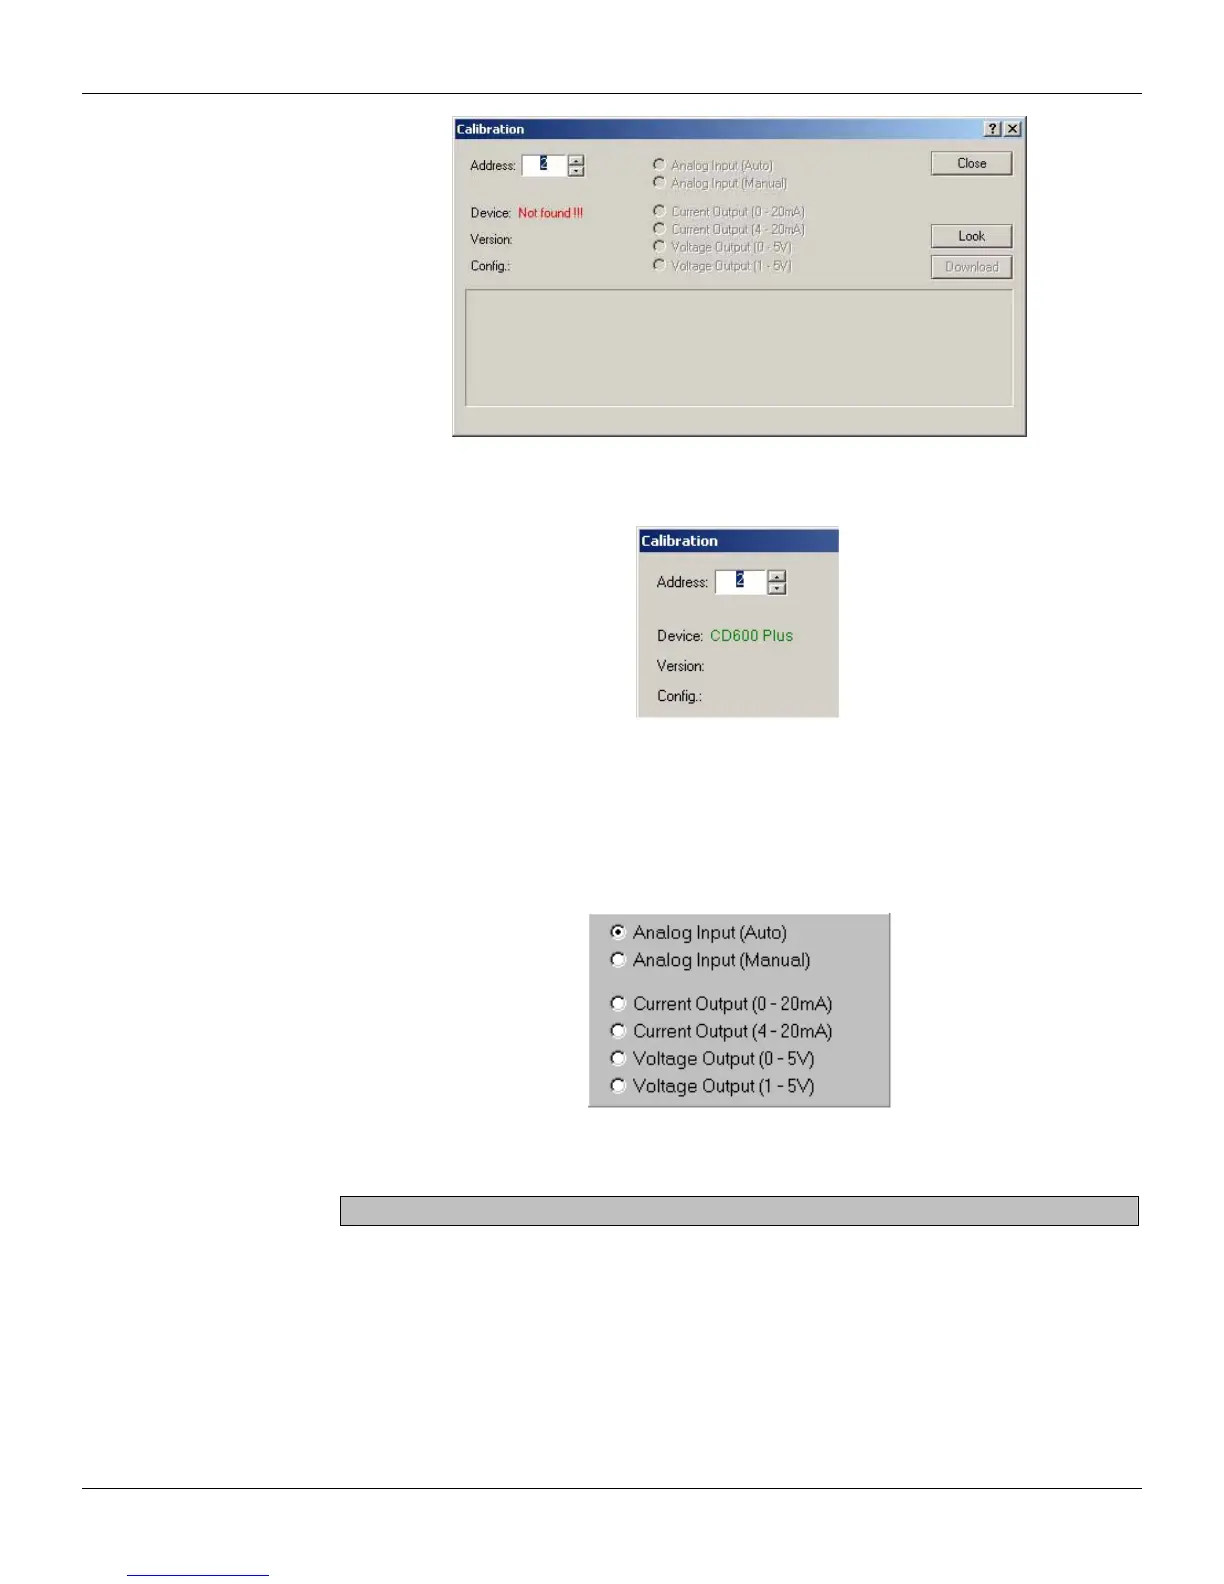
Figure 17.1 - Calibration Dialog Box
The device selected will be displayed:
Figure 17.2 - Selected Device
The controller has two options: Automatic and Manual. The Automatic mode is faster while the
Manual mode allows the user to read the parameters during calibration.
Analog Input Calibration - Automatic Mode
a) Select the option Analog Input (Auto) in the Calibration dialog box.
Figure 17.3 - Analog Input - Automatic Calibration
b) Select the input to be calibrated, from AI1 to AI8. The cell’s background color will change to red.
The user can select all the inputs to be calibrated together.
c) Apply 0V or 0mA with the voltage/current generator and select the 0V header cell at the table.
d) Apply 1V or 4mA with the voltage/current generator and select the 1V header cell at the table.
e) Apply 3V or 12mA with the voltage/current generator and select the 3V header cell at the table.
f) Apply 5V or 20mA with the voltage/current generator and select the 5V header cell at the table.
Repeat steps c to f for the inputs to be calibrated, if the user hasn’t selected all of the inputs to be
calibrated at the same time.
17.2