Maintenance3403−3/A1
Winterthur Gas & Diesel Ltd.
4/ 4
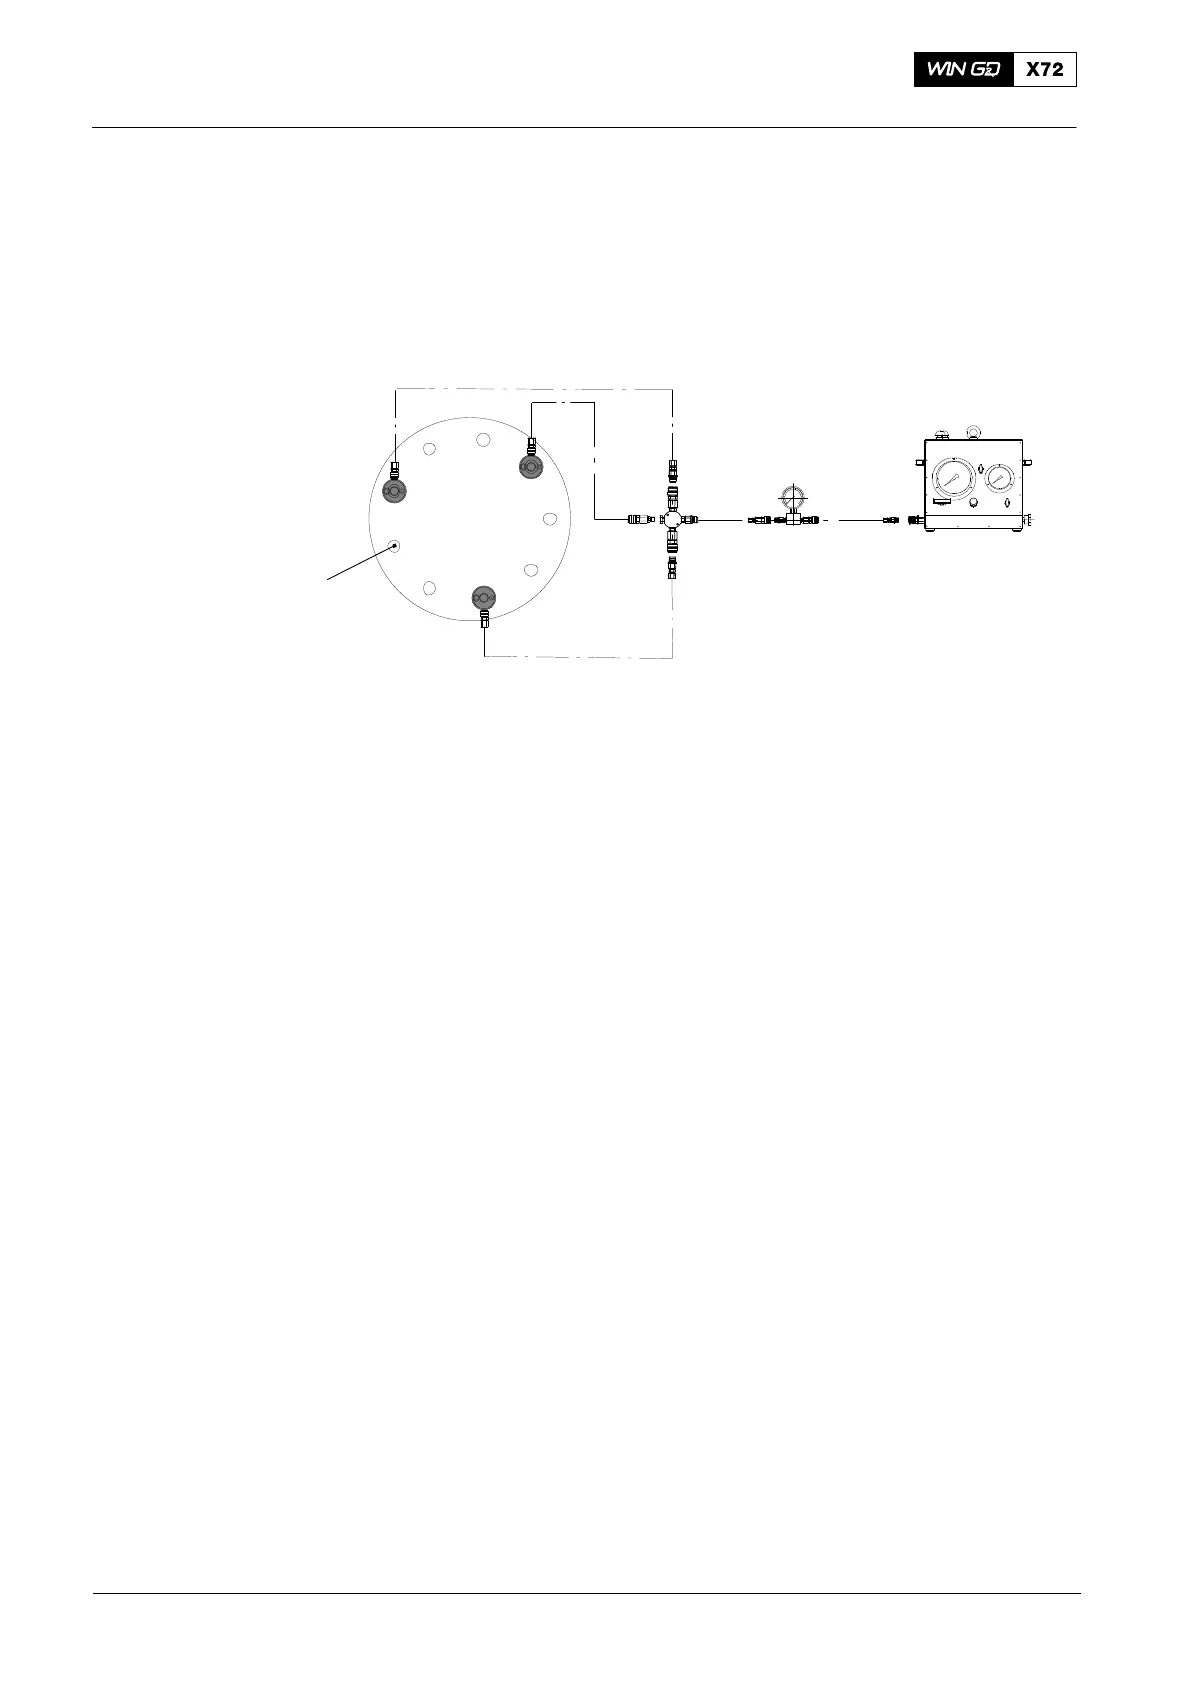
Note: When you do step 14), apply tension to the elastic bolts in the sequence
given in Fig. 6.
14) Apply tension to the nine elastic bolts (1), refer to 9403−4.
15) Tighten the round nuts on the nine elastic bolts.
16) Install the piston, refer to 3403−1 paragraph 3.
a
a
a
b
b
b
c
c
c
Fig. 6: Sequence to Apply Tension to the Elastic Bolts
1
2015
Piston: Disassemble and Assemble

 Loading...