06/2014
4-6
WC 5022/5024
Version 1.0
Repairs and Asdjustments
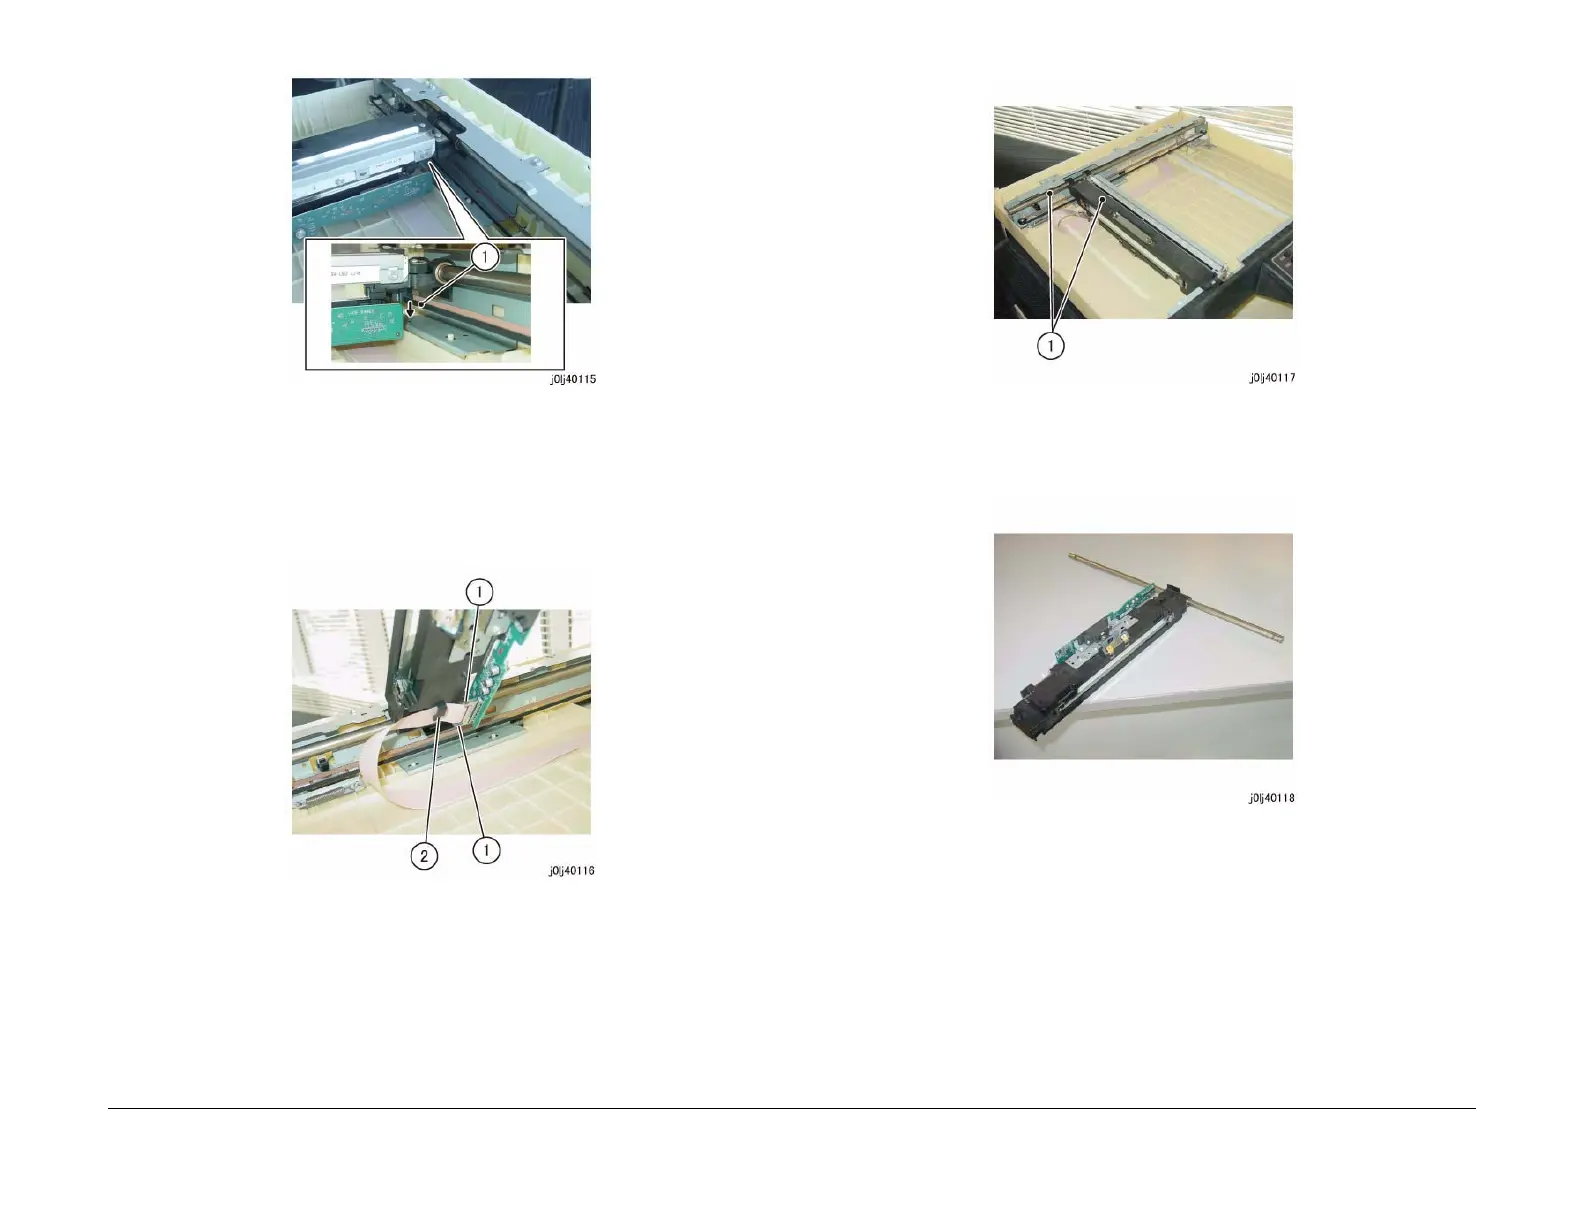
Figure 2 j0lj40115
5. Disconnect the connector at the bottom of the IIT Carriage. (Figure 3)
a. Release the hook (x2) and disconnect the connector.
• Use one hand to hold the CCD PWB firmly in place so that it does not move
(does not warp) and disconnect the connector.
b. Remove the CCD Cable from the clamp.
Figure 3 j0lj40116
6. Remove the IIT Carriage and Shaft. (Figure 4)
a. Remove the IIT Carriage and Shaft.
Figure 4 j0lj40117
7. Place the removed IIT Carriage and Shaft upside down and separate the IIT Carriage
from the Shaft. (Figure 5)
Figure 5 j0lj40118
Replacement
1. To install, carry out the removal steps in reverse order.
2. When connecting the connector to the CCD PWB, use one hand to hold the CCD PWB
firmly in place so that it does not move (does not warp).
3. After a replacement, enter the Diag Mode and use [Initialize HFSI Counter] to clear the
HFSI counter.
"Chain Link : 956-804"
Refer to [6.5.2.7 HFSI Counter Clear / Initialize].

 Loading...


