Installing the AIEB1 I/O Expansion Board
319
Appendix
Appendix
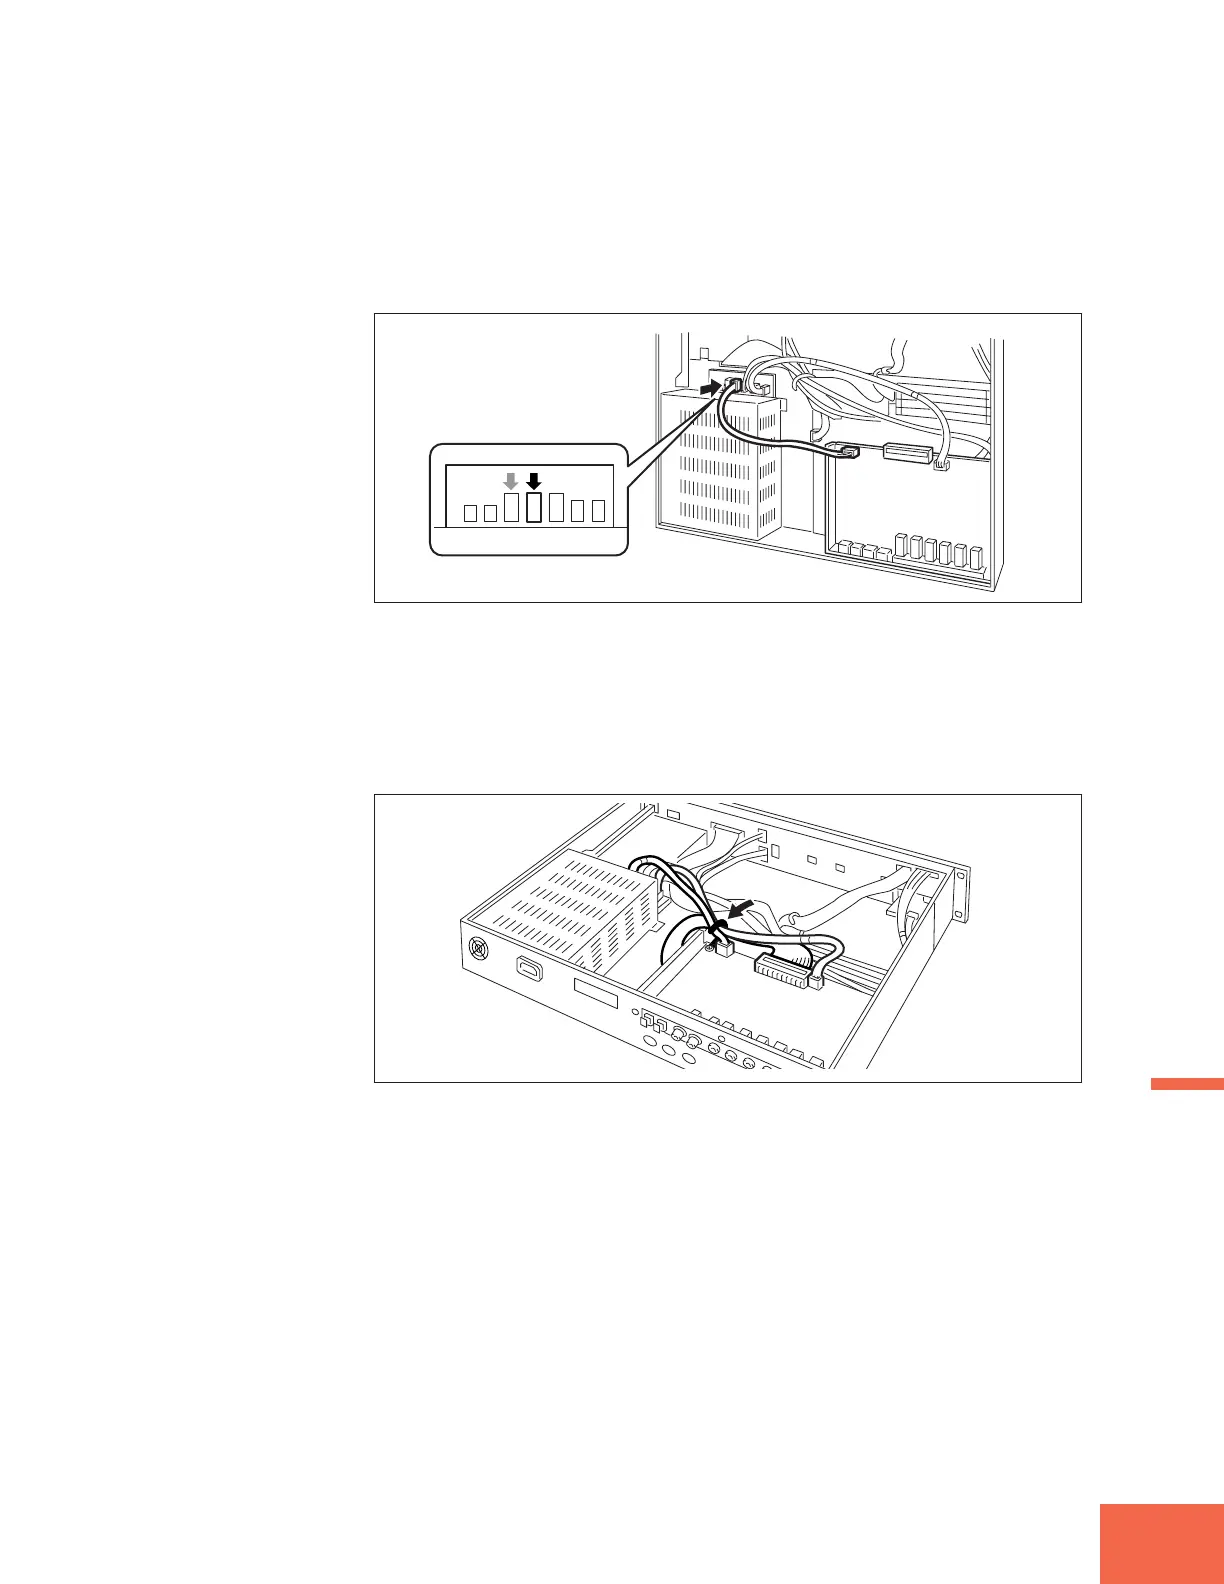
Now connect the remaining cable (the 4-wire cable) into the connector indicated in the
photo. If you do not have a hard disk installed, you can connect to either of the free
connectors.
* If for some reason you later need to remove either of these red/white cable connec-
tions, be sure to press on the connector’s tab when pulling the connector out. Pulling
without pressing may cause the connector to break.
The expansion board is now fully installed. There is no need to remove the expansion
board when installing other devices.
9.
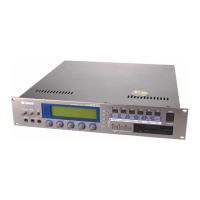
Secure the red/white cables and the wide flat cable to the bundle tie.
Run the flat cable, the 3-wire cable, and the 4-wire cable through the bundle tie (see
drawing). Adjust the tie so that the cables are secure.
10.
Return the top cover to its original position, and fasten into place with the
screws removed at Step 3 above.
• When remounting the cover, be careful to keep clear of internal cabling, and do not
allow cables to be pinched or pulled.
• When refastening the three screws on the top, press inward on the top center part of
the front panel.
11.
Plug in the power cord.