Installing the AIEB1 I/O Expansion Board
318
Appendix
6.
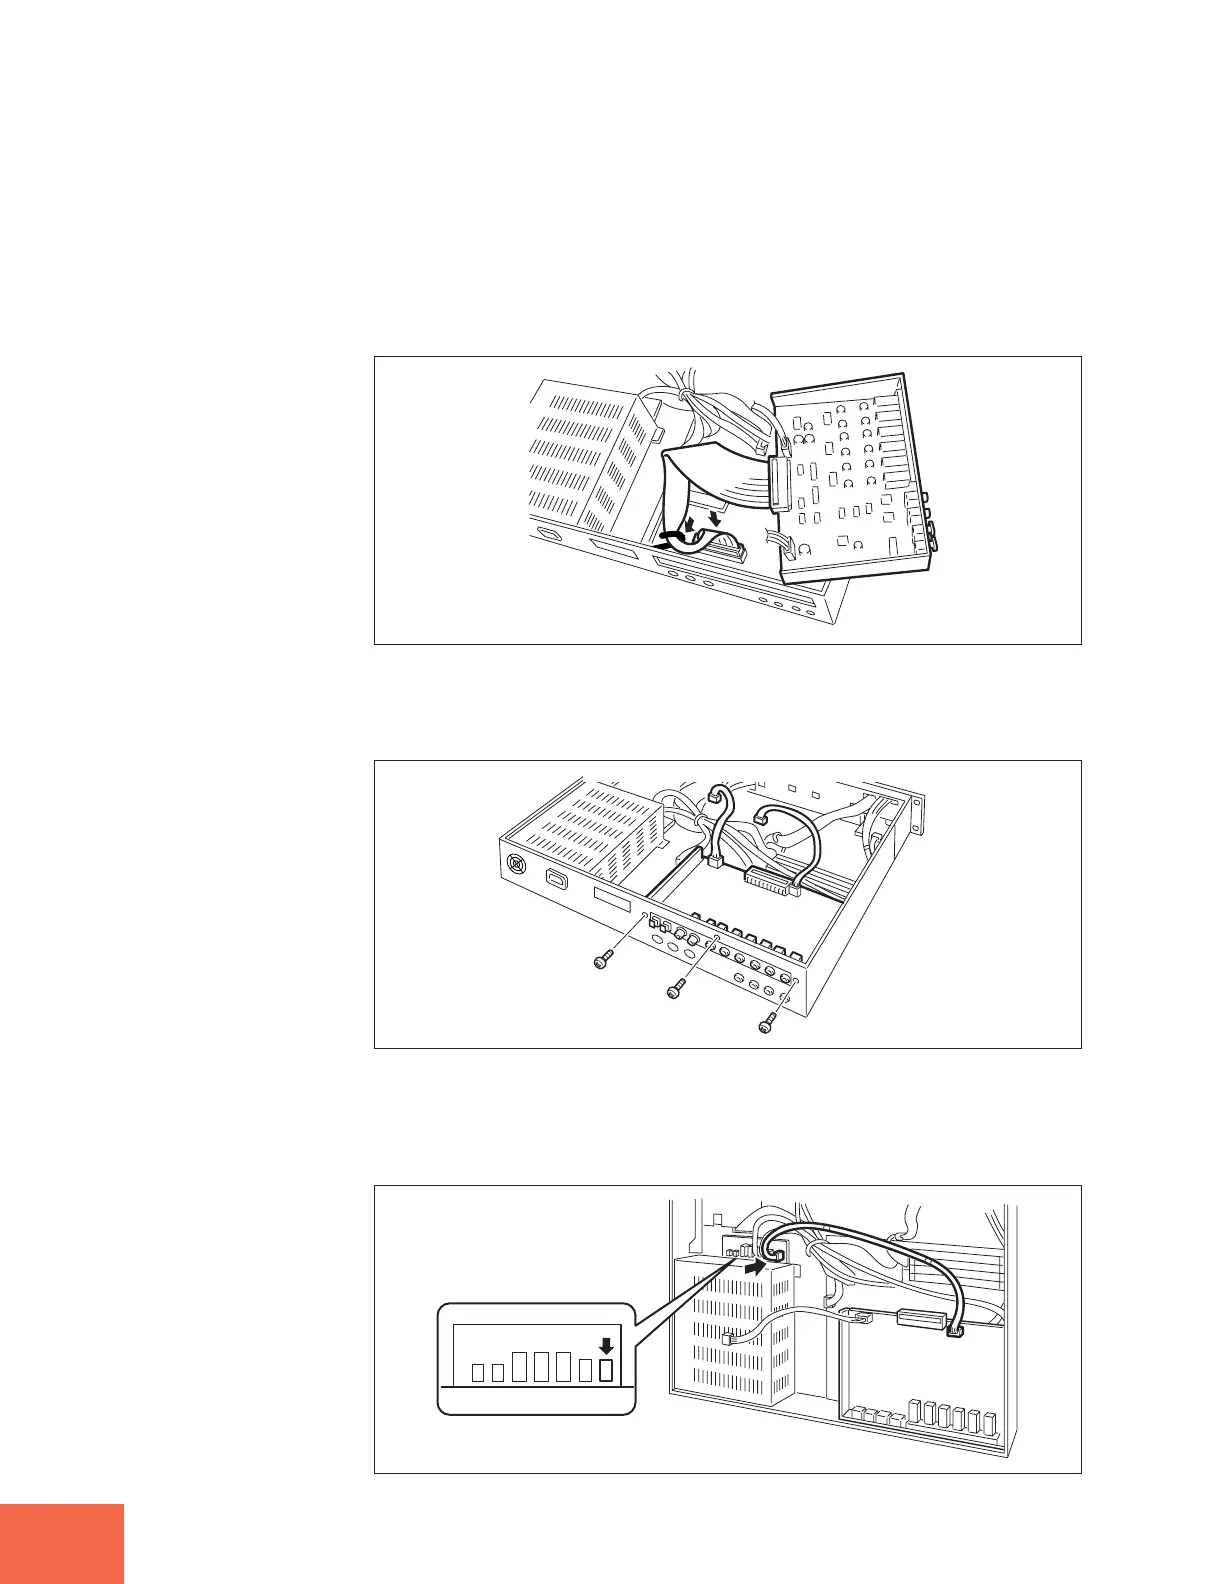
Connect the wide flat cable.
Connect the wide flat cable from the expansion board into the corresponding connector
in the A3000 (the long black connector located just behind the three MIDI terminals).
Note that the connectors are notched to ensure that you connect in the right direction.
Make sure that you run the cable through the hook-shaped bundle tie located within
the A3000 (as shown in the drawing). Adjust the shape of the tie so that the cable is
secure.
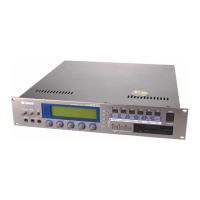
7.
Insert the AIEB1 expansion board.
Support the board as shown in the drawing, and fasten it in to the rear panel by screw-
ing in the three screws that you removed at Step 5 above.
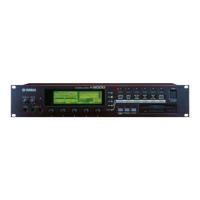
8.
Connect the two red/white cables.
First connect the 3-wire cable into the connector indicated in the drawing. (Note that
these connectors can attach in one direction only. Make sure that the direction is cor-
rect and do not try to force the connection.)