5 - 27
HEAD DISTRIBUTION
VALVE SEAT CHECK
The following process is applied to all valves and valve seats
Fig. H
Eliminate:
• carbon deposits
(from the contact surfaces and valve seat (A)
Check:
• the valve seat (A)
If there are marks/signs of wear, replace the head.
Measure:
• the width of the valve seat (A)
If outside specifi cations, replace the head.
Valve Width of the valve seat (A)
Intake 1~ 1.1 mm
Exhaust 0.9 ~ 1.1 mm
1. Apply some blue colorant (Dykem) for mechanics to the
contact surface of the valve (B).
2. Install the valve in the head.
3. Push the valve into the guide and against its seat to leave a
well-defi ned mark.
4. Measure the valve seat width
NOTE:_________________________________
Where the valve seat and valve face are in contact with one
another
, the Prussian blue liquid will have been removed.
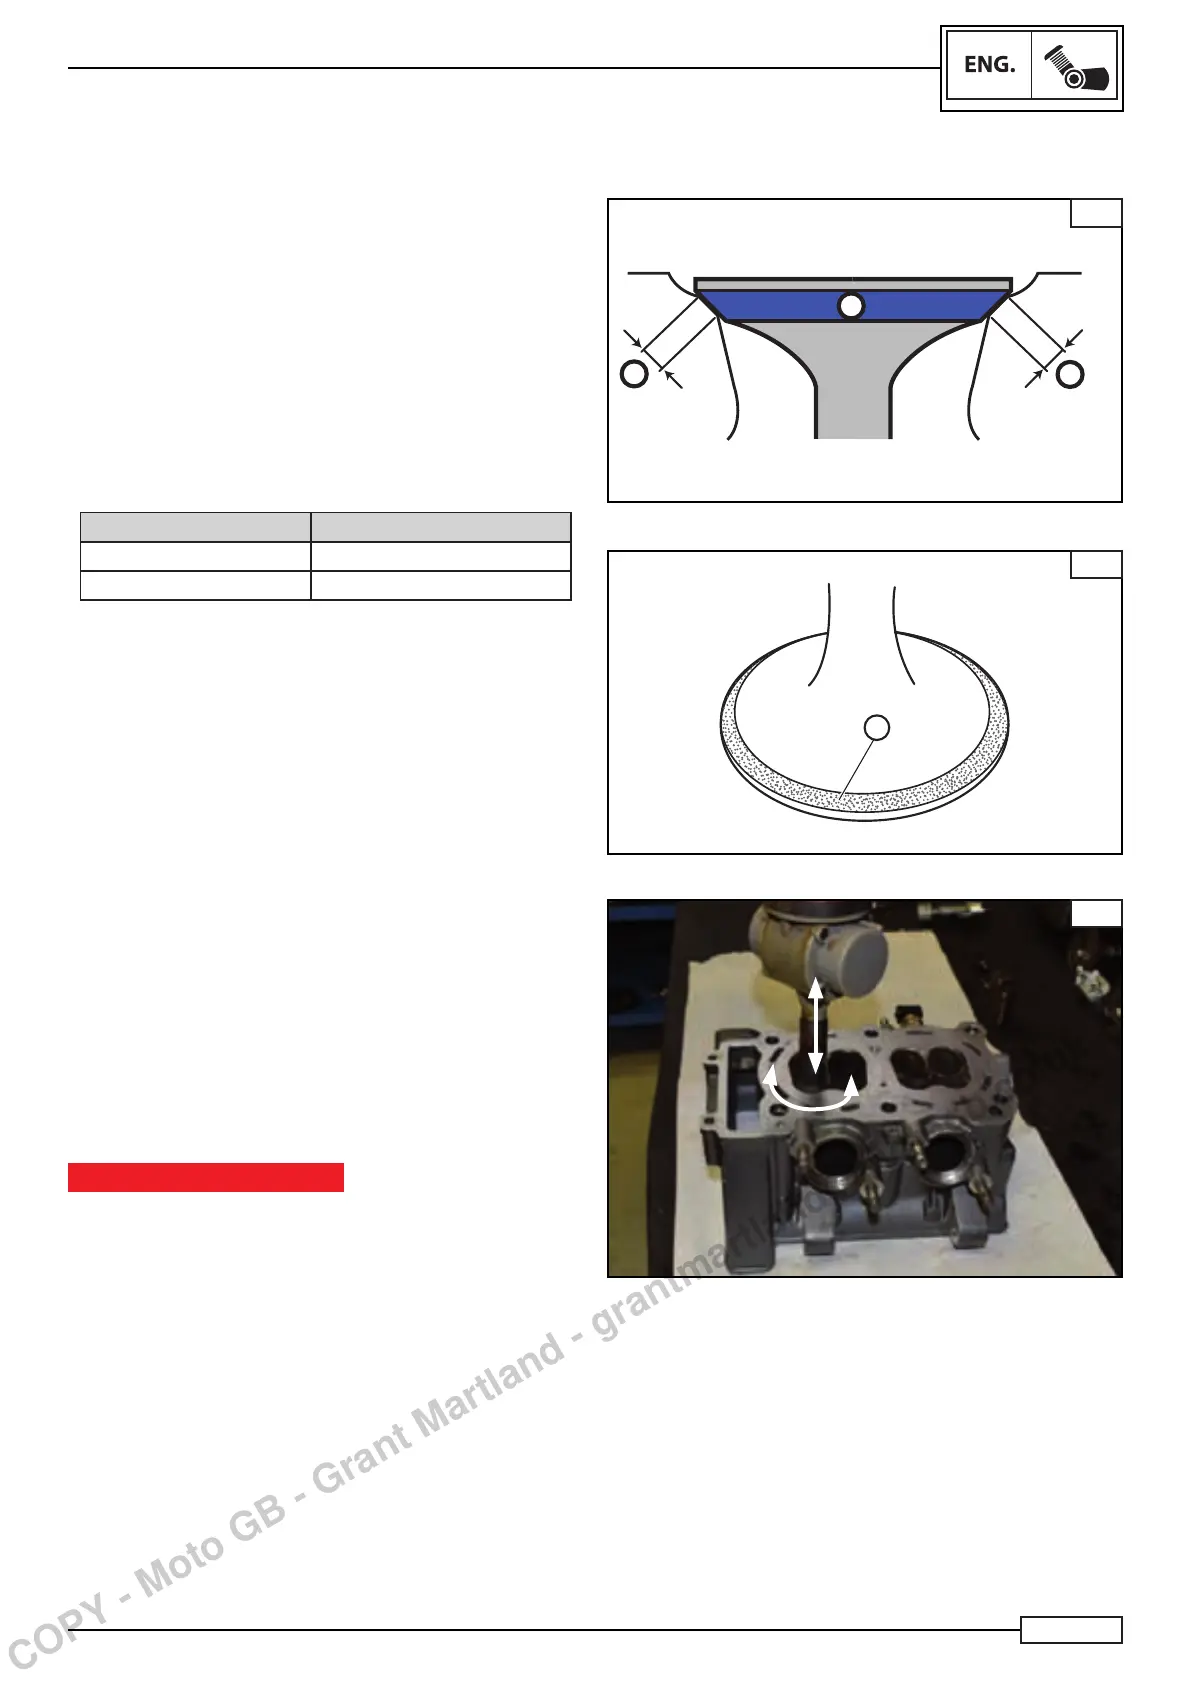
Lap:
• the valve contact surfaces
• the valve seat Fig. L
NOTE:_________________________________
After replacing the head or the valve and the relevant guide,
it is necessary to lap the seat and contact surfaces of the
valve.
• Apply a paste for rough lapping of the valve contact surfa-
ces (C) Fig. I
IMPORTANT NOTICE
Do not allow the lapping paste to enter the area between the
valve stem and the guide.
• Apply molybdenum disulphide oil to the valve stem.
• Install the valve in the head.
• Turn the valve until the contact surface and the seat have
been polished evenly
, then remove all the lapping paste.
NOTE:_________________________________
To get the best results from lapping, gently tap on the valve
seat while turning it forwards and back manually Fig. L
A
A
B
H
C
I
L
COPY - Moto GB - Grant Martland - grantmartland@motogb.co.uk
 Loading...