162
Auxiliary functions
26.2.22.7. History entries in the HISTORY submenu
Each diagnosis function, which can output a message, has the HISTORY submenu.
When the diagnosis message is actuated, a history entry is created with date and value. The history entries of the
respective diagnosis function can be viewed and deleted in the HISTORY submenu.
A maximum of three history entries are stored from each diagnosis message. If three history entries are already
available when a message is actuated, the oldest history entry is deleted.
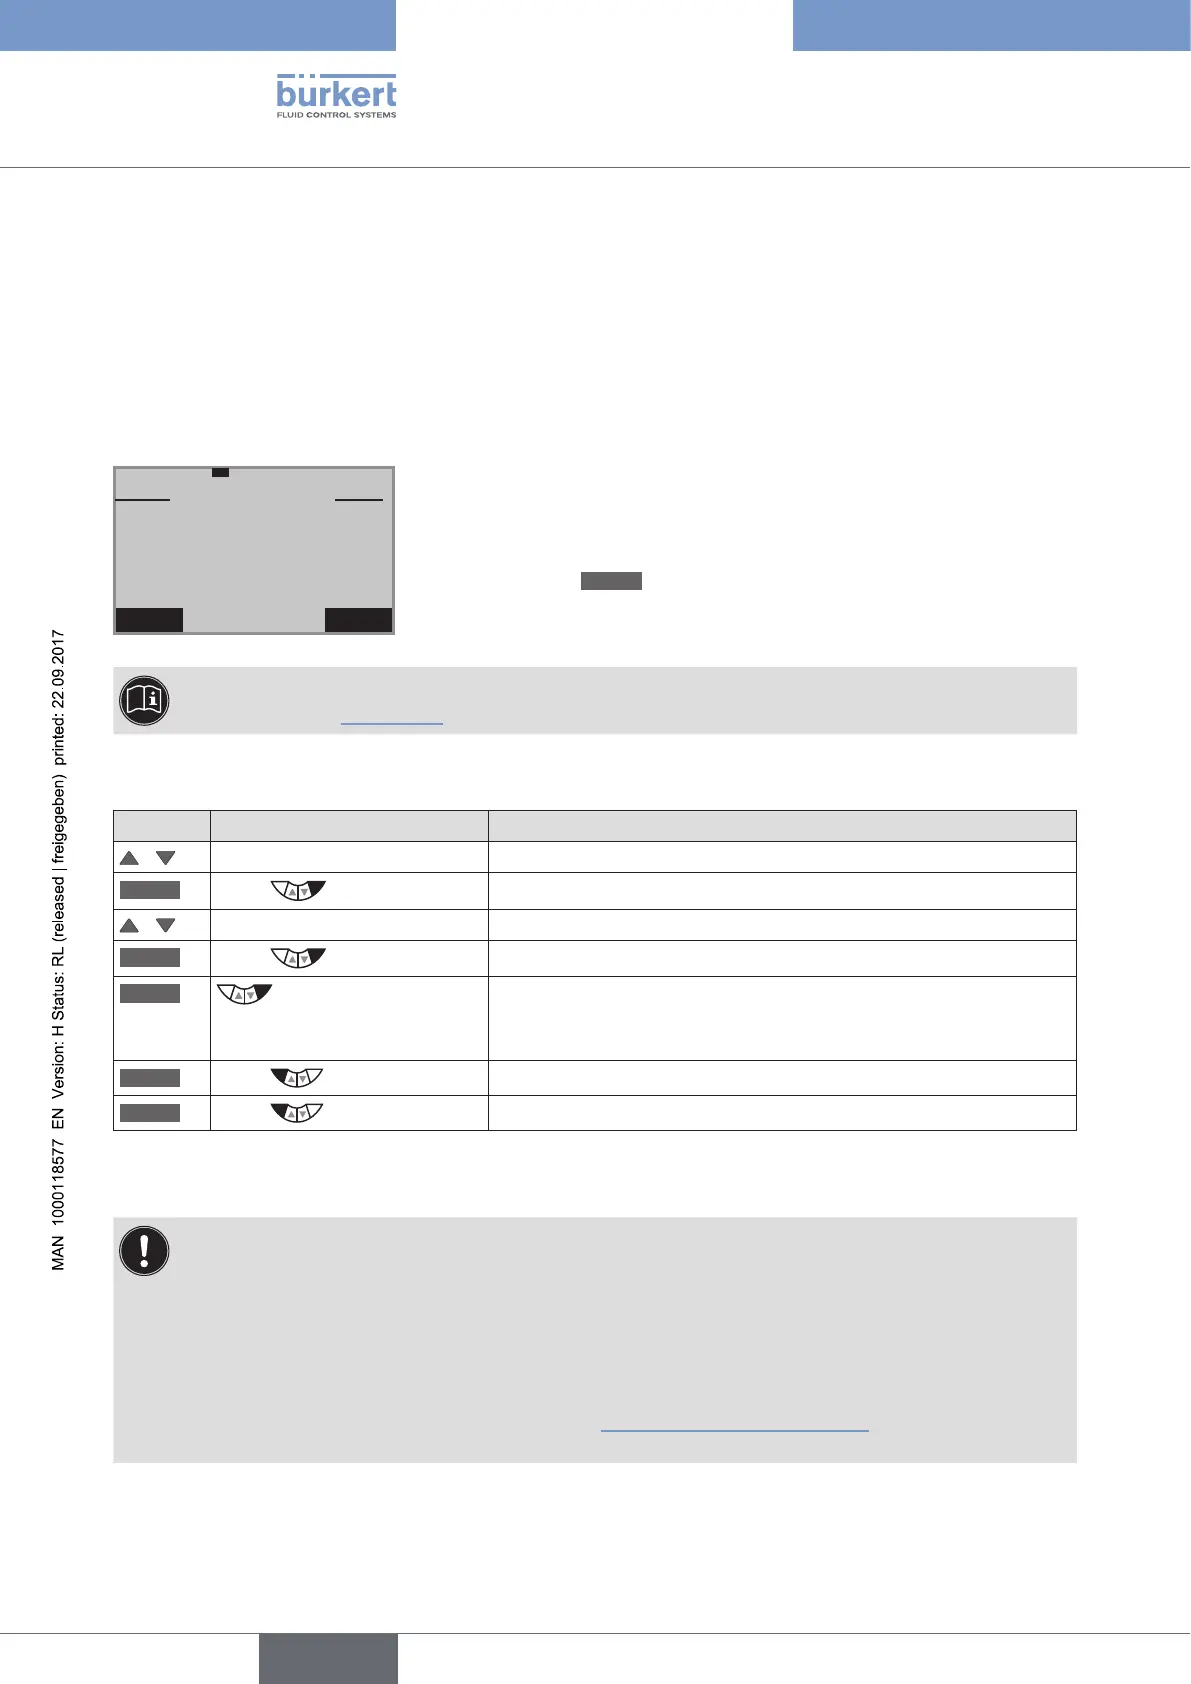
Example: History of the diagnosis function TRAVEL.ACCU
EXIT CLEAR
–––
TRAVEL.ACCU
01.02.12
01.02.12
01.02.12
5 cm
35 cm
10 cm
DATE
VALUE
Description:
On the left of the display is the date and on the right the associated
value.
Deleting the history:
Hold down the
CLEAR
key until the countdown (5...) is running.
The
RESET.HISTORY
diagnosis menu can be used to jointly delete the histories of all diagnosis func-
tions. See Chapter
“26.2.22.5”.
Deleting the histories of a diagnosis function in the example TRAVEL.ACCU
Key Action Description
/ Select TRAVEL.ACCU
ENTER
Press
The menu is displayed.
/ Select HISTORY
INPUT
Press
History entries with date and value are displayed.
CLEAR
Hold down
as long as countdown (5 ...) is
running
The histories of the TRAVEL.ACCU diagnosis function are deleted.
EXIT
Press
Return to the TRAVEL.ACCU menu.
EXIT
Press
Return to the DIAGNOSE main menu.
Table 96: SERVICE.TIME; inputting interval for message.
CAUTION!
History entries are only created when the CLOCK function for the display has been activated on the
process level.
To receive correct history entries, date and time must be correct.
Date and time must be reset after a restart. Therefore, the device switches immediately and automatically
to the corresponding input menu after a restart.
For activation and setting of CLOCK see Chapter “17.4.1. Setting date and time:”