Adjusting the feed amount
Follow the steps below to adjust the feed amount automatically .
1. Prepare one unused sheet A4/Letter-sized or larger when Standard Adj. is selected or two
when Advanced Adj. is selected (or one when using a sheet A2-sized or larger).
When using a roll, load a roll 10 inches (254 mm) or wider .
• Loading Rolls on the Roll Holder (→P .107)
• Loading Rolls in the Roll Holder Slot (→P .109)
• Loading the Roll in the Printer (→P .1 10)
• Loading the Sheet in the Printer (→P .133)
Note
• Always make sure the loaded paper matches the media type setting. Adjustment cannot be
completed correctly unless the setting value matches the loaded paper .
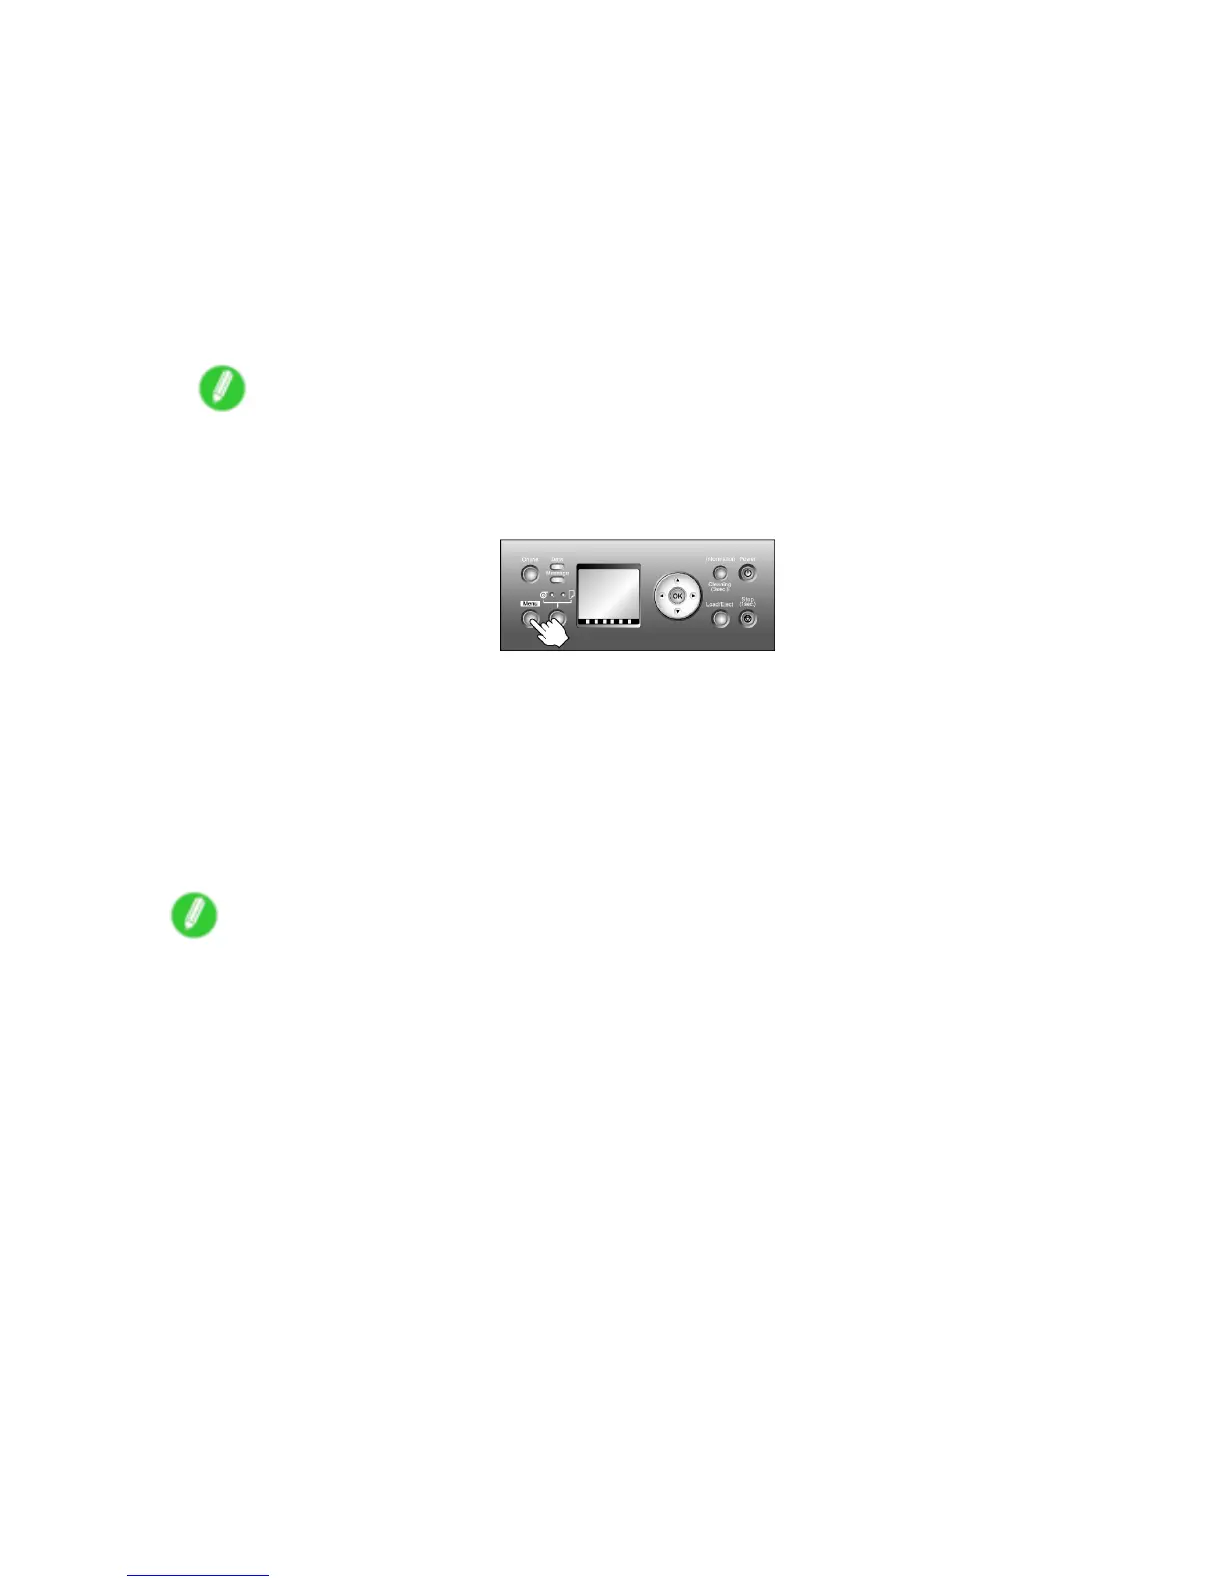
2. Press the Menu button to display MAIN MENU .
3. Press ▲ or ▼ to select Adjust Printer , and then press the ► button.
4. Press ▲ or ▼ to select Auto Band Adj. , and then press the ► button.
5. Press ▲ or ▼ to select Standard Adj. or Advanced Adj. , and then press the ► button.
6. Press ▲ or ▼ to select Y es , and then press the OK button.
A test pattern is printed for band adjustment.
After reading the pattern, the printer automatically adjusts the feed amount and returns to online
mode.
Note
• In some cases, the feed amount cannot be adjusted automatically . If so, choose Advanced Adj.
in Auto Band Adj. ( → P .50)
• If printed documents are still af fected by uneven contrast or banding in dif ferent colors at regular
intervals after this adjustment, you can adjust the feed amount during printing. ( → P .500)
Adjustments for Better Print Quality 499
 Loading...