HelixNet | User Guide
Powerline or PoE.)
3.3.2 Speaker Station in an S-Mount Bracket Wall Installation
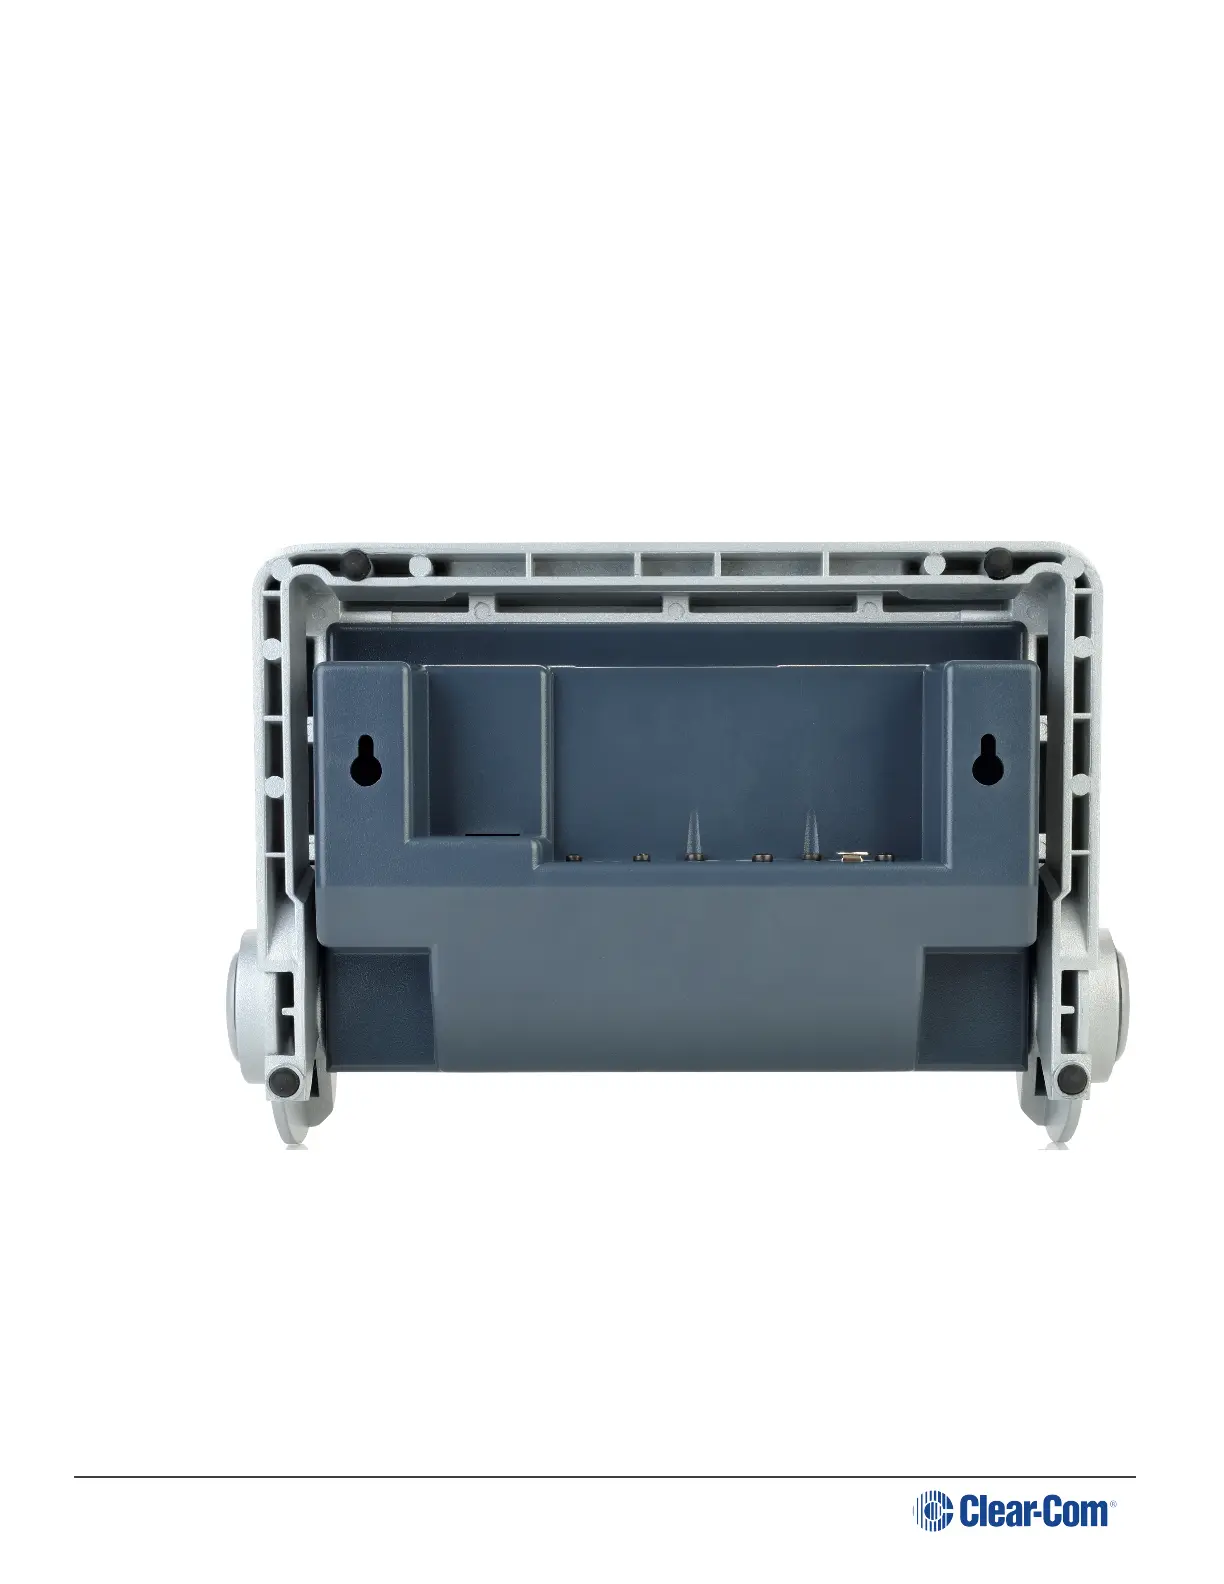
When the Speaker Station is fully closed, you can mount it on a wall using the rear keyholes:
1. Space the wall screws to match the distance between the rear keyholes. See the diagram
below.
2. If necessary, remove the Speaker Station from the S-Mount bracket.
3. Hang the S-Mount bracket on the wall screws.
4. Tighten the wall screws.
5. Install the Speaker Station.
3.3.3 Speaker Station Mounted Inside a NEMA Standard 4-Gang Wall Box
To connect the Speaker Station:
1. Connect the Digital Intercom screw terminals on the Speaker Station to a powerline XLR-3
port on an HMS-4X.
Or
Page 61
 Loading...