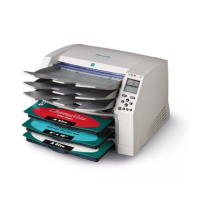
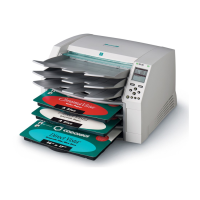
Horizon Imager User’s Manual 2-11
Setting Up the Imager
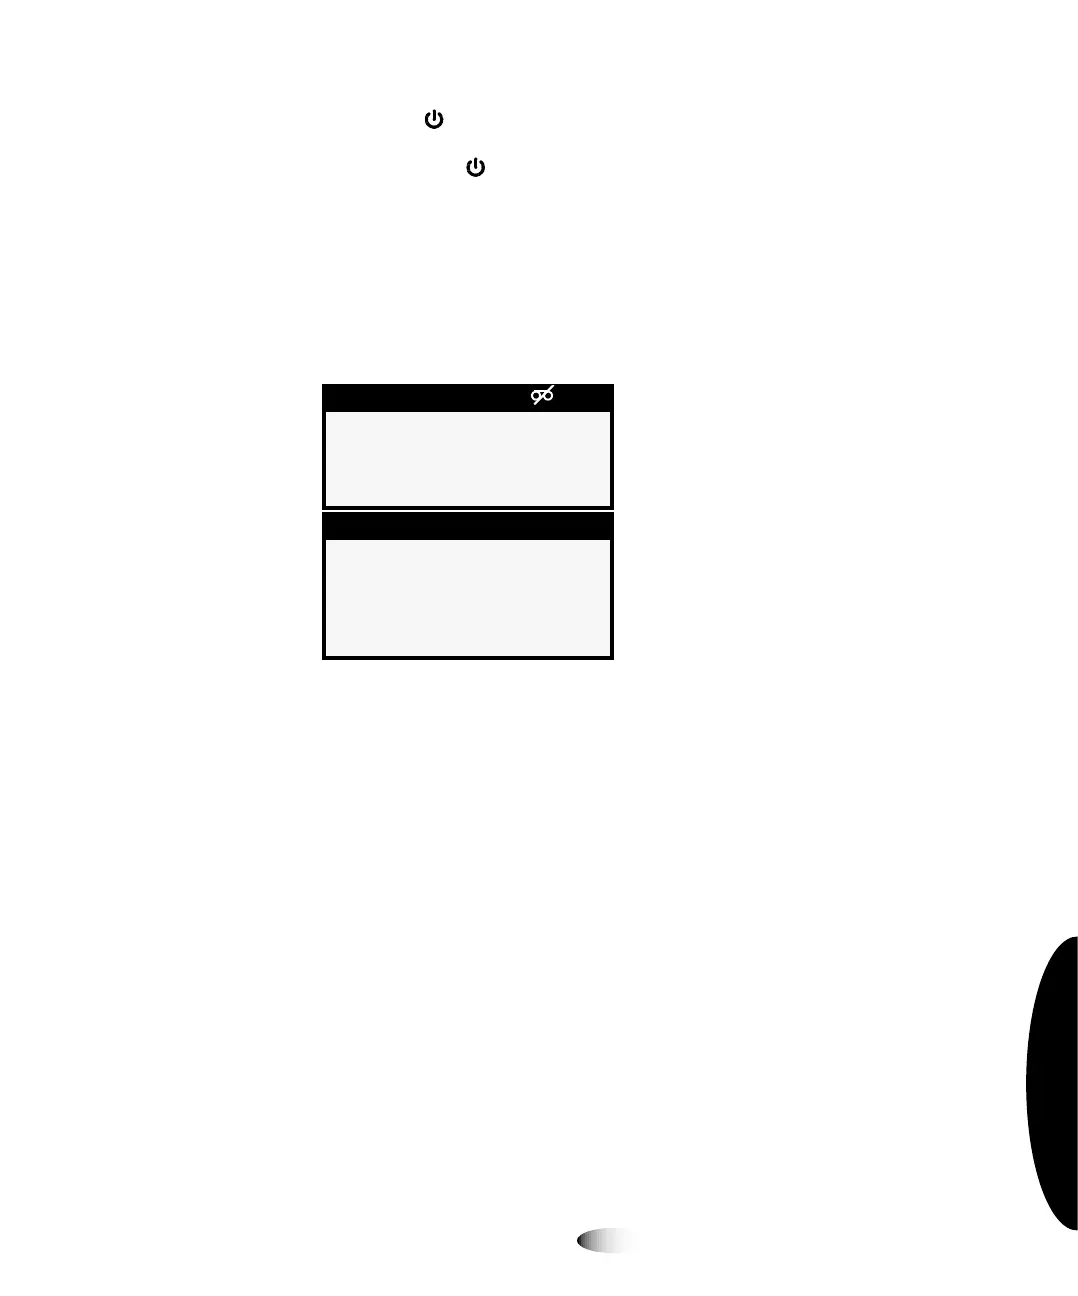
2. Press the (power) key at the control panel.
NOTE:
Always use the key at the control panel to power on/off the imager. The power
rocker switch at the back of the imager should always be in the
1
(on) position, unless the
imager is being serviced or moved.
The control panel display shows startup messages as the imager
initializes and warms up. When the Status screen displays
(shown below), the imager is ready to receive images.
`äÉ~åáåÖ=íÜÉ=mä~íÉå
After powering on the imager for the first time, you should clean
the platen. For instructions on how to clean the platen, refer to
“Cleaning the Platen and Donor Guide Bar” on page 10-8.
Supply
1: No cassette
2: No cassette
3: No cassette
Status OK
No sheets queued
3