3-18 Basic Imager Operations
k~îáÖ~íáåÖ=íÜÉ=`çåíêçä=m~åÉä=aáëéä~ó
From the control panel, you press the appropriate keys to access
menus, make menu selections, and enter data into the imager.
To demonstrate how to navigate the control panel display, let’s
assume you want to change the imager’s IP address. Here is what
you would do.
1. At the imager’s control panel, press and hold the key, and
while holding it press the key.
The Main Menu with administrative options displays. The
selector arrow automatically points to the first menu option.
2. To scroll through the menu options, press the and keys.
The selector arrow (
) moves up and down through the list.
The bottom portion of the control panel display shows a
message associated with the currently selected menu option.
TIP:
Displaying more information about a menu option
You can display more information about the currently selected menu option by pressing the
key.
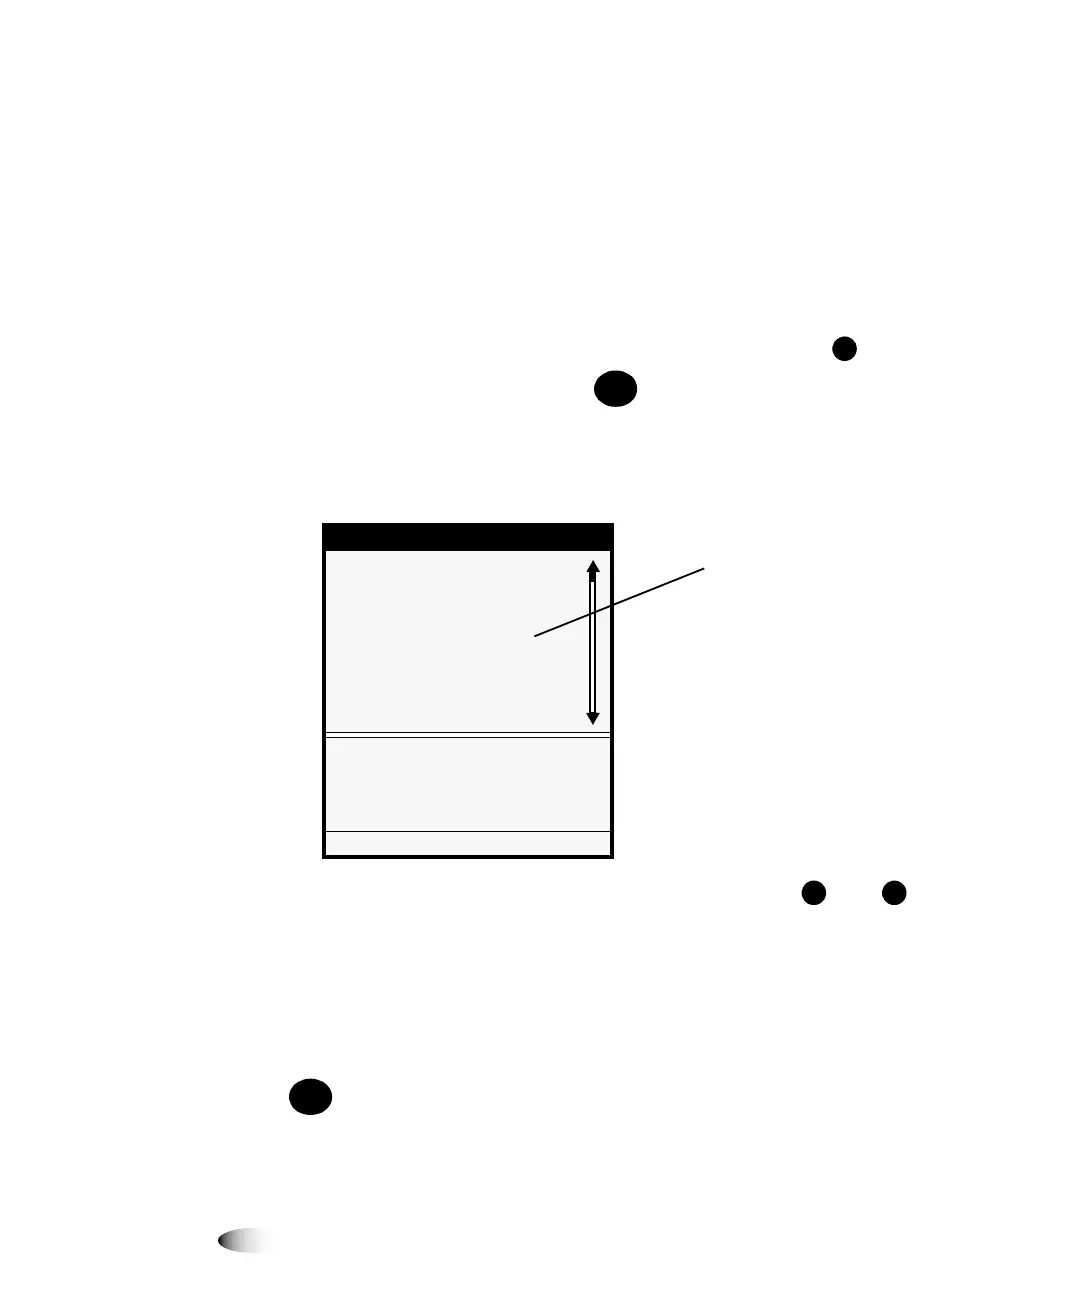
8
To navigate
the control
panel and
enter an IP
address
MENU
Menu
Default User Settings...
Default Media...
Open Top Cover...
Load/Remove Ribbon...
Custom Job Settings...
Utilities...
Test Prints...
Print From USB Drive...
Set up default appearance of
prints for each media type.
Press MENU to exit menus
Ellipses (...) following a
menu option indicate that
selecting that option will
display a follow-up screen
for viewing and selecting
additional options, entering
data, or viewing
information
/
HELP