©2024 Comba Telecom. All Rights Reserved.
568 Gibraltar Drive, Milpitas, CA 95035 | +1 408 526 0180
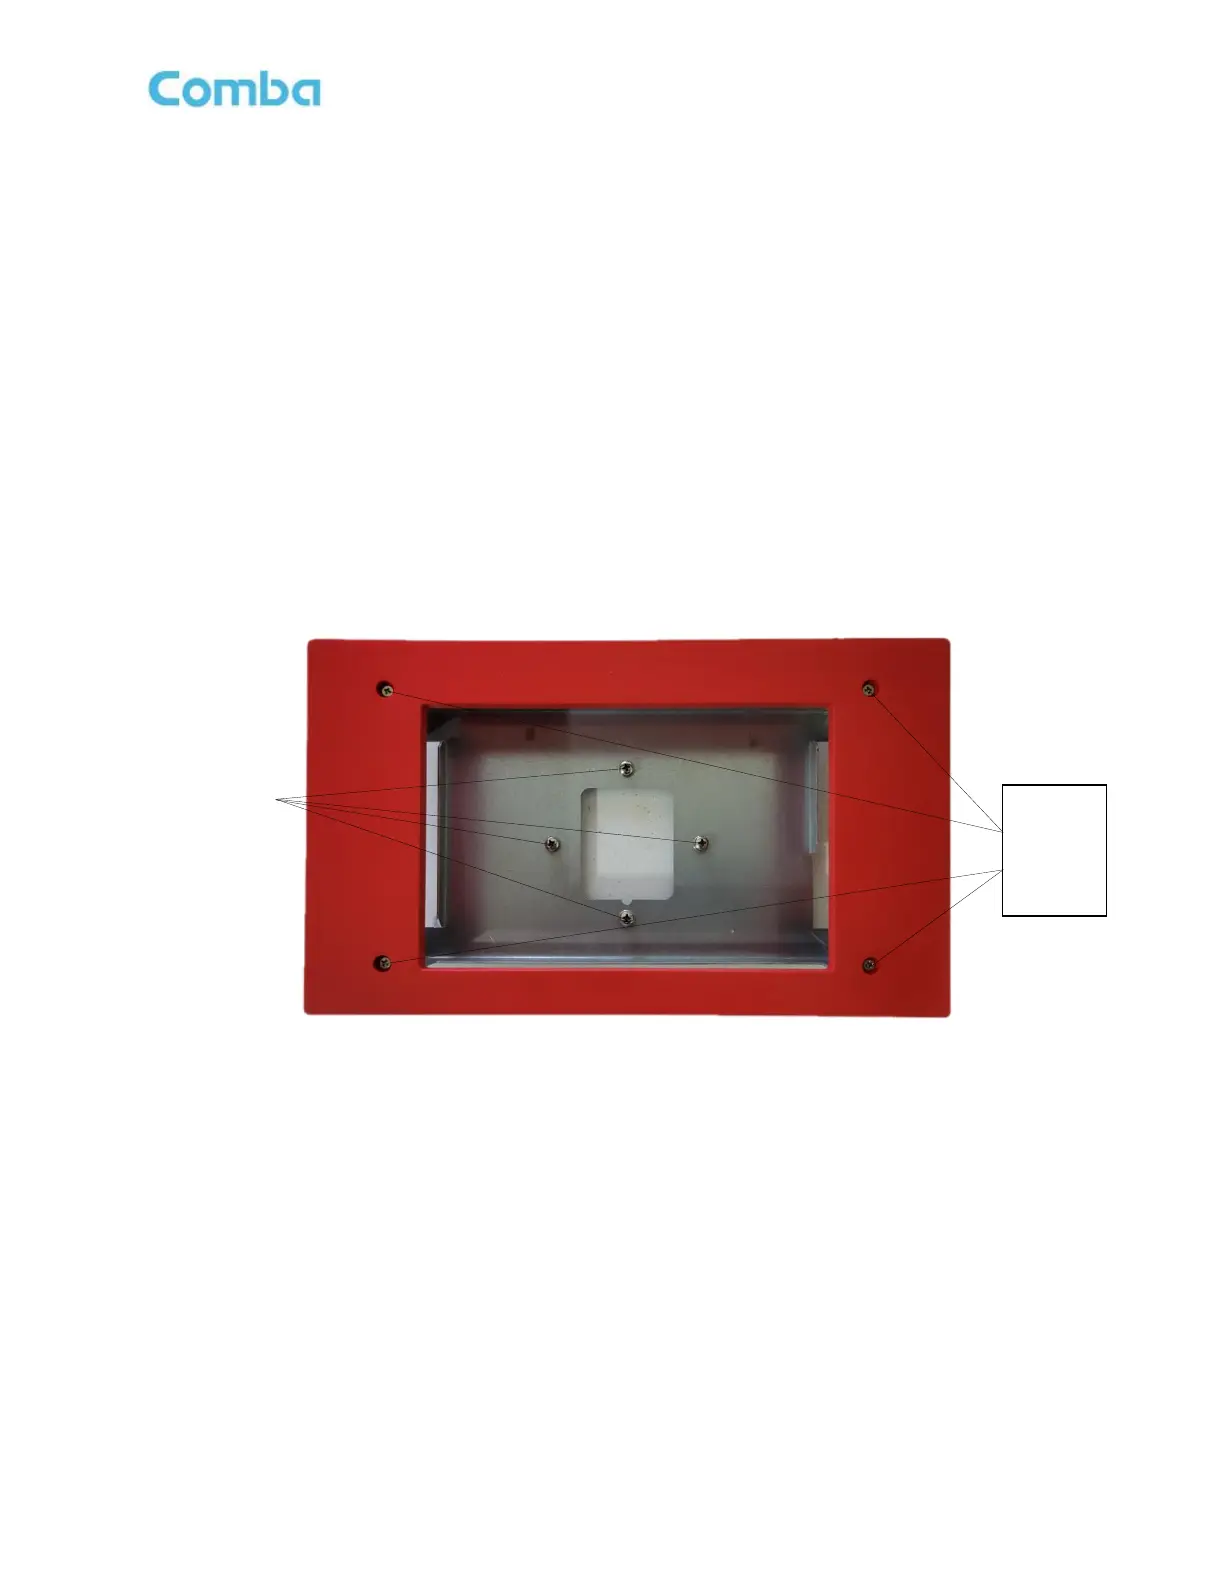
Follow the below instructions and see Figures 72 through 76, to flush mount the APV3-DAS:
• Remove the APV3-DAS Flush Mount Kit from the box and place it on a flat surface with red face plate
facing up.
• Remove the (4) Philips head screws holding the faceplate to the mounting bracket. Do not discard
screws as these will be used to reinstall the face plate. Remove the face plate.
• Remove the (4) screws that are attached to the mounting bracket from the factory. These screws will be
used in the next step to attach the APV3-DAS standard mounting bracket to the flush mount bracket.
See Figure 72 below.
Figure 72: APV3-DAS - Flush Mount Kit Face Plate and Bracket Screw Removal