264 Eos Family Operations Manual
Creating a Scene Break
You can add a scene break by using the {Scene} softkey. For example, [Cue] <1 > {Attribute} {Scene}
will add a scene to cue 1.
The virtual alphanumeric keyboard will open. You will need to label the scene before it is created.
See Copy To and Move To for Labels, Scenes, and Notes (on page299) for more information.
Creating a Scene End
You can specify where a scene ends by using the {Scene End} softkey. For example, [Cue] <5 >
{Attribute} {SceneEnd} will add a scene end to cue 5.
You can create a scene and a scene end at the same time by using [Thru]. For example, [Cue] [1]
[Thru] [5] {Scene} will add a scene to cue 1 and a scene end to cue 5.
Update Using Scene End
The {Scene End} softkey can also be used when updating the cues in a scene. For example, [Update]
<Cue> [1] [Thru] {Scene End} will put the last cue of that scene on the command line.
Note: Tracking / cue only rules still apply. If your console is in tracking mode, and you want
the update to stop at the scene end, you will need to use the [Q Only] command.
Using a Scene Break
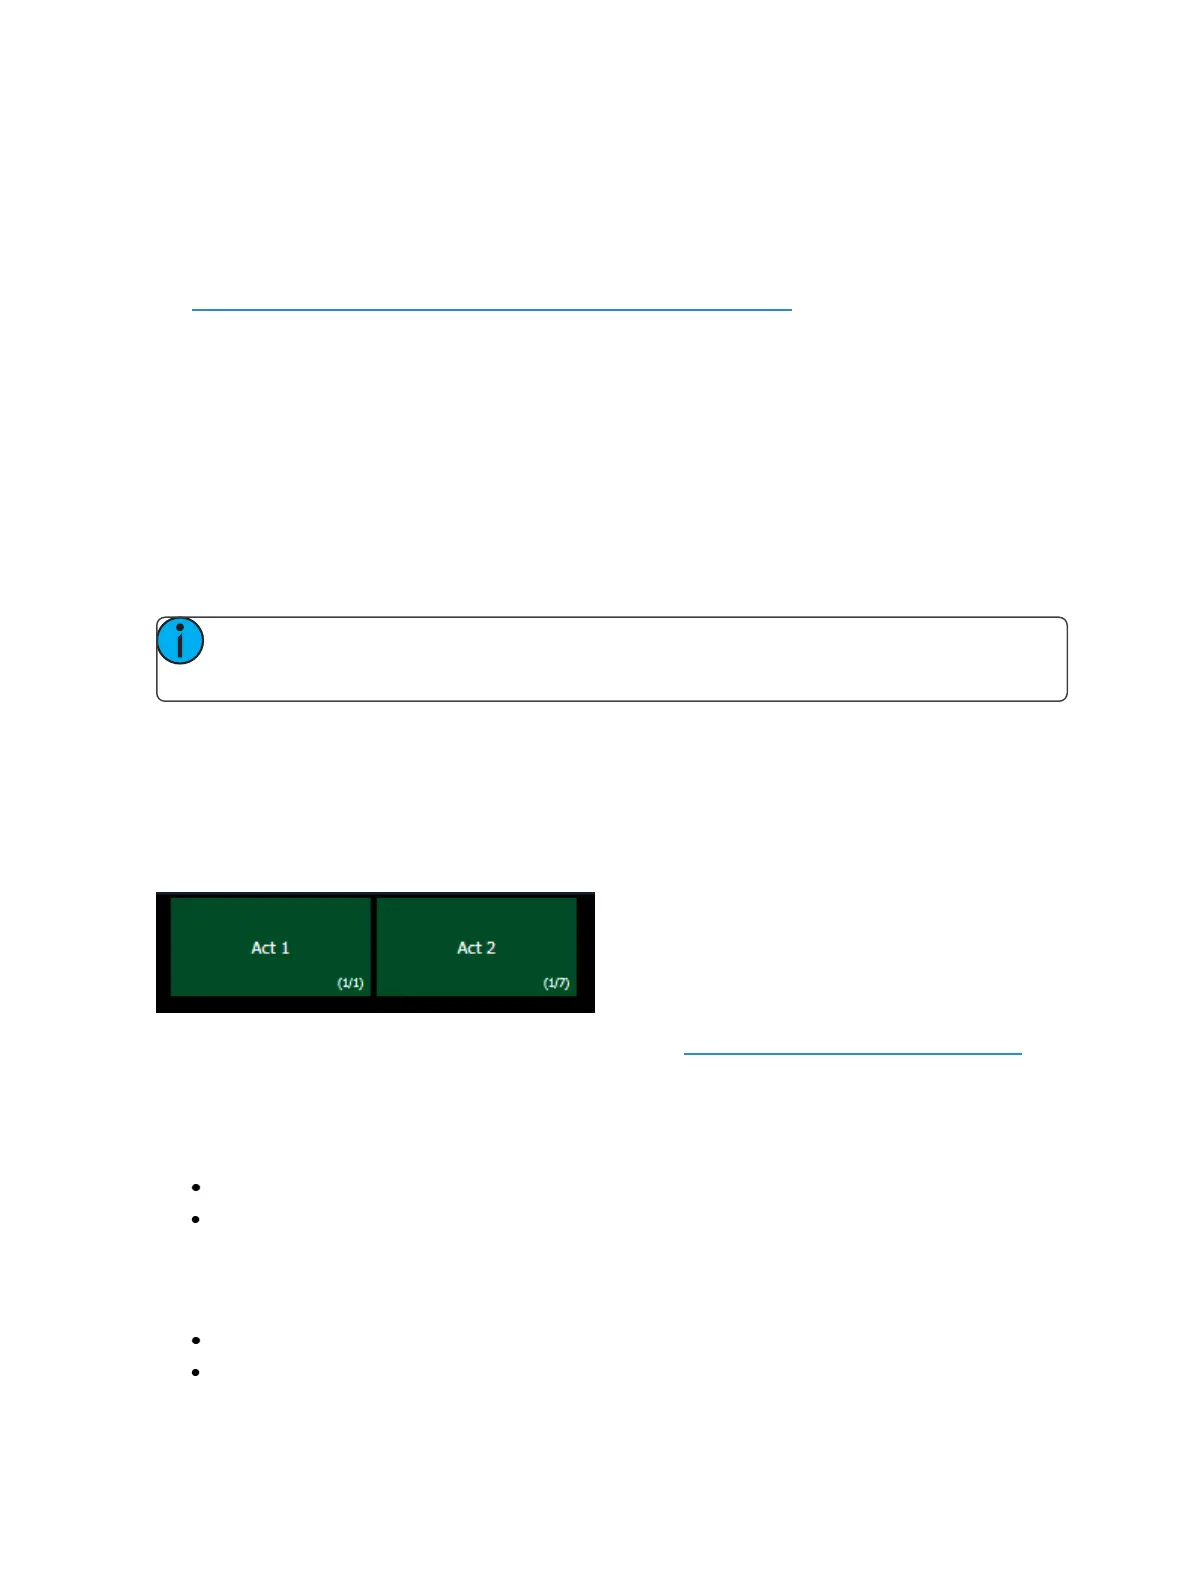
You can recall a scene to quickly jump to a cue without needing to remember its number. To recall a
scene, use the [Go to Cue] button and select the {Scenes} softkey.
This will open up the scene selection display in the CIA. The scene's label and cue will display. Press or
click on the scene to select it.
Scenes can also be recalled by using the direct selects. See Scenes on Direct Selects (on page80) for
more information.
Deleting a Scene Break
To delete a scene or scene end, you will need to use the following syntax:
[Cue] [n] {Attributes}{Scene} [Label] [Enter] - deletes the scene.
[Cue] [n] {Attributes}{SceneEnd} [Enter] - deletes the scene end.
Clearing Cue Attributes
To clear attributes from a cue:
[Cue] [n] [Shift] & [Delay] [Enter] - removes the follow or hang time from the specified cue “n”.
[Cue] [n] [Label] [Label] [Enter] - removes the label from the specified cue “n”.