TIP: When you receive an HP Integrity rx6600 server from HP, if you ever plan to add other
SAS devices into the system, you should consider moving the SAS devices so they start in bay 1
going upwards instead of Bay 8 going downwards.
Installing a Hot-Pluggable Disk Drive
NOTE: The replacement disk drive must have the same product number as the disk drive that
you replace.
To install a hot-pluggable disk drive, follow these steps:
1. Use Figure 22 to determine the next available disk drive installation slot.
2. Remove the disk drive filler if required. See “Removing a Hot-Swappable Disk Drive Filler”
(page 50).
NOTE: Save the disk drive filler for future use. For cooling purposes, always place disk drive
fillers in slots that do not contain a disk drive.
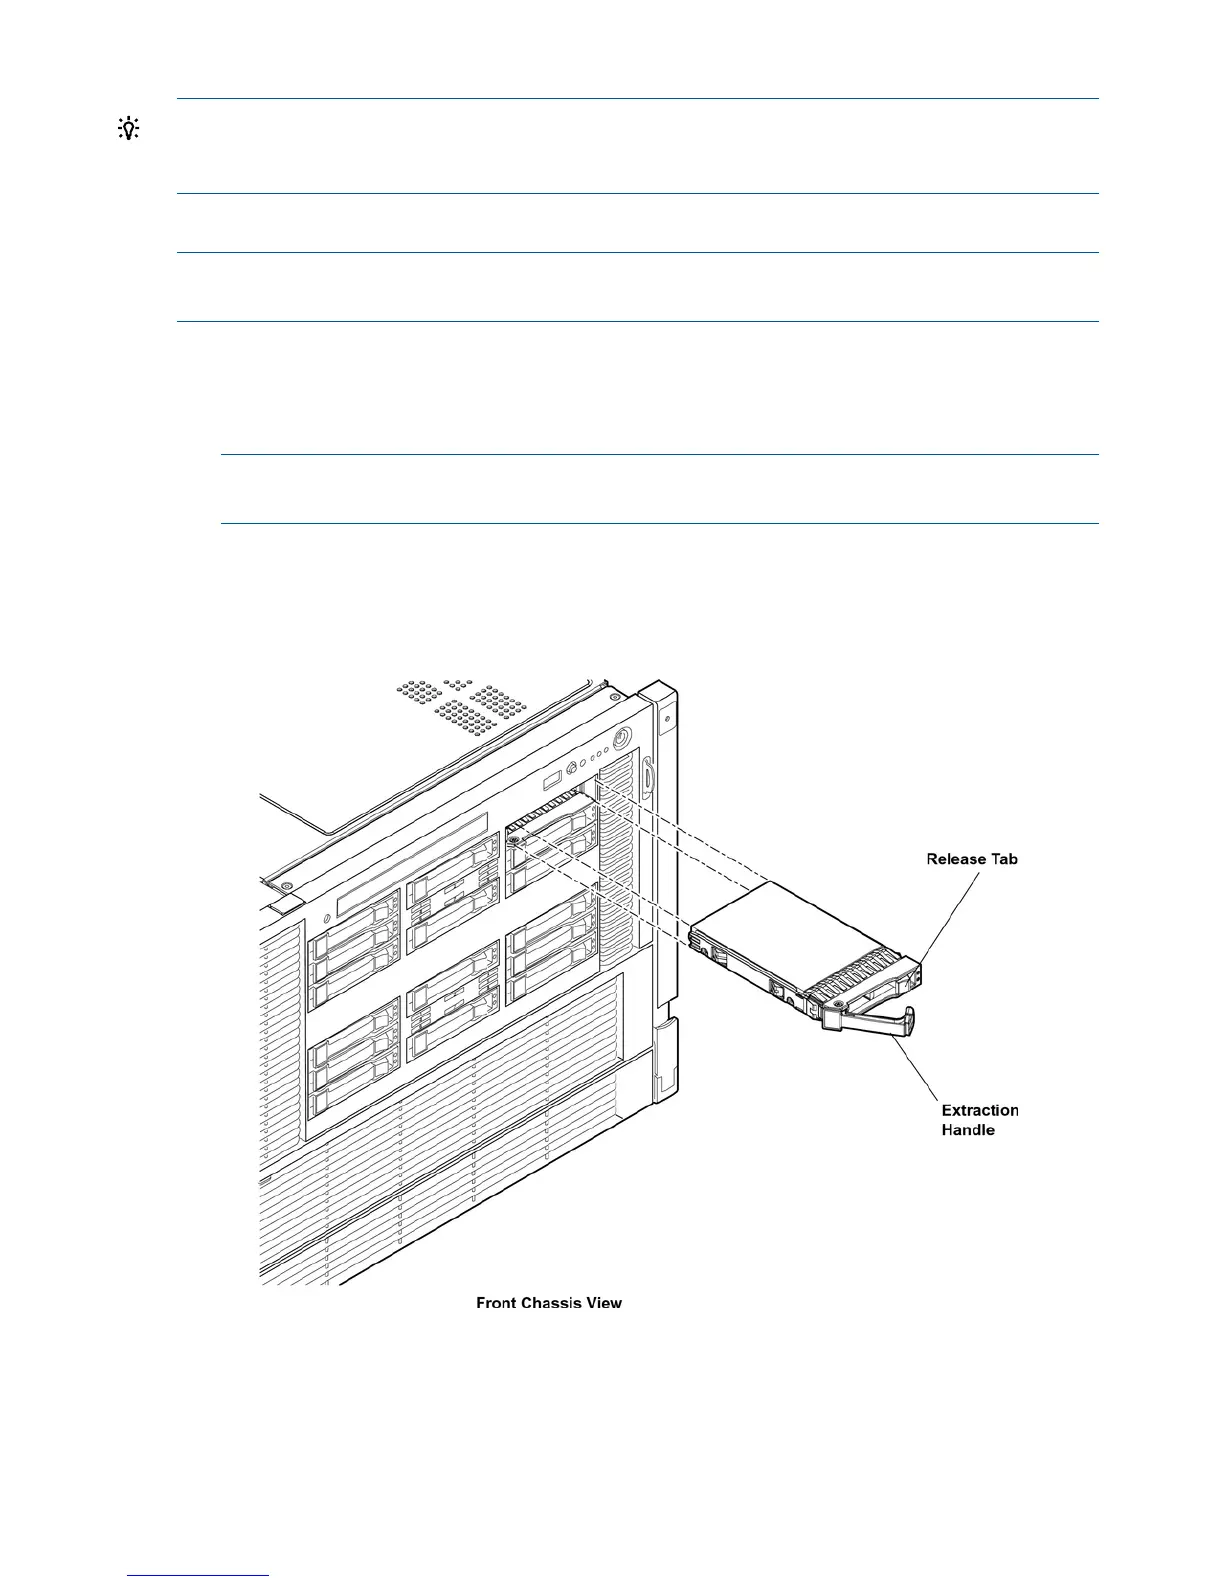
3. Insert the hot-pluggable disk drive into the slot guides, and slide the drive into the slot until it
seats into the socket on the disk backplane.
4. Close the drive ejector handle by pushing it inward until it clicks into place.
Figure 21 Removing and Replacing a Hot-Pluggable Disk Drive
52 Installing the System