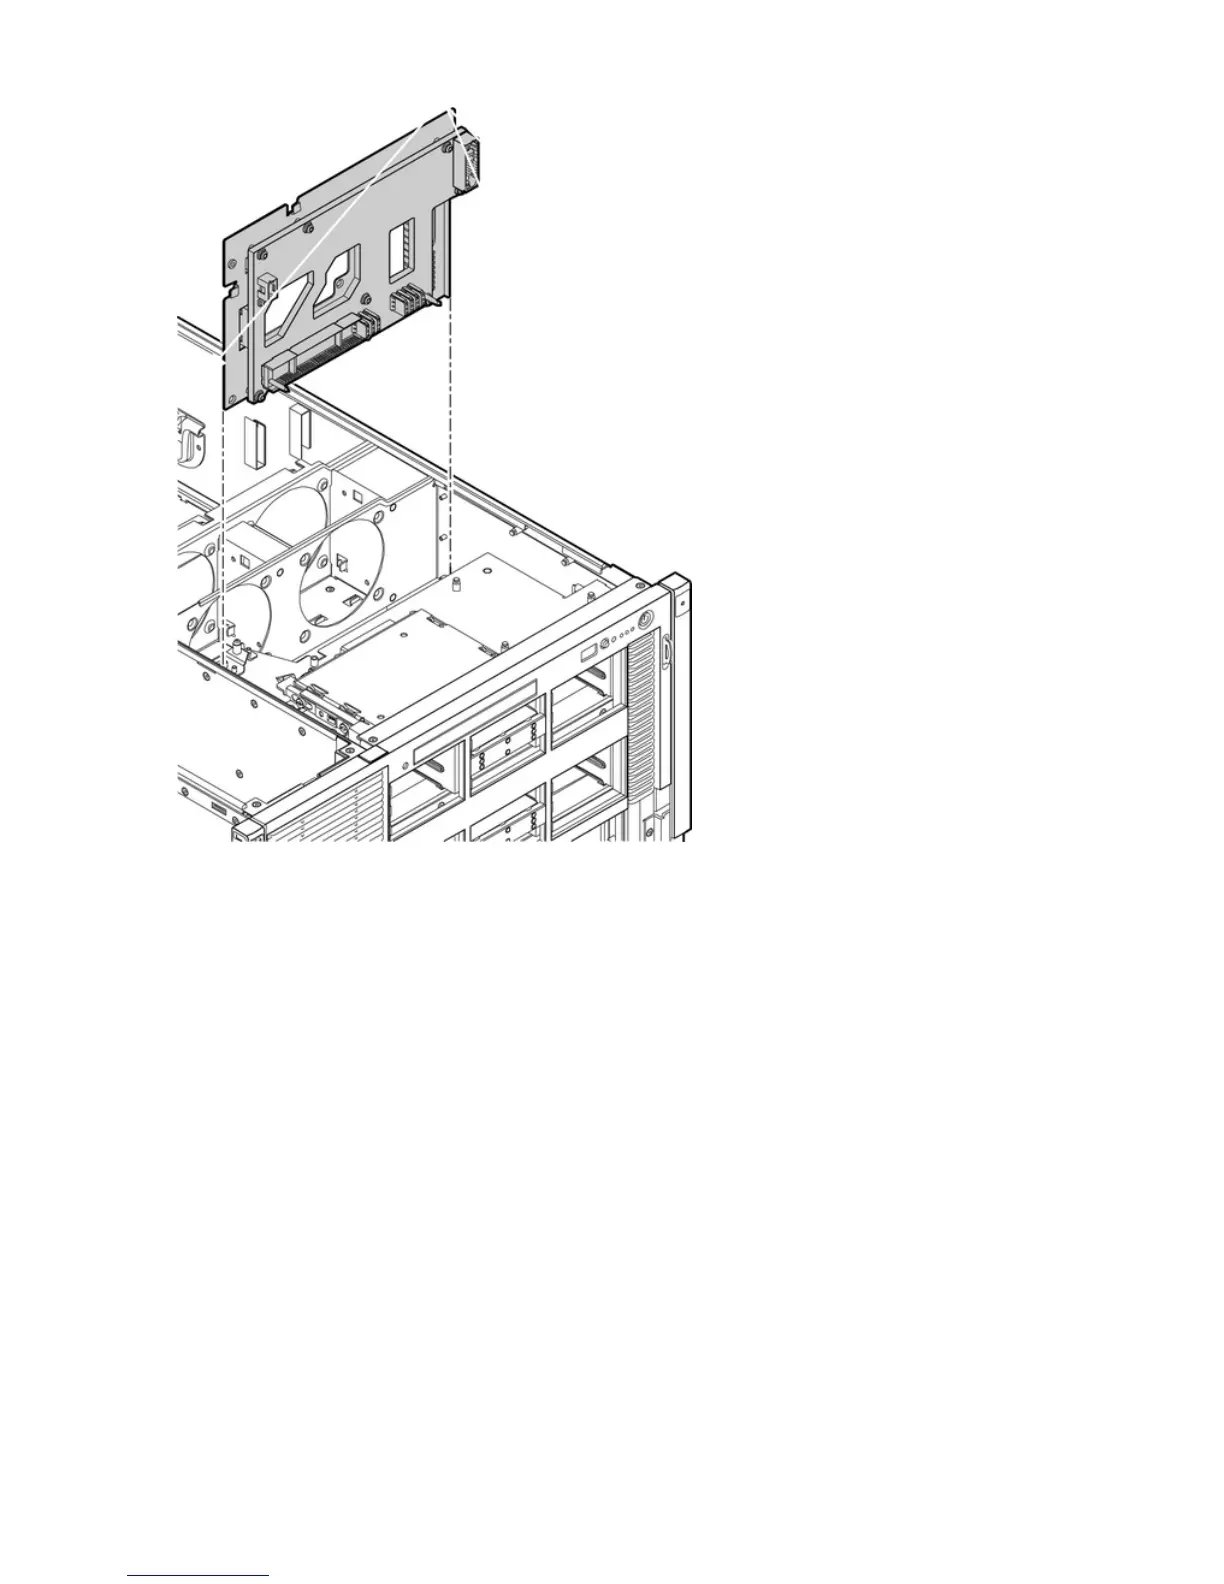
Figure 88 Midplane Board
Replacing the Midplane Board
To replace the midplane board, perform these steps:
1. Place the midplane board onto the guide pins on the chassis wall. Push straight down until it
seats onto the locking studs.
2. Use a Torx 10 screwdriver to replace and tighten the four Torx screws attaching the midplane
board to the sheet metal bracket through the rear of the chassis (Figure 86 ).
3. Swing the hinged CPU panel up to expose the midplane screw holes. Use a Torx 10 screwdriver
to replace and tighten the three Torx screws attaching the midplane board to the sheet metal
bracket through the front of the chassis (Figure 87).
4. Reconnect the fan cables into the fan 1 and fan 2 housing units.
a. Guide the cable connector up through the opening in the fan housing.
b. Push the cable connector toward the front of the chassis until the connector tabs seat into
place.
5. Replace the trap door and slide it toward the front of the server.
6. Replace the power supplies. See “Replacing a Hot-Swappable Power Supply” (page 186).
7. Replace the I/O board assembly. See “Replacing the I/O Board Assembly” (page 225).
8. Replace the interconnect board. See “Replacing the Interconnect Board” (page 246).
9. Replace the lower SAS backplane board. See “Replacing the SAS Backplane Board” (page 244).
250 Removing and Replacing Server Components

 Loading...


