GAPS - User Guide
6.5.11 WAYPOINTS
6.5.11.1 Creating a Waypoint
Click on to create a waypoint. The waypoint is displayed at the current location of the
mouse cursor. A KML file is created. This file can contain several waypoints. Another file can
be created to store other waypoints. The waypoint can be labeled (the label appears on the
display), described and its width, style, symbol, color and transparency can be edited. Date,
time, position and immersion of the mark are displayed in the Feature Data tab.
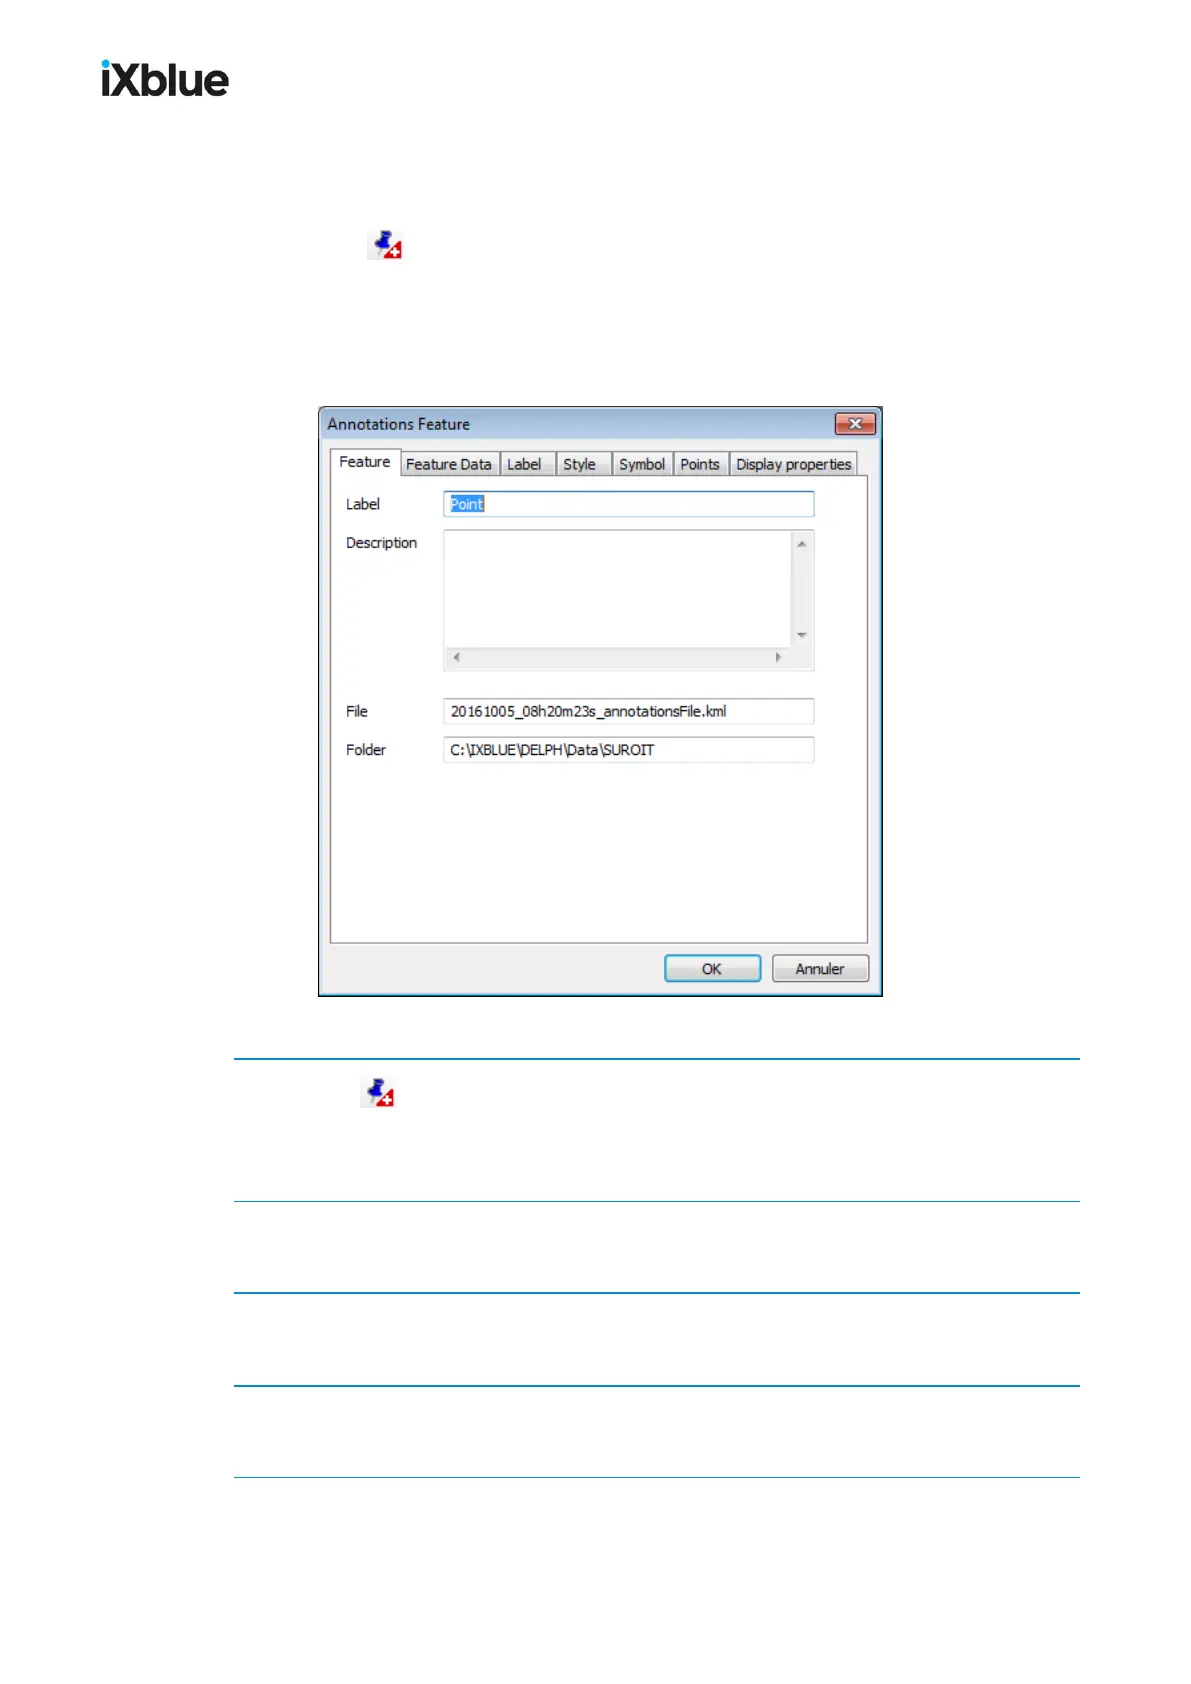
Figure 60 - Waypoint creation window
1. Click on to select the waypoint mode. Move the mouse cursor at the location where you
want to create a waypoint and double click.
The waypoint is created and the waypoint creation window opens.
2. In Feature tab: enter the Label of the waypoint. You may enter a Description. You may edit
the associated KML File and Folder.
3. In Feature data tab, the coordinates of the waypoint are available. You may edit the
Immersion value set to zero by default.
4. In Label tab, set the label to Active or Inactive. Edit the Font of the label (Name, Size, Bold
or Italic).
5. In Style tab, you may choose to use a Style. In this case, select a Style in a style File to
apply to the mark.
120 MU-GAPS-AN-005-H - November 2019