Disk
P0
135
organized in numerical order. (Refer to the diagram for
0–1C: Load .PCG)
If “Load
********
.PCG too” and “Load
********
.KSC too”
are checked when you load the data, programs within
the .PCG file that use multisamples from the .KSC file
will automatically have the multisample settings for their
oscillators rewritten so that each program uses the cor-
rect multisample. Drum kits in the .PCG file that use
samples from the .KSC file will automatically have the
sample settings for the drum kit rewritten so that the
drum kit uses the correct samples.
Clear: All multisamples and samples currently in mem-
ory will be erased, and the multisamples and samples
will be loaded in the same configuration in which they
were saved.
If memory already contains multisamples or samples
that you wish to keep, and you wish to load additional
multisamples or samples from disk, select Append.
If the power has just been turned on, or you want to
reproduce the state that was saved, select Clear.
3 To load the data, press the OK button. To cancel without
loading, press the Cancel button.
16) Load Cue Lists: selected icon
The cue list data in the .SNG file will be loaded.
1 To load the data, press the OK button. To cancel without
loading, press the Cancel button.
17) Load a Song: selected icon
Data for the selected song will be loaded into the song num-
ber you specified as the load destination.
1 If you wish to load a song other than the selected song,
use “Song” to re-select the song to be loaded.
2 In “To Song,” select the loading destination song.
3 To load the data, press the OK button. To cancel without
loading, press the Cancel button.
18) Load Tracks: selected icon
The event data of all tracks in the selected song will be
loaded into the song you specify as the loading destination.
However, it is not possible to specify an uncreated song as
the loading destination.
1 In “Song,” specify the loading destination song.
2 To load the data, press the OK button. To cancel without
loading, press the Cancel button.
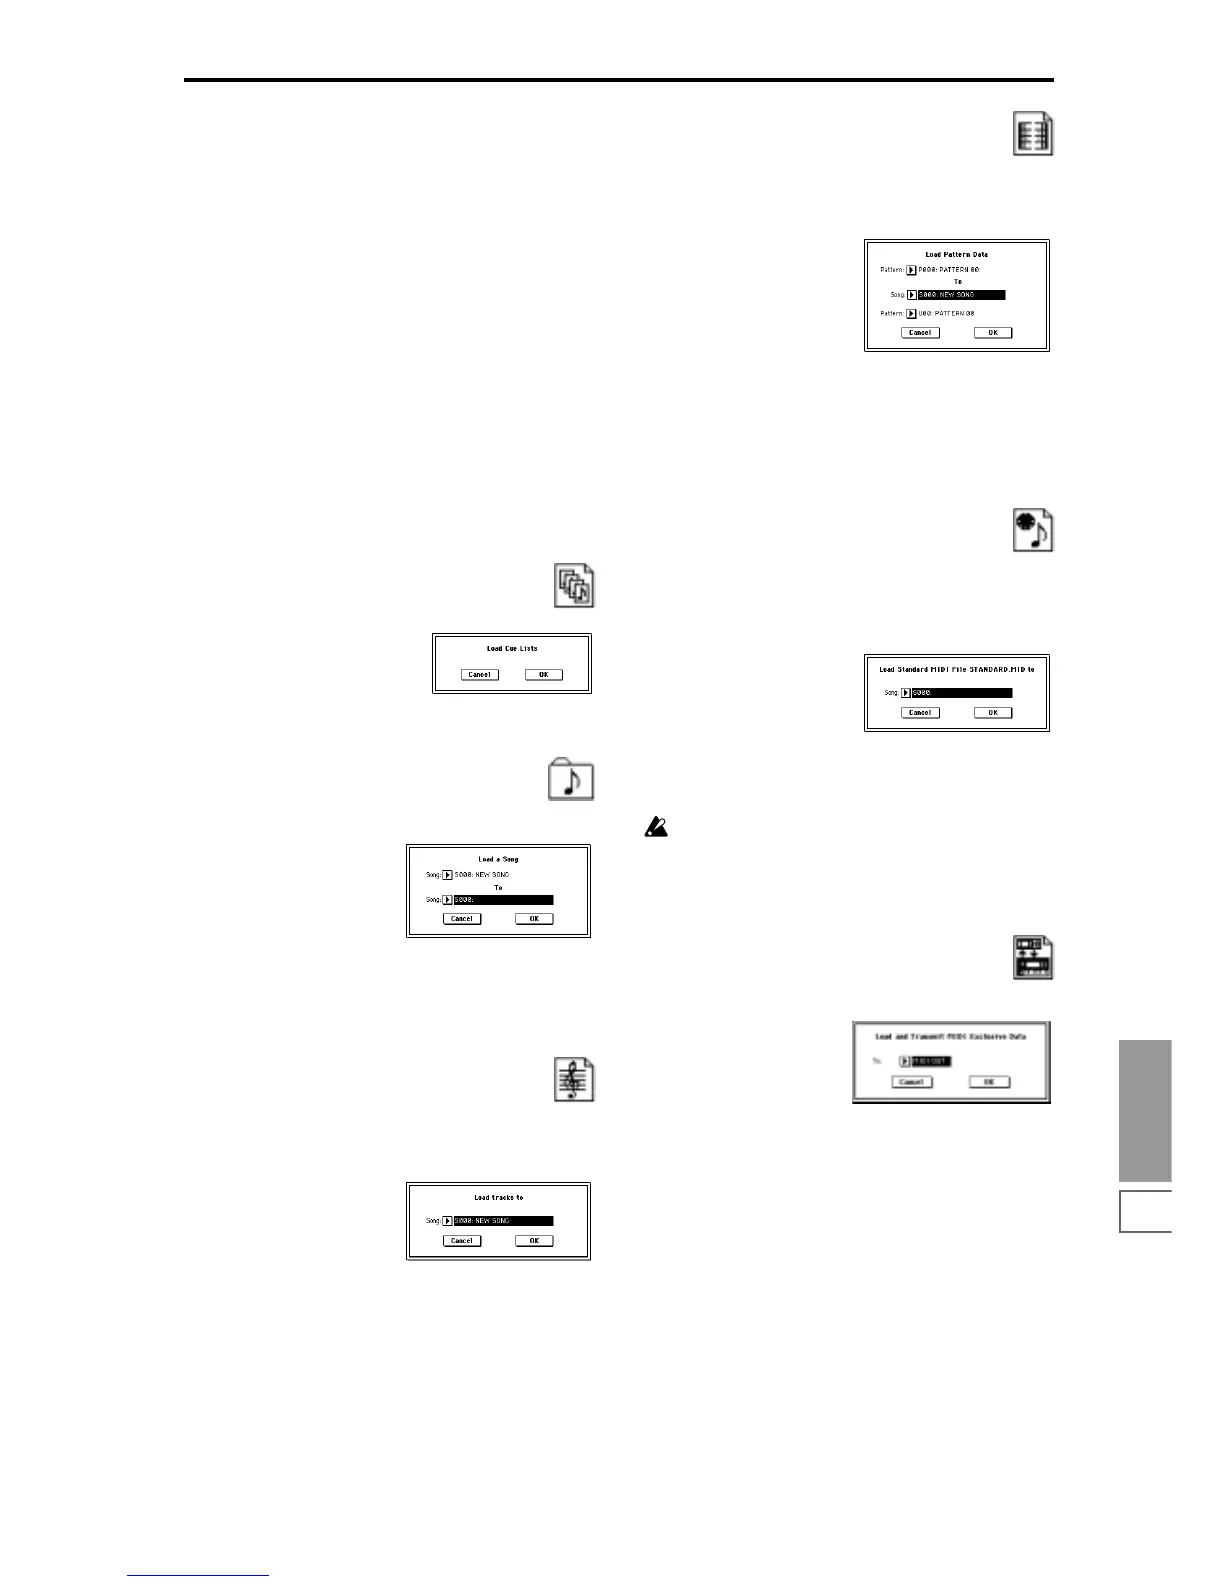
19) Load Pattern Data: selected icon
The selected user pattern will be loaded into a user pattern
of the selected loading destination song. However, it is not
possible to specify an uncreated song as the loading destina-
tion.
1 If you wish to load a user pattern other than the one
already selected, use “Pattern” to re-select the user pat-
tern that you wish to load.
2 In “To Song” and “Pattern,” select the loading destina-
tion song and user pattern .
3 To load the data, press the OK button. To cancel without
loading, press the Cancel button.
20) Load Standard MIDI File: selected icon
The selected Standard MIDI File will be loaded into the song
number you select as the loading destination.
If you have selected an undefined file, it will be considered
to be a Standard MIDI File, and will be loaded into the song
you specify as the loading destination.
1 In “Song,” select the loading destination song.
2 To load the data, press the OK button. To cancel without
loading, press the Cancel button.
The program bank and program numbers loaded into
the song will follow the “Bank Map (Global P0: 0–2a)
setting. If “Bank Map” is KORG, bank A will be
selected for bank select 00.00 (MSB.LSB). If “Bank Map”
is GM(2), bank G will be selected.
21) Load and Transmit MIDI Exclusive Data:
selected icon
All data in the .EXL file will be loaded, and transmitted from
MIDI OUT or TO HOST.
1 In “To,” specify the output connector from which the
data will be transmitted.
MIDI OUT: the rear panel MIDI OUT connector
PC I/F: the rear panel TO HOST connector
2 If the .EXL file contains two or more exclusive data items,
use “Transmit Interval Time” to specify the time interval
that will be inserted between each item of exclusive data.
If you are transmitting the data to another TRITON, the
required time interval will depend on the type of data.
After transmitting all .PCG data, you must allow an
interval of approximately 16 seconds. For details refer to
the Global mode section on Dump (
☞Global P1–1: Page
Menu Command). For other MIDI devices, refer to their
owner’s manual.
3 To load the data, press the OK button. To cancel without
loading, press the Cancel button.