REPAIR INSTRUCTIONS, PART 1
Page 363
1. Check to ensure that the check valves have
been properly installed.
Inlet and outlet check valves must be installed
with the direction arrows on the barrels of the
check valves matching the arrows on the filter
casing. If not indexed correctly, the coolant will
not flow through the coolant conditioner.
2. Install new O-rings in the grooves at the inlet
and outlet ports.
3. Place the adapter assembly in position on
the water pump mounting flange and install
the two mounting capscrews. Tighten the
capscrews to 15 lb-ft (20 N폷m).
4. Apply a light film of engine coolant on the
face of the coolant conditioner filter gasket
seal.
5. Install the coolant conditioner filter element
on the adapter. Tighten the filter element
one full turn after the gasket contacts the
base.
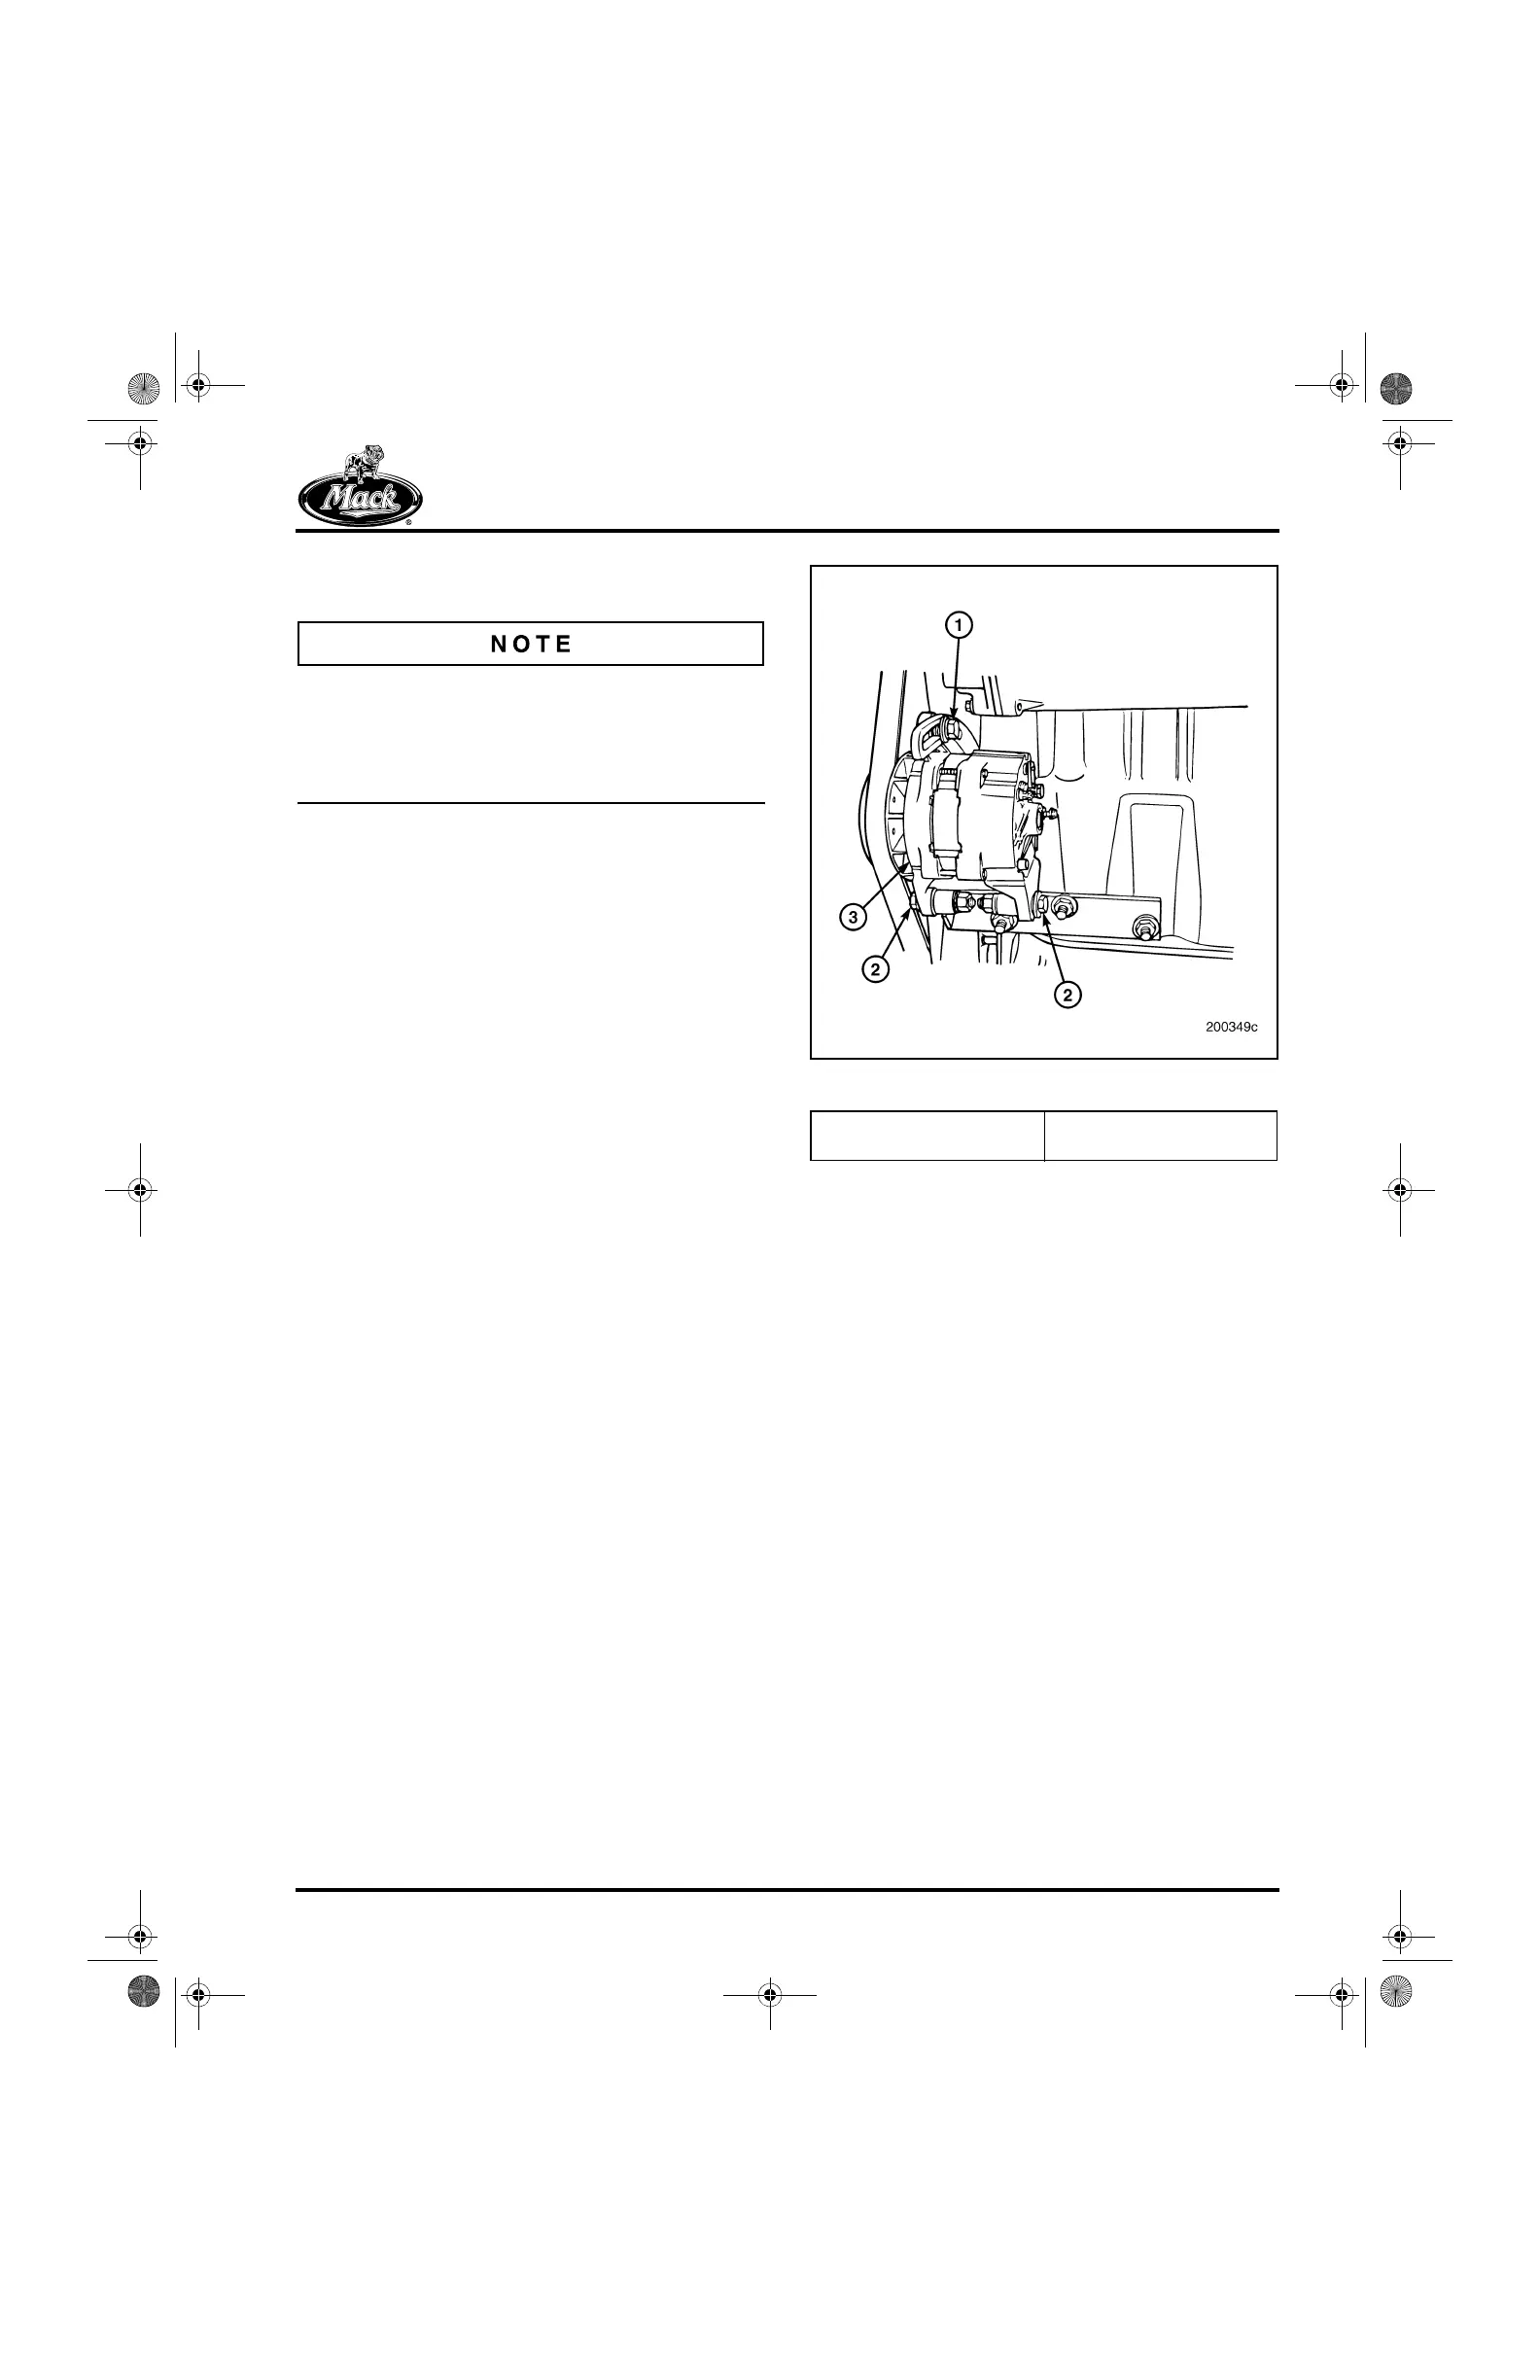
Alternator Installation
[271 CB]
Refer to Figure 439.
1. Install the alternator plate and mounting
hardware.
2. Place the alternator in position on the plate
and install the capscrews, washers and
mounting nuts.
3. Connect the electrical wires as tagged
during disassembly.
4. Install the poly-V drive belt.
5. Adjust the drive belt tension to specification
as described under Drive Belt Replacement
and Tensioning procedures in the
MAINTENANCE section.
439
Figure 439 — Alternator Installation
Removing Engine from Engine
Stand
[200 EA]
1. Attach a suitable lifting device to lifting points
on the engine.
2. Position and attach an engine hoist to the
lifting device; operate the hoist to place
tension on the lifting device.
3. With the lifting device now supporting the
engine weight, remove the mounting
capscrews from the engine stand.
4. Using the lifting device, place the engine in a
suitable support rack or install the engine in
the vehicle (see Engine Installation in the
REPAIR INSTRUCTIONS section).
1. Adjusting Capscrew
2. Mounting Capscrews
3. Alternator
5-111.bk Page 363 Monday, July 10, 2006 2:26 PM