Page 348
REPAIR INSTRUCTIONS, PART 1
15. Place the pump cartridge assembly in
position on the pump housing (pump only fits
one way due to the spacing of the seven
holes) and install the seven mounting
capscrews (Figure 411). Tighten the
capscrews to 17 lb-ft (23 N폷m).
411
Figure 411 — Water Pump Cartridge Assembly
Installation
16. Install the fan drive assembly, drive belts
and connect the fan-speed sensor lead.
EGR Valve Installation
[214 QE]
Use care when cleaning component parts of the
EGR system. Dirt and debris entering the system
could cause blockage within the cooler core or
EGR valve.
1. Clean and inspect the valve mounting
surface of the exhaust manifold and the tube
flange and mounting base of the valve
assembly. Again, use care to avoid getting
dirt and debris in the system.
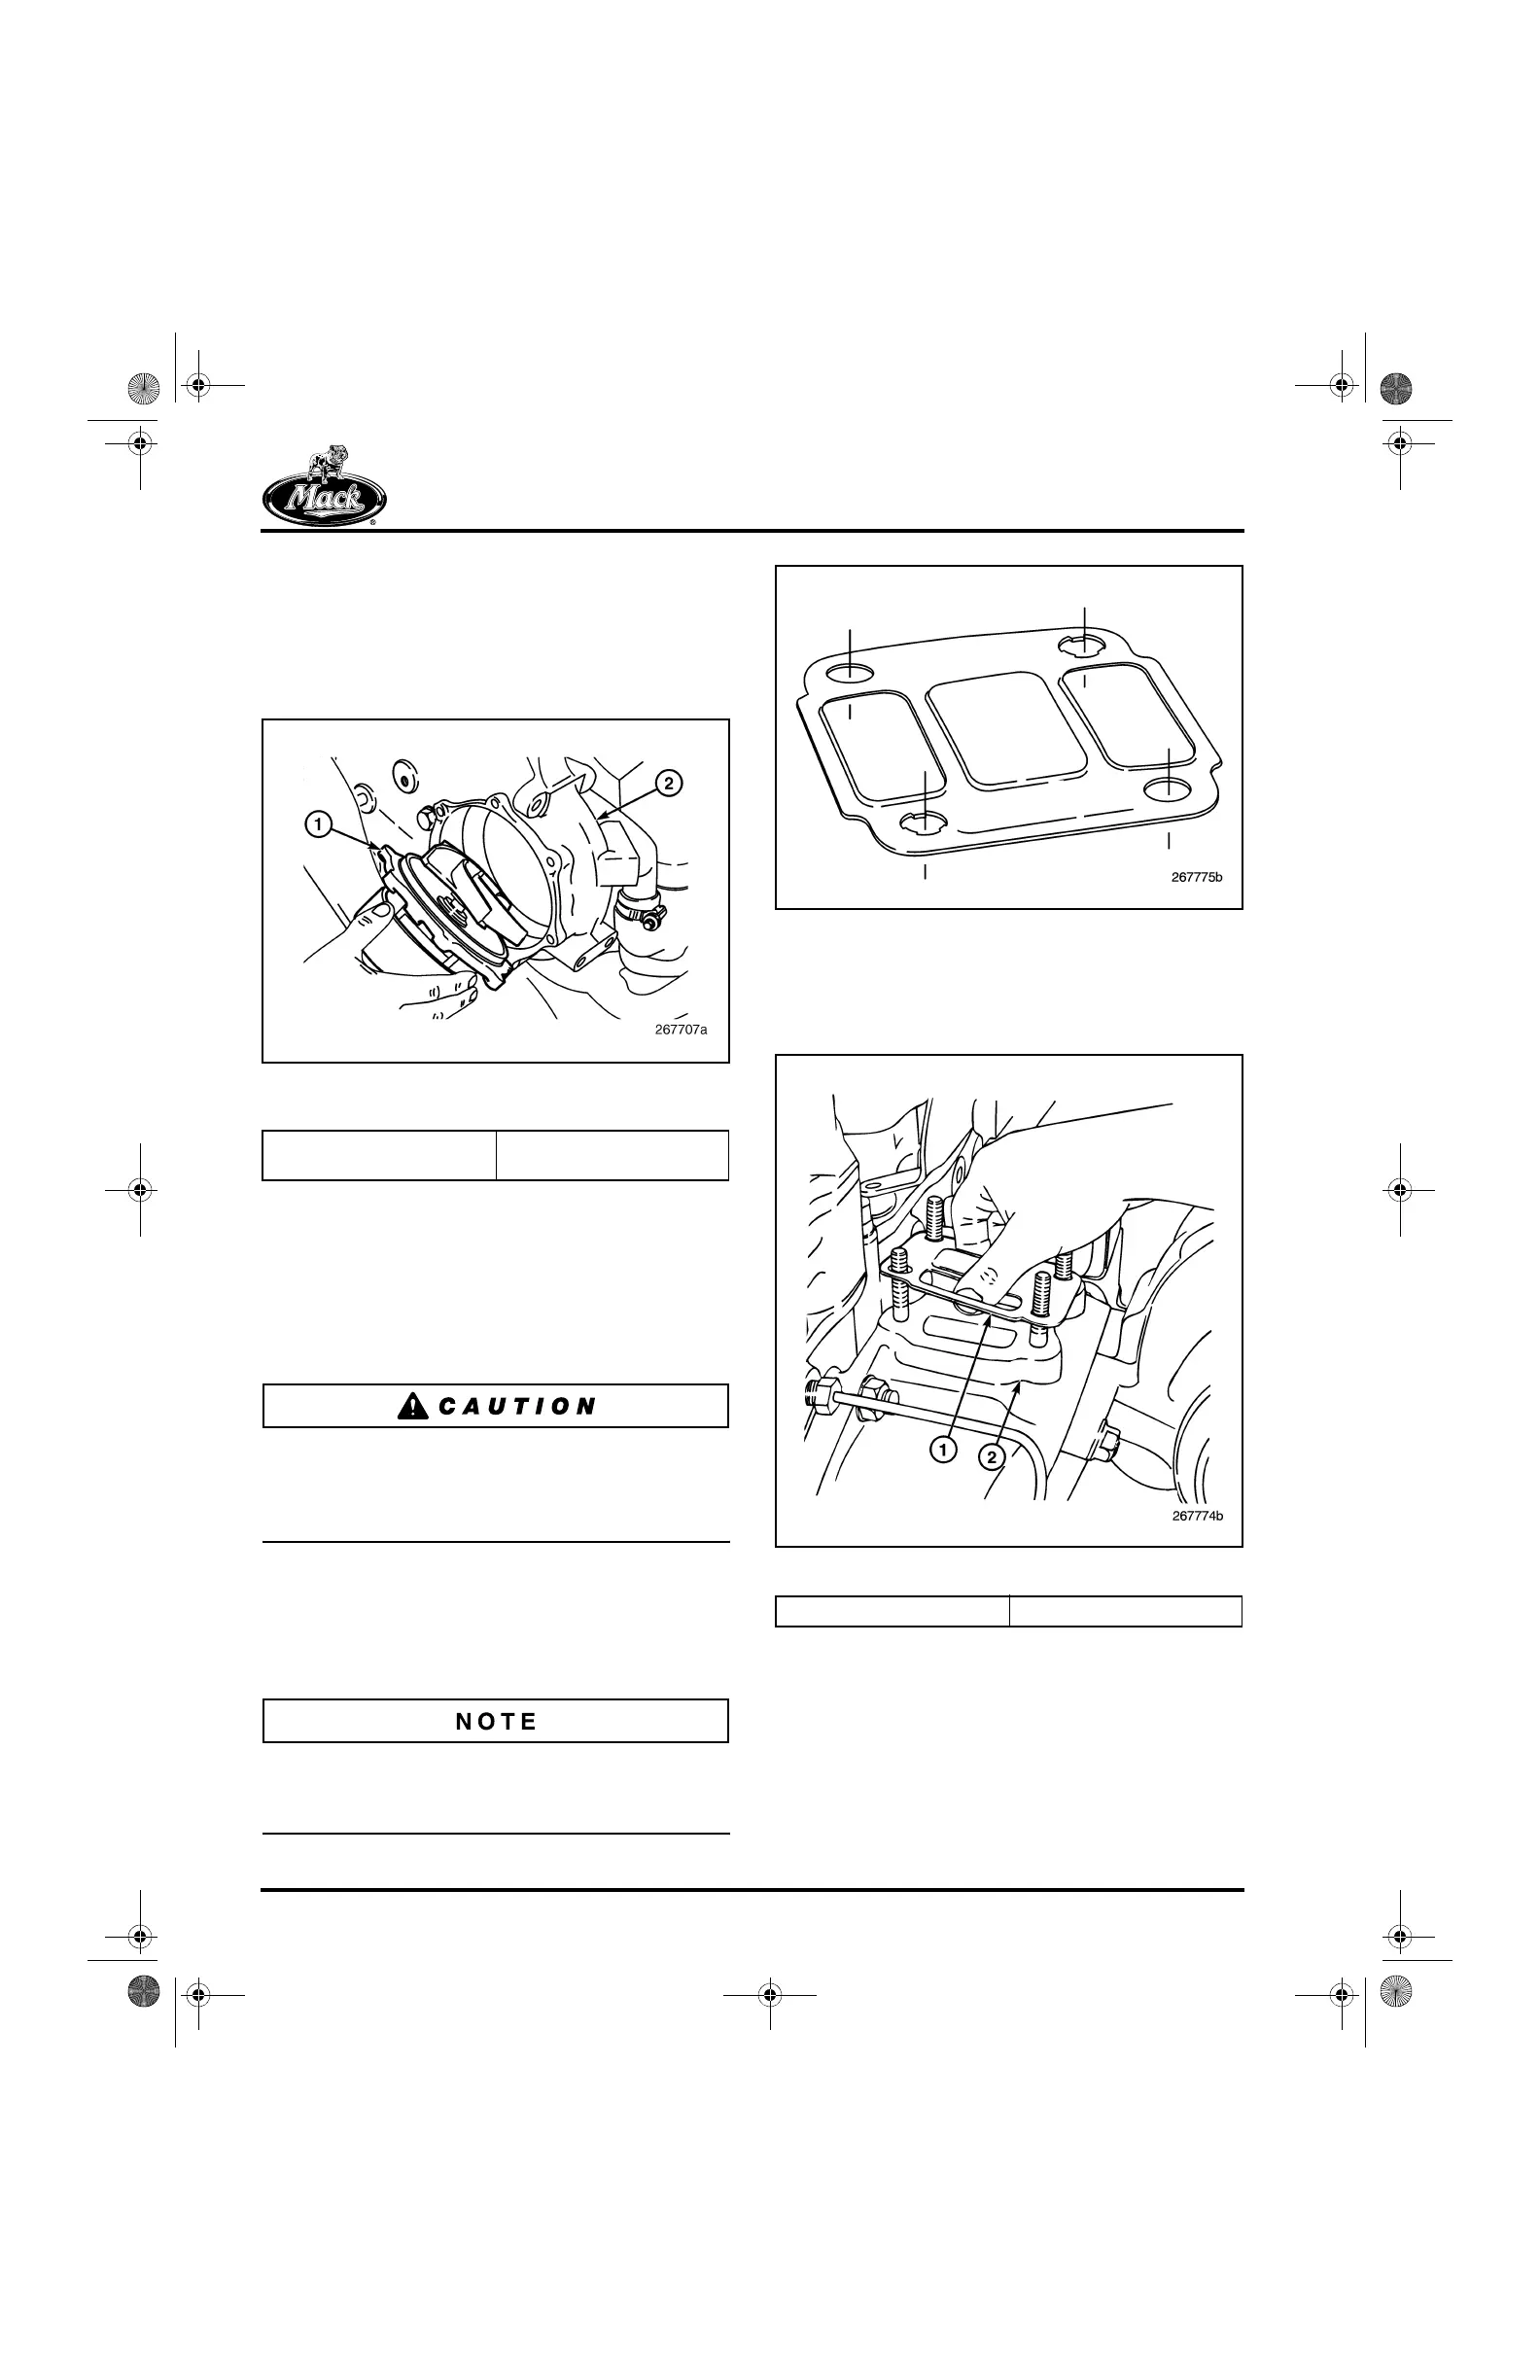
A metal gasket, shown in Figure 412, is used
between the mounting base of the EGR valve
assembly and the exhaust manifold.
412
Figure 412 — EGR Valve Gasket
2. Install a new gasket on the EGR valve
assembly mounting surface of the exhaust
manifold (Figure 413).
413
Figure 413 — Gasket Installation
3. Place the valve assembly in position on the
exhaust manifold studs (Figure 414).
Loosely install the retaining nuts. DO NOT
tighten them at this time.
1. Water Pump Cartridge
Assembly
2. Pump Housing
1. EGR Valve Gasket 2. Exhaust Manifold
5-111.bk Page 348 Monday, July 10, 2006 2:26 PM