REPAIR INSTRUCTIONS, PART 1
Page 323
8. Lubricate the threads of the retaining plug
and install it as shown in Figure 376. Tighten
the plug to the specified torque, 45 lb-ft
(61 N폷m), using torque wrench J 24407, or
equivalent.
376
Figure 376 — Retaining Plug Installation
Push Rod Installation
[213 LH]
Check the condition of the push rods before
installing them. Replace any rods that have loose
ends, are bent, or show signs of excessive wear.
Used push rods have established wear patterns.
Push rods being returned to service should be
installed in the same position from which they
were removed.
When installing new push rods, make sure that
the correct replacement rods are used. There are
differences in the rods used for engines with or
without an engine brake.
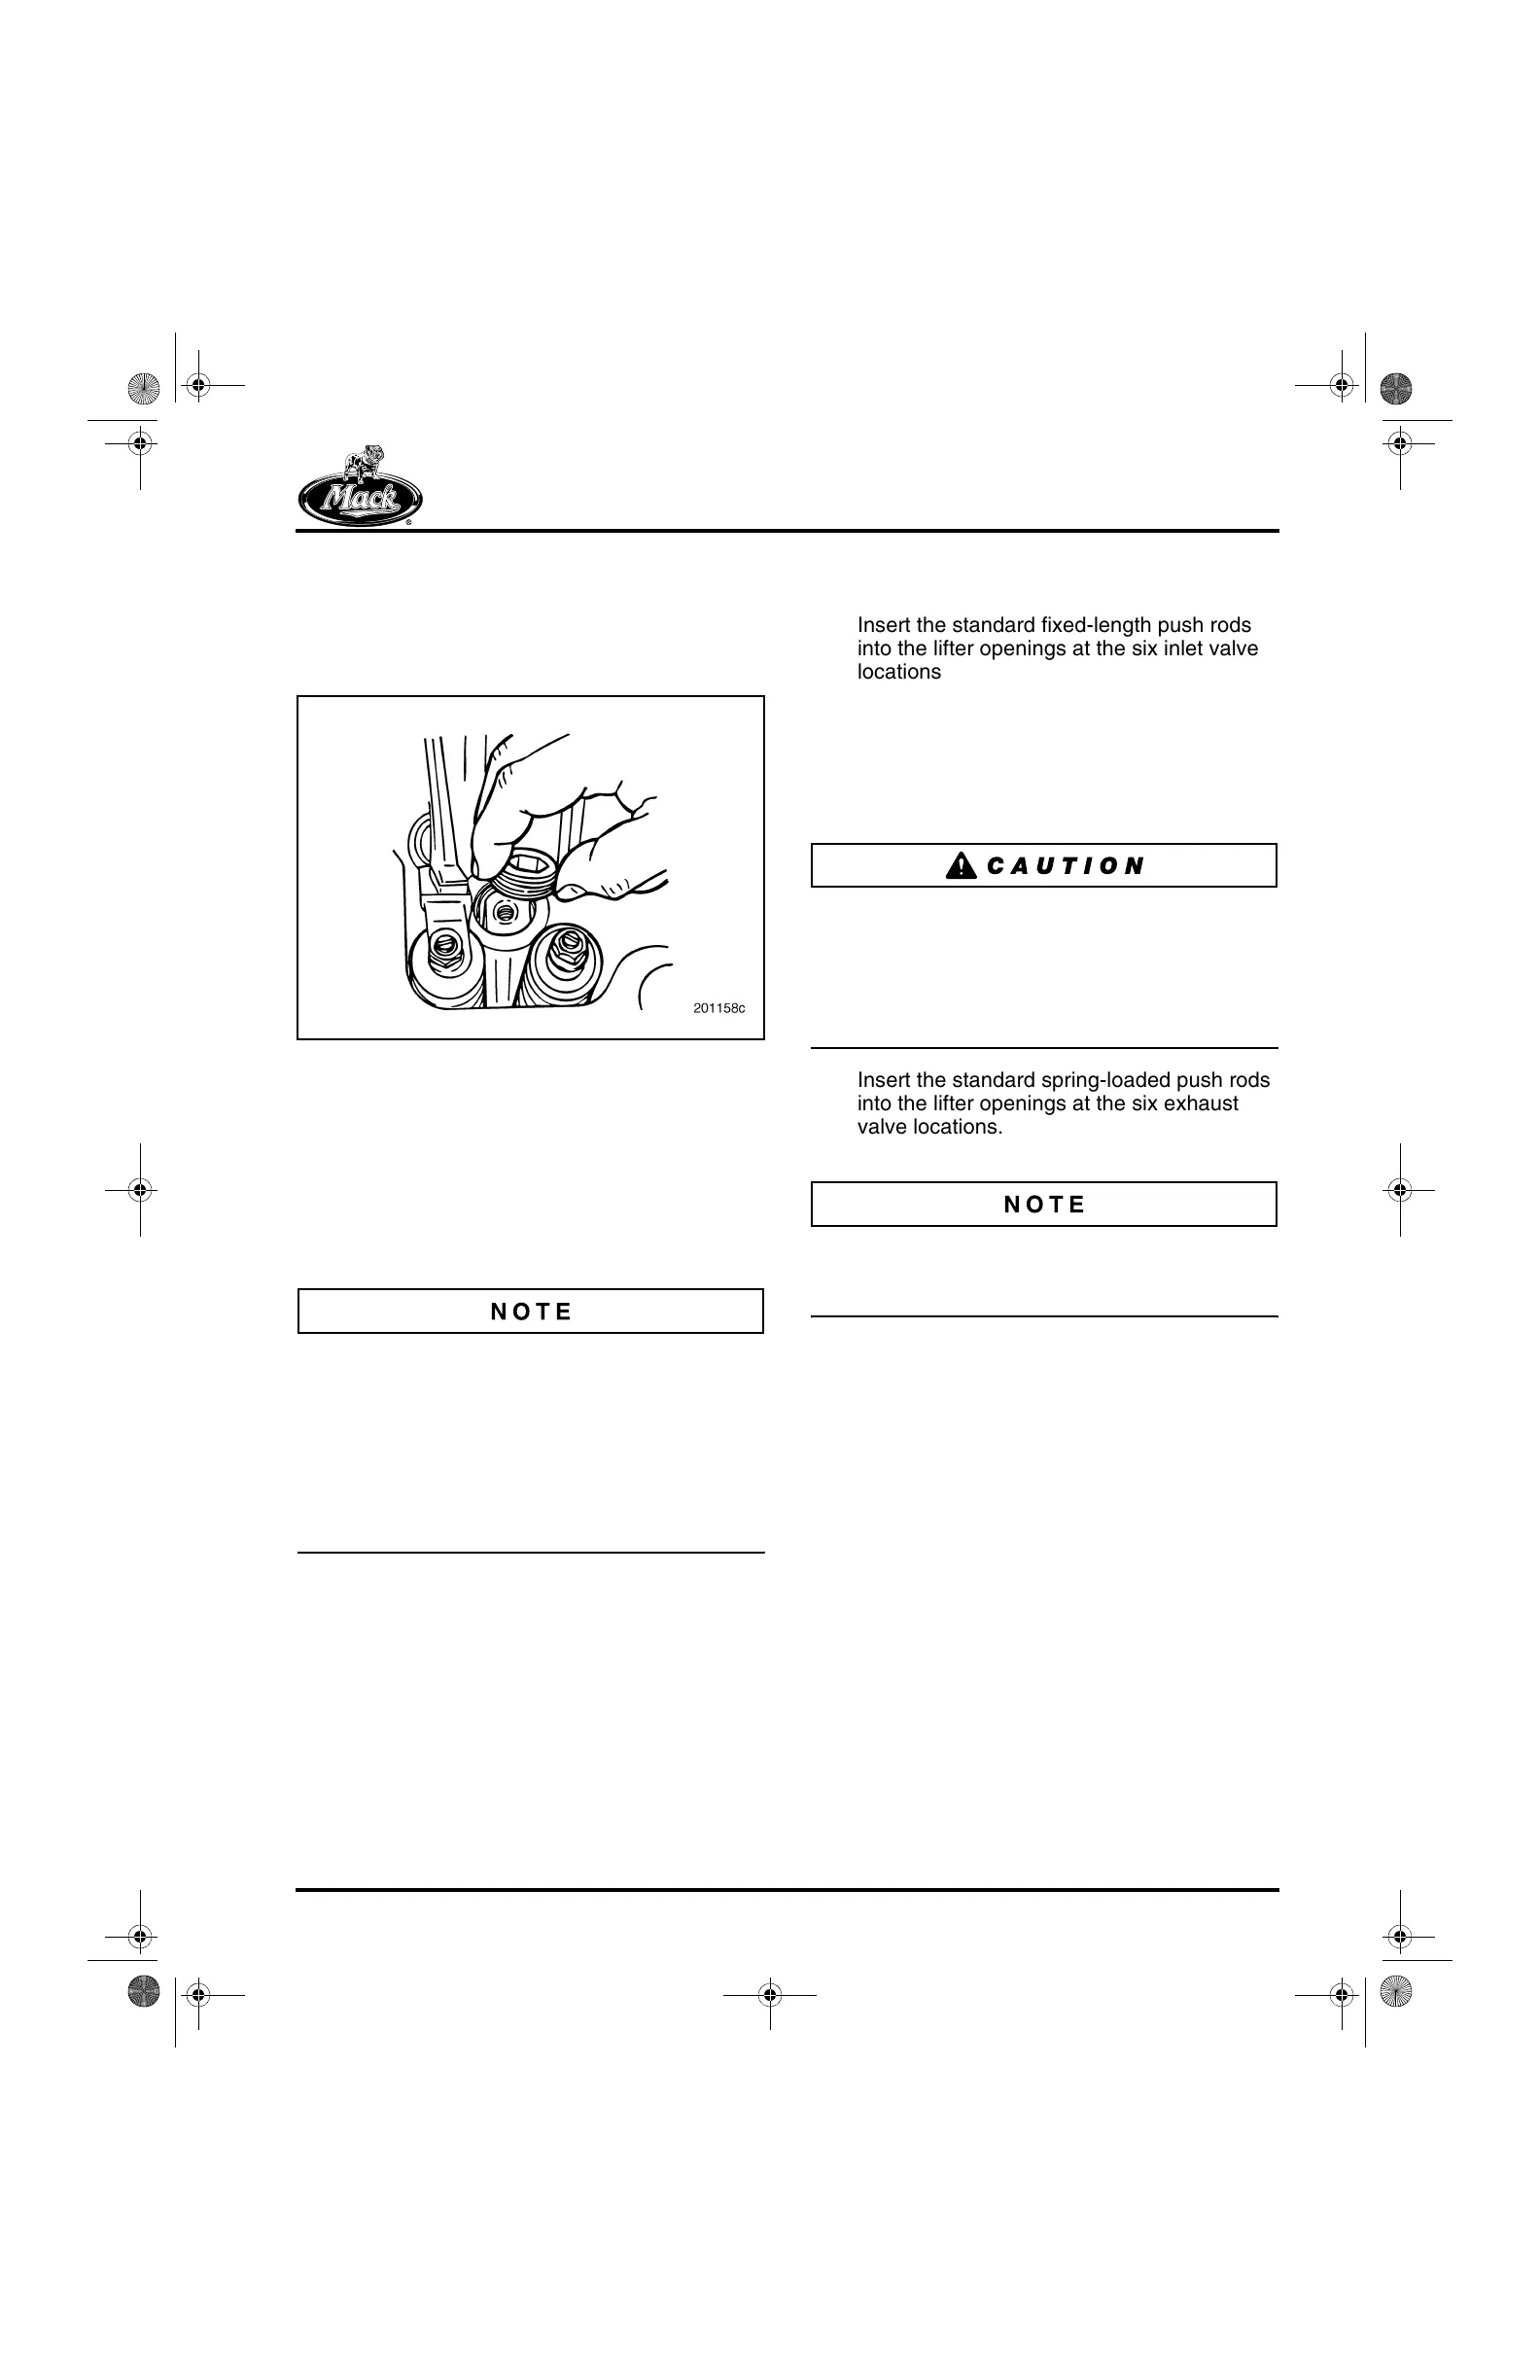
1. Apply lubricating oil to the spherical end of
each push rod.
2. Insert the standard fixed-length push rods
into the lifter openings at the six inlet valve
locations. Use care to gently lower them into
position in the lifter cups. DO NOT drop the
push rods onto the lifters. Ensure that each
rod has engaged the respective lifter by
lifting it slightly. If the lifter has been properly
contacted, some resistance will be felt in the
rod as the lifter is raised.
If a push rod is not properly inserted in the lifter
cup and the rocker shaft has been installed, the
push rod will “snap” into the cup when the engine
crankshaft is rotated for the first time. This impact
will break or damage the ceramic roller of the
lifter which will require replacement.
3. Insert the standard spring-loaded push rods
into the lifter openings at the six exhaust
valve locations. Again, ensure that each rod
has engaged the lifter by lifting it slightly.
Spring-loaded push rods must be pre-lubed by
submerging the spring end of the push rod in
clean engine oil prior to installation.
5-111.bk Page 323 Monday, July 10, 2006 2:26 PM