Section 5 – INSPECTION
Mini-Crawler Crane M A E D A
5-24 1/2019 MC285C-3
Check / Add Slewing Motor Reduction
Gearcase Oil
Before checking or adding slewing motor
reduction gearcase oil, read the maintenance
precautions in “Handling and Service of Gearcase
Oil” on page 5-6.
1. Stop the machine on a level location.
2. See “Removing Machinery Cover” on page
5-14 and remove the machinery cover.
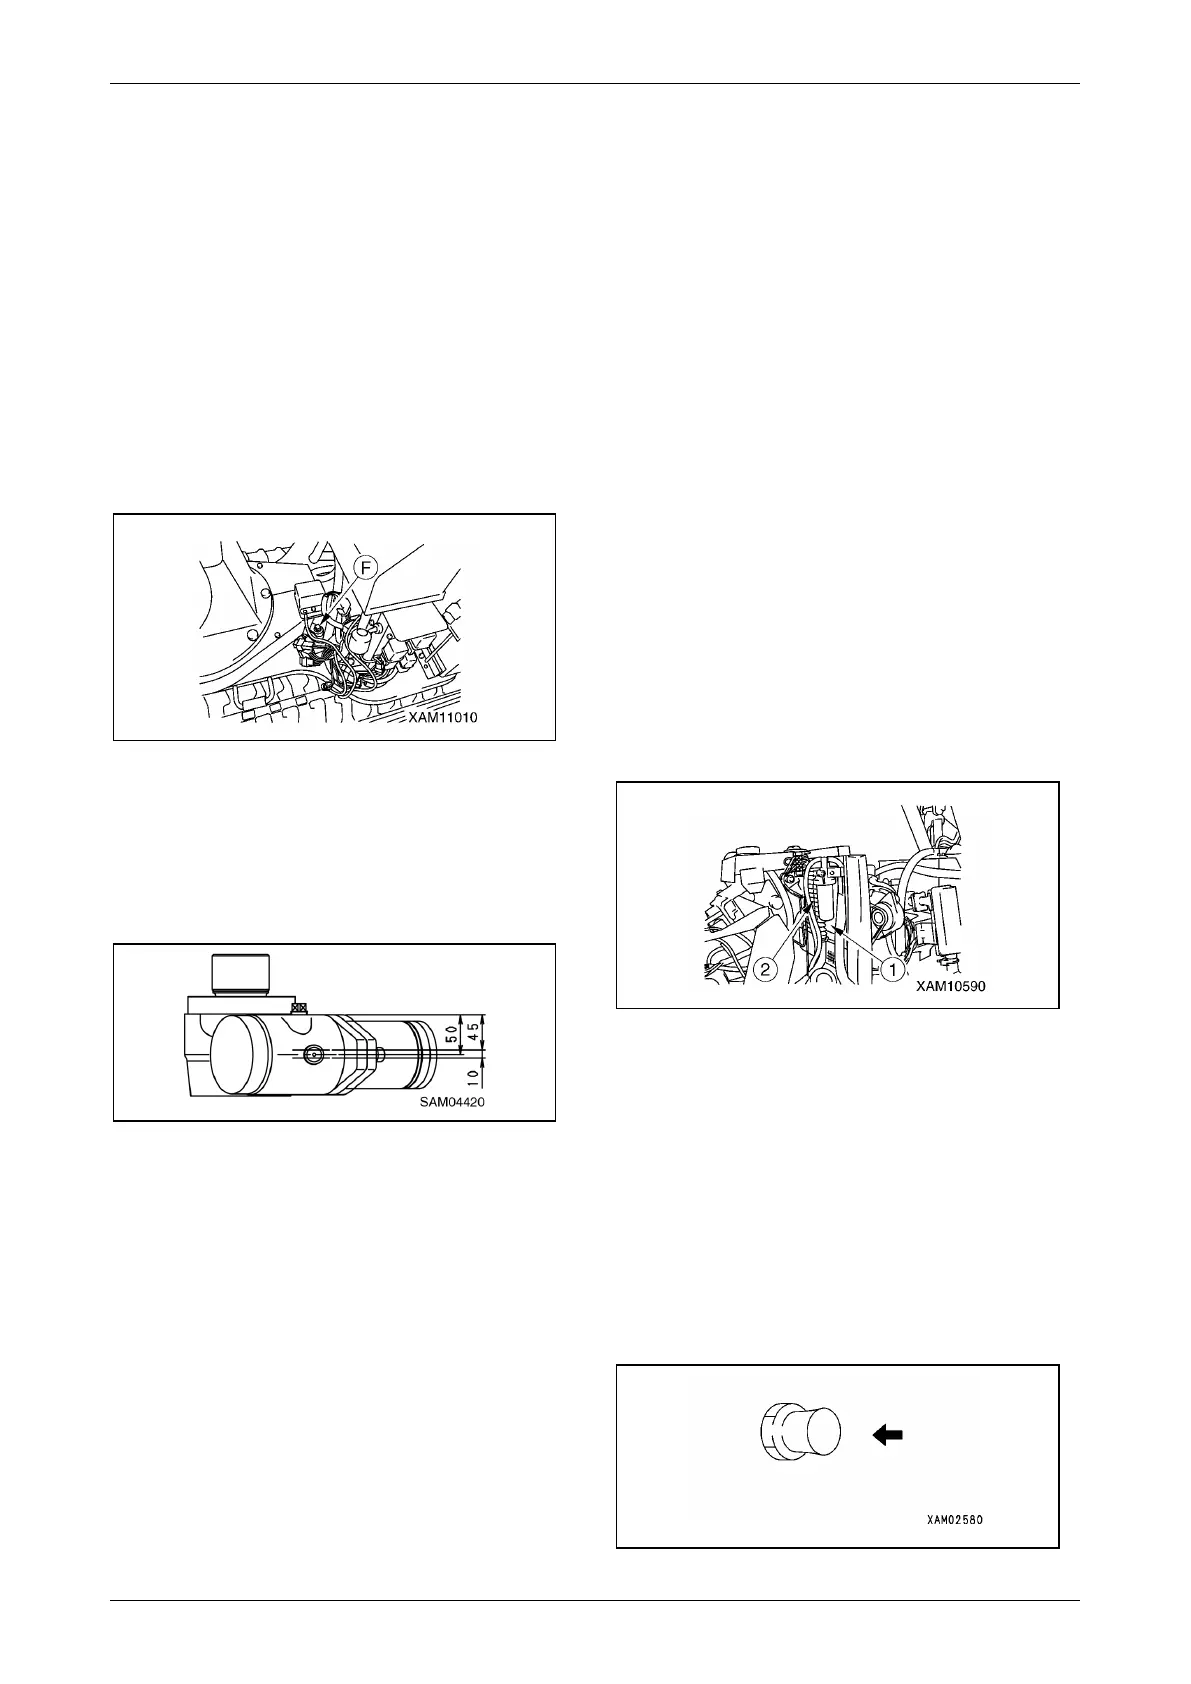
3. Remove the filler port plug (F) from the
slewing reduction gearcase. Fill with gear oil
from the plug hole up to the middle of the
gearcase.
Fig. 5-25
NOTICE: The height at middle of gearcase is
50 mm from the top of the filler plug. 50 mm
(±5 mm) is the appropriate oil level.
Do not allow ingress of dust or dirt when
measuring or filling oil.
Fig. 5-26
4. If the oil level is low, refill with the gear oil
from the plug hole of the filler plug.
5. After adding oil, install the filler plug and
securely tighten.
6. See “Installing Machinery Cover” on page
5-14 and install the machinery cover.
Check / Clean Radiator and Oil Cooler
Fins
WARNING! Exposure Hazard. Always wear
appropriate eye protection to prevent the risk
of eye injury when using compressed air.
NOTICE: Avoid damaging cooling fins with
compressed air. Use air pressure between 0.20
and 0.29 MPa (2 – 3 kg/cm
2
) and direct it away
from the fins. Damaged fins will cause water
leakage or overheating.
Check and clean cooling fins every day as
frequently as required, especially in dusty
environments.
1. Stop the machine on a level location.
2. Rotate and set the outriggers outward to
stabilise the machine. See “OUTRIGGER
SETTING” on page 4-38.
3. See “Removing Machinery Cover” on page
5-14 and remove the machinery cover.
4. Use compressed air (0.20 to 0.29 MPa {2 to
3 kg/cm²}) to clean the oil cooler (1) and
radiator (2) fins.
Fig. 5-27
5. See “Installing Machinery Cover” on page
5-14 and install the machinery cover.
6. Rotate the outriggers inward and stow. See
“OUTRIGGER STOWING” on page 4-48.
Check Horn
1. Turn the Starter Switch to the ON position.
2. Press the Horn Switch to verify the horn
sounds. If the horn does not sound, the horn
may be faulty or the circuit may be open.
Repair or replace the horn.
Fig. 5-28