Millipore System Documentation Set
198 Operating and Maintenance Manual Publication XITXSP121 P Rev.A
ROUTINE MAINTENANCE—REPLACEABLE COMPONENTS
The Integritest Exacta Instrument requires very little maintenance. There are a small number of
user replaceable components that may need replacement.
Replaceable Parts
• Cooling Fan filter (low back-pressure HEPA-like filter)
• Gas inlet filter
• Fuse: 2 amp slow blow (delayed action), 250v, 5 x 20 mm
• Paper (see Changing the Paper, 145)
• HP
®
inkjet cartridge (see Replacing the Ink Cartridge, page 146)
Fan Filter Replacement
The fan filter (catalogue number XITXSP110) is a HEPA
®
-like filter that removes particles from
the Integritest Exacta instrument’s cooling fan exhaust. It is recommended that the filter be
replaced every 6 months. The actual replacement frequency will vary depending on the
cleanliness of the environment where the instrument is used.
The filter is not required to operate the Integritest Exacta instrument. If filtration of the cooling
fan exhaust is not necessary, the user can choose to remove the fan filter and operate the
instrument without it.
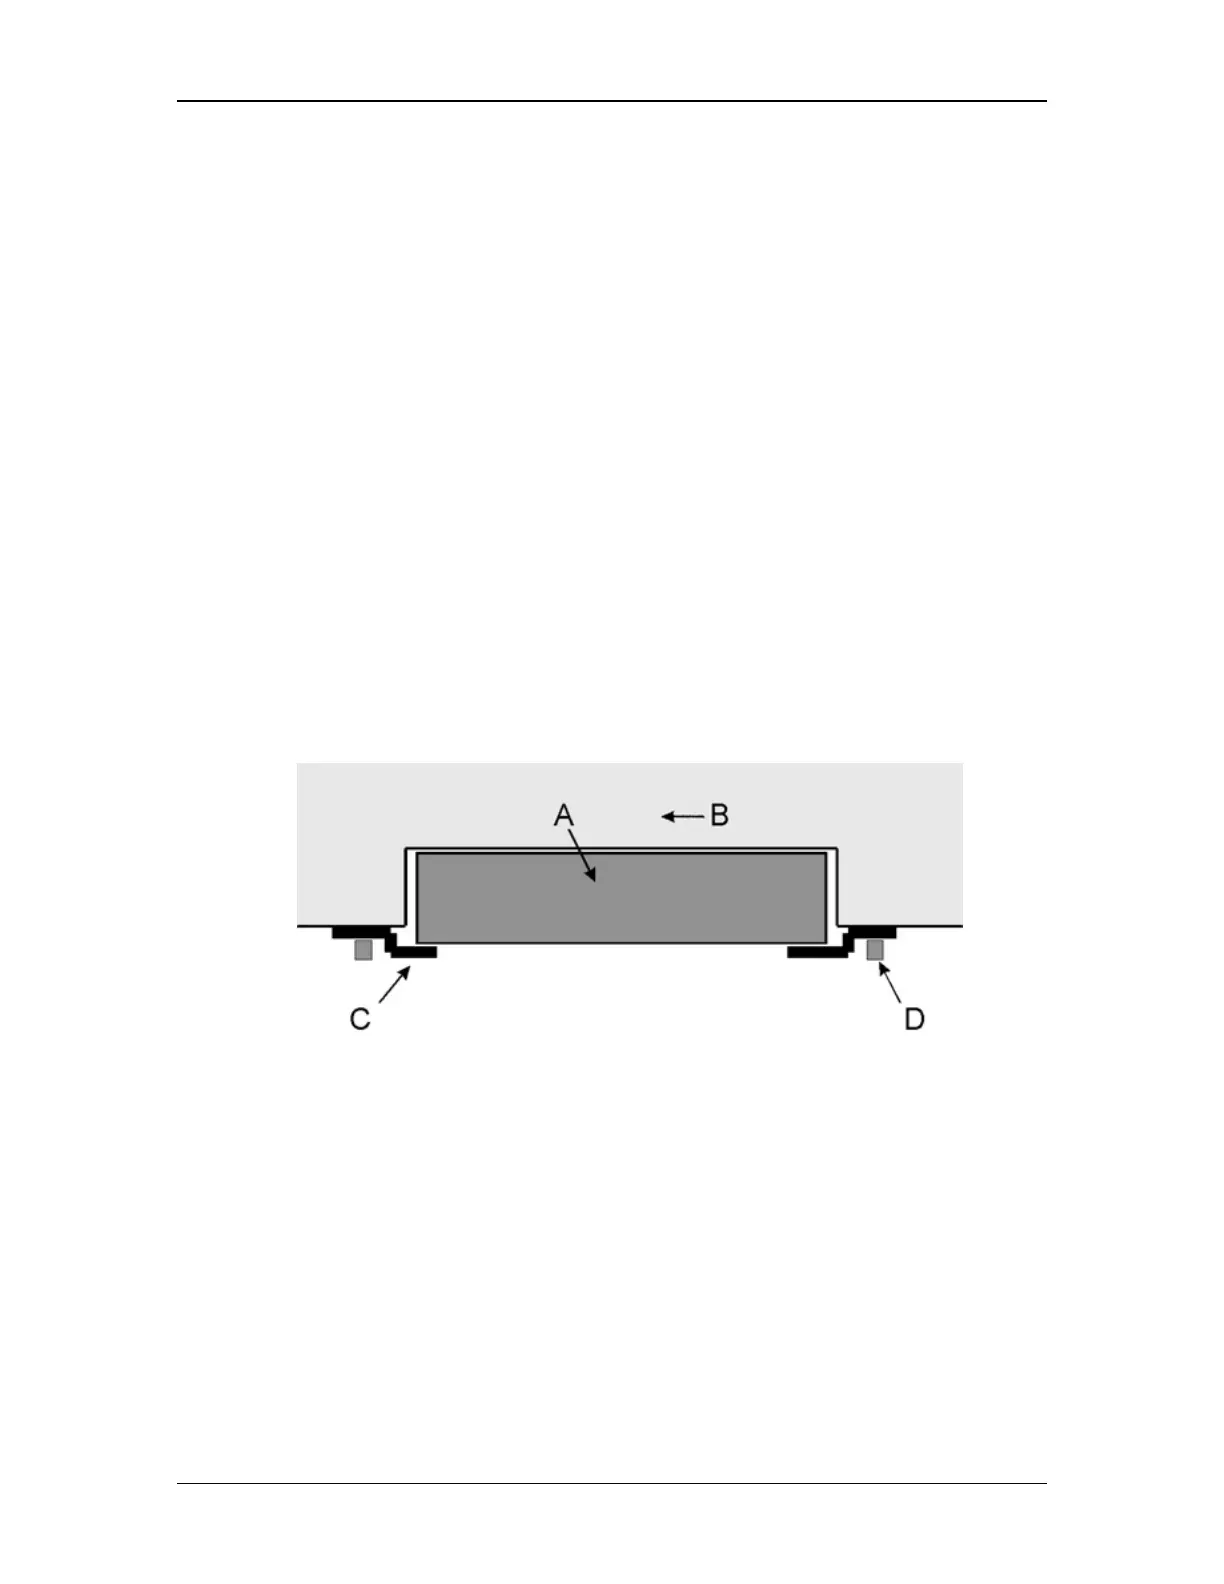
Diagram Key: A. Filter B. Integritest Exacta Instrument
C. Clamp D. Thumbscrew
Figure 80: Fan Filter Assembly
Procedure
1. Make sure that the instrument is turned off.
2. Locate the fan filter on the bottom of the instrument (Figure 80).
3. Loosen the thumbscrews from the filter mounting bracket assembly.
4. Position the mounting brackets so that the filter can easily be removed.
5. Remove the old filter.
6. Insert a new filter.
7. Reposition the mounting brackets.