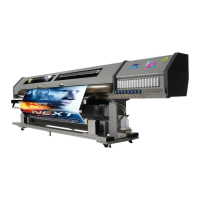
Spitfire – Maintenance Manual
133
AP-74096, Rev. 1.0, 09/06/05
4.10. REPLACING THE CARTRIDGE AREA
4.10.1. Replacing the I/H (ink holder) assembly
There are 8 I/H assembly 's installed in this printer. Following procedure is for the removal of 1 I/H
assembly.
Notes :
¾ Remove following covers before replacing the parts in the I/H assembly.
I/H cover: refer to "Removing the I/H cover"
Side cover R: refer to "Removing side cover R"
Panel unit assembly: refer to "Removing the panel unit assembly"
(1) Removing the I/H assembly
Step 1 : Perform the ink discharge operation to discharge the ink from the inside of all ink paths.
Notes :
¾ For ink draining procedure, refer to "Head wash menu".
Step 2 : Remove the following connectors from the JUNCTION board assembly.
¾ Ink sensor assembly connectors (8)
¾ SC cable assembly connectors (8)
Notes :
¾ For more details of the JUNCTION board assembly connector, refer to "Table
Connectors connected to the JUNCTION board assembly" in "Replacing the
JUNCTION board assembly".
Step 3 : Remove the sensor assembly harnesses removed in step 2 from their clamps.
Step 4 : Pull the harnesses out of the grommets on the board base fixing plate.
Step 5 : Follow the step 1 to 3 in "Replacing the power source board assembly" to remove the Mainboard
base.