OMICRON 255
Off-service diagnostic methods
2. In the Assessment area, configure the assessment.
► Click Edit configuration or click in one of the tables to open the Assessment configuration
dialog box, and then edit the assessment limits.
► Select the Automatic assessment check box to enable the automatic assessment.
Note: For the assessment limit definitions, see 15.3 "Assessment limits" on page 107.
3. In the Measurements area, click Start.
The blue ring on the Start/Stop button is on.
4. Start the measurement by pressing the Start/Stop button.
The blue ring on the Start/Stop button flashes for approx. 3 seconds, and the lightning symbol in
Primary Test Manager and the red status light on the front panel are flashing.
5. After the measurement has finished, the lightning symbol in Primary Test Manager stops flashing, the
green status light is on, and Primary Test Manager displays the measurement results.
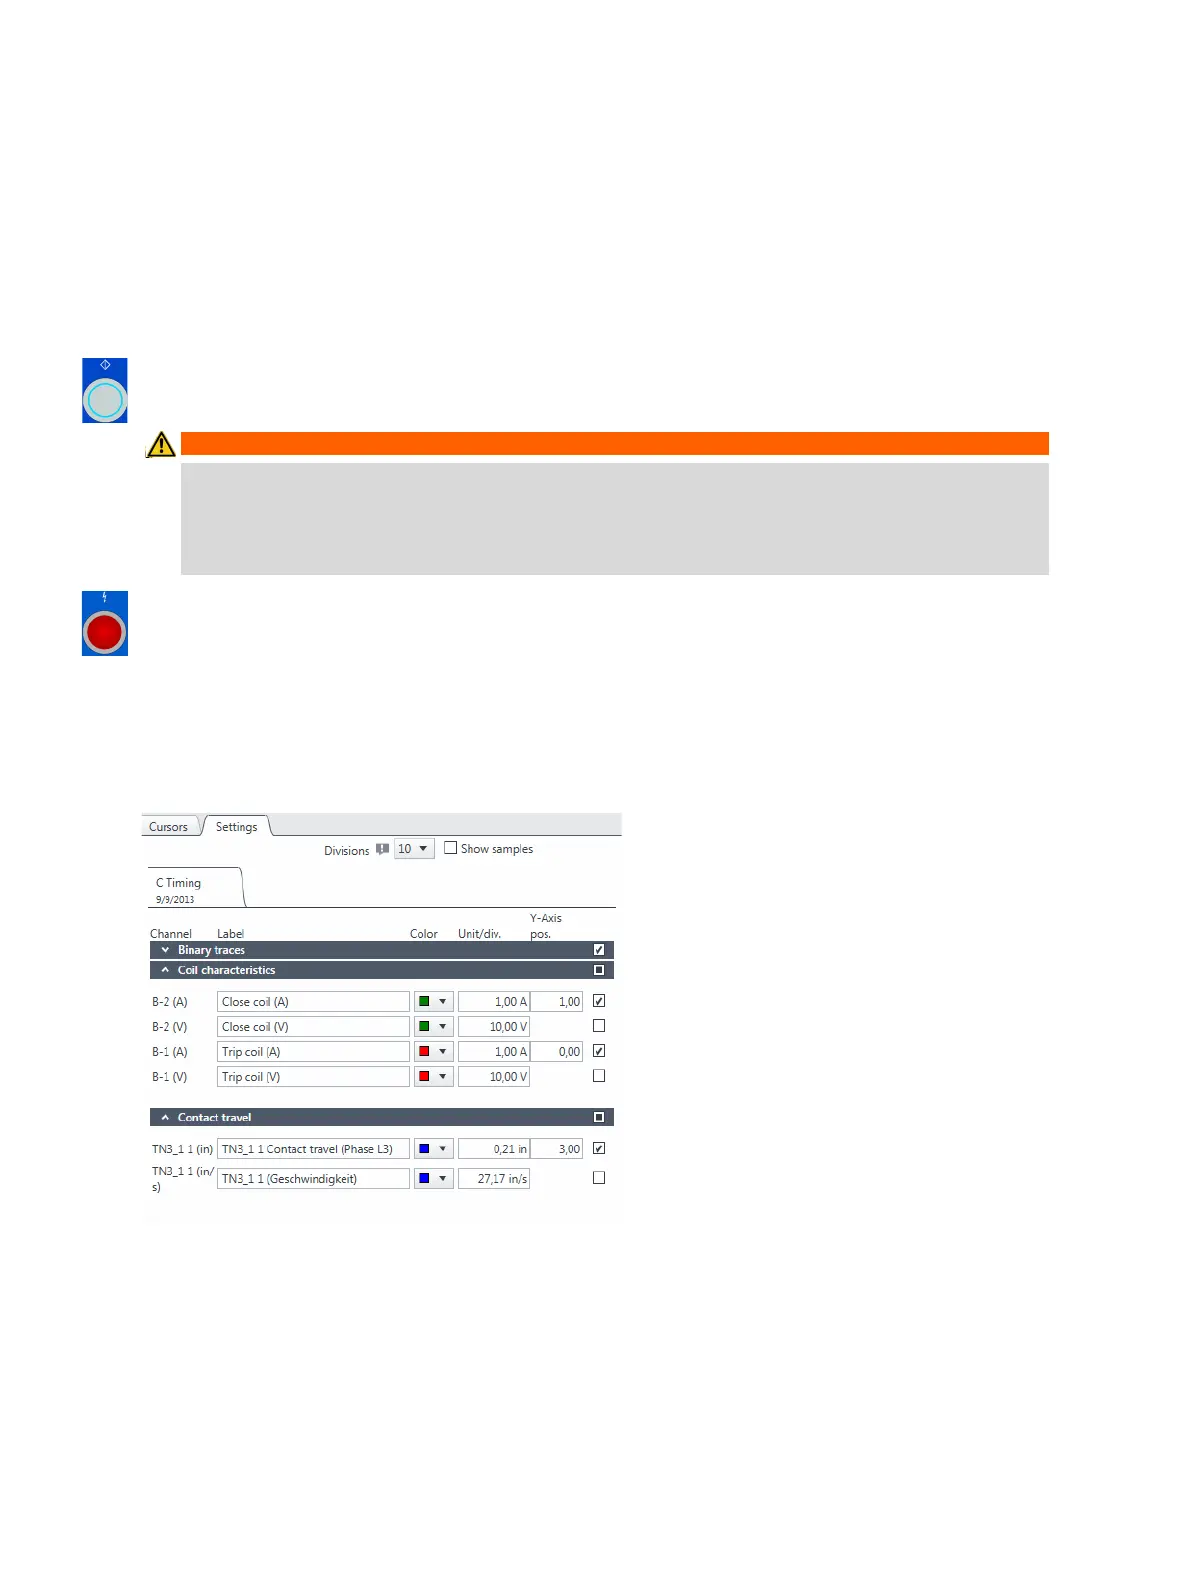
When testing with the CB TN3 modules, Primary Test Manager calculates and displays also the velocity
of the contact travel. You can set the display options for the velocity data on the Settings tab in the
Cursors & settings workspace.
Figure 17-53: Setting the velocity display options
To view the numeric measurement data, click the Table tab. For the operating times, auxiliary contact
characteristics and coil characteristics, see Table 17-43: "Operating times" on page 187,
Table 17-44: "Auxiliary contact characteristics" on page 187 and Table 17-46: "Coil characteristics" on
page 188.
WARNING
Death or severe injury caused by high voltage or current possible
► Do not enter the high-voltage test area while testing with CIBANO 500 since any part of the
circuit breaker can carry dangerous voltages.
► Stay in the work area during the test.
 Loading...