5 Repair and Disassembly Plug-in Modules
108
WARNING When you disassemble/assemble a plug-in module a patient leakage current test must be performed
before it is used again for monitoring.
To disassemble a plug-in module:
Remove the front housing.
– Place the module on a flat surface and insert a card (similar to a credit or cheque type card) into
one side of the module to disengage the 2 tabs securing the front housing to the module housing.
– Pull the edge of the front housing away from the module housing.
– Carefully turn the module over so the free edge does not reengage and repeat the first two steps
on the other side of the module. The front housing should now be free of the module housing.
To reassemble a plug-in module:
Snap-fit the front housing onto the front of the module case so the openings in the front housing
match the LEDs and keys.
tcpO
2
/tcpCO
2
Calibration Chamber Kit
To remove the calibration chamber
1 Using a flat-tipped screwdriver, remove the screw holding the calibration chamber in place on the
front of the plug-in module.
2 Lift the chamber off the plug-in module. Ensure that the white plastic switch tip located in the
module is not lost.
To replace the calibration chamber
1 Ensure the white plastic switch tip is in place in the plug-in module.
2 Place the calibration chamber in the allocated position on the plug-in module.
3 Insert and tighten the screw into the calibration chamber, securing it to the plug-in module.
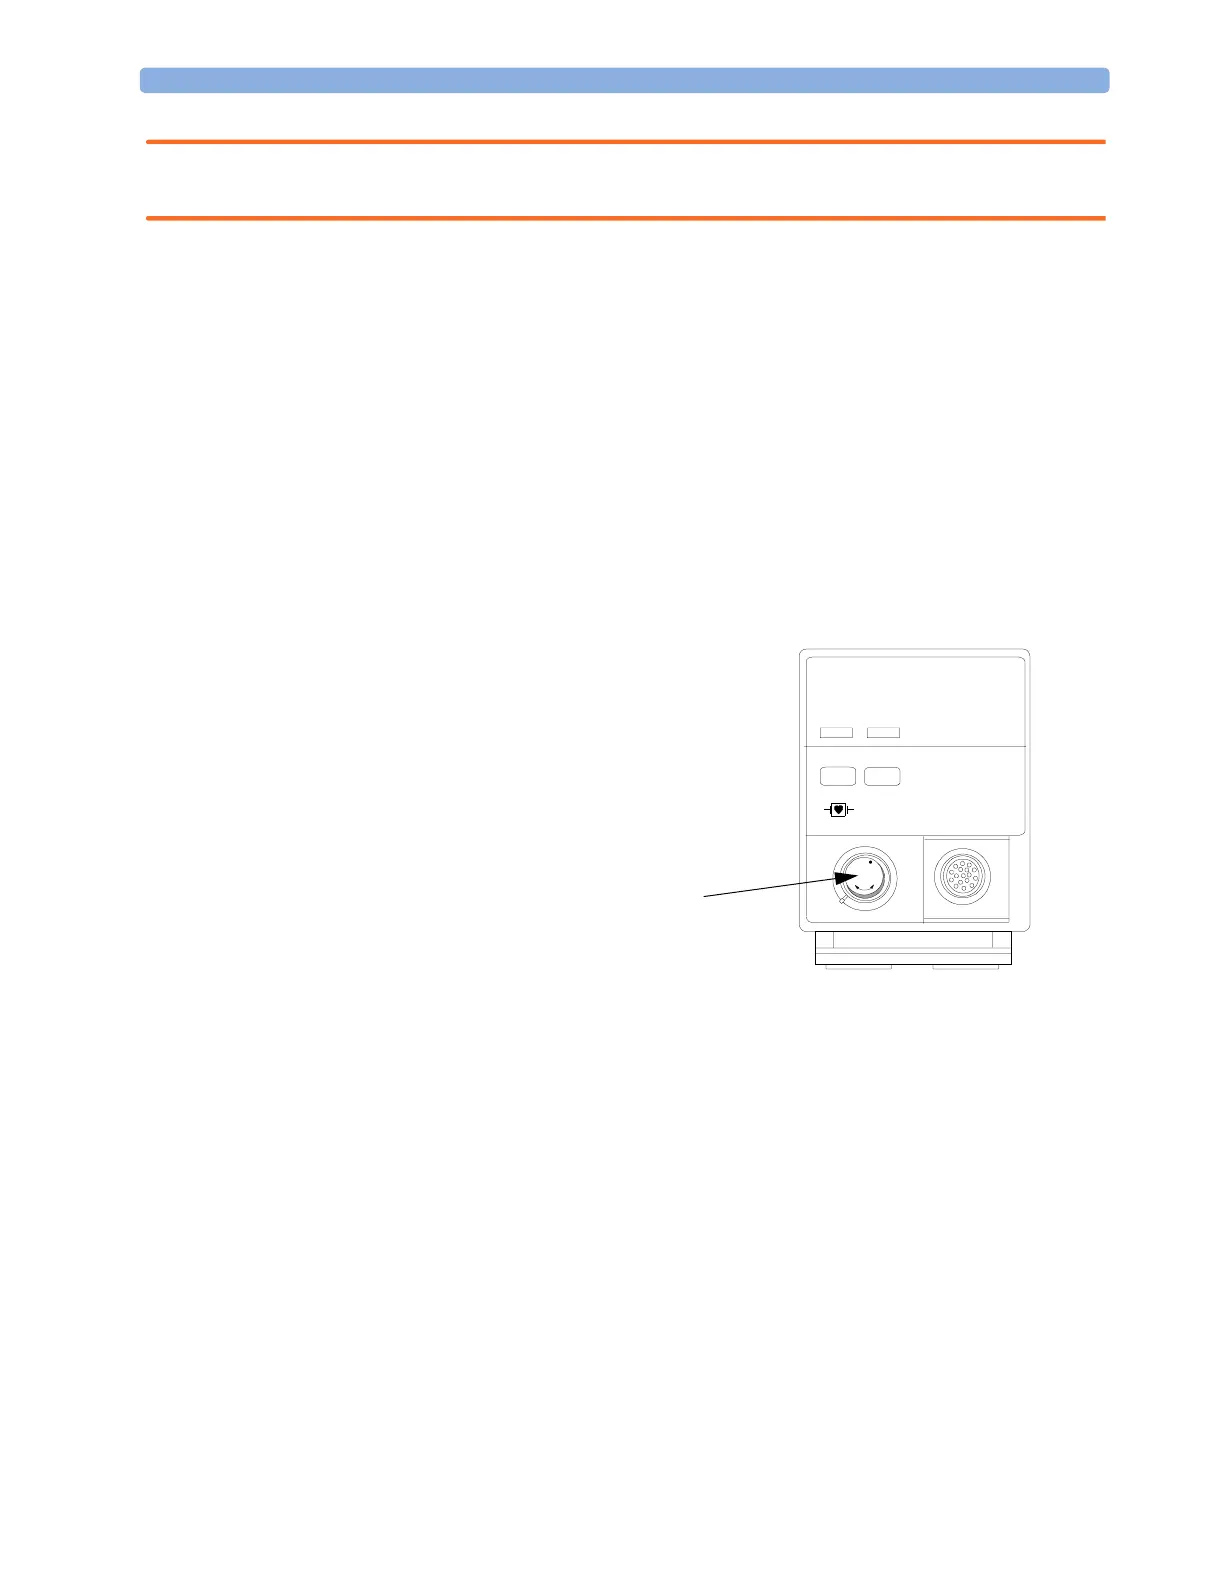
O2/CO2
CAL
tcpO /tcpCO
M1018A
T
80x100
2
2
CALIBRATION
CHAMBER
 Loading...