225
Polyend Tracker+ Manual
NOTES
Audio
8
▌ RENDERING SELECTION IN A PATTERN
1. Press [Pattern] to select the pattern mode page.
2. Press [Rec] to select record edit mode.
3. Hold [Shift] + [Up], [Down], [Left], [Right] to select the range to render.
For example, select across 3 tracks, 8 steps, of a percussion sequence.
4. Press [More]. The 8
th
Screen Button to select more pattern options.
5. Press [Render Selection], the 1
st
Screen Button. This will be dimmed
and unavailable if [Rec] is off.
6. The naming page appears. A name can be edited or press [Auto Name],
2
nd
Screen Button to automatically apply a name. Manually editing the
name offers an opportunity to make the name relevant, although a
longer process. Auto name may be less relevant in terms of the name,
but is a faster process.
7. When the name is entered, Press [Render & Load], 7
th
Screen Button.
This option will not only render the audio but also automatically load the
sample into the instrument list. The pattern will halt playback if playing.
When the le has been ‘exported’, the instrument list will open ready to
preview and the sample selected.
8. Alternatively, Press [Render Selection], 7
th
Screen Button. This option
will render the audio. The pattern will halt playback if playing. This will
render and save onto the SD Card.
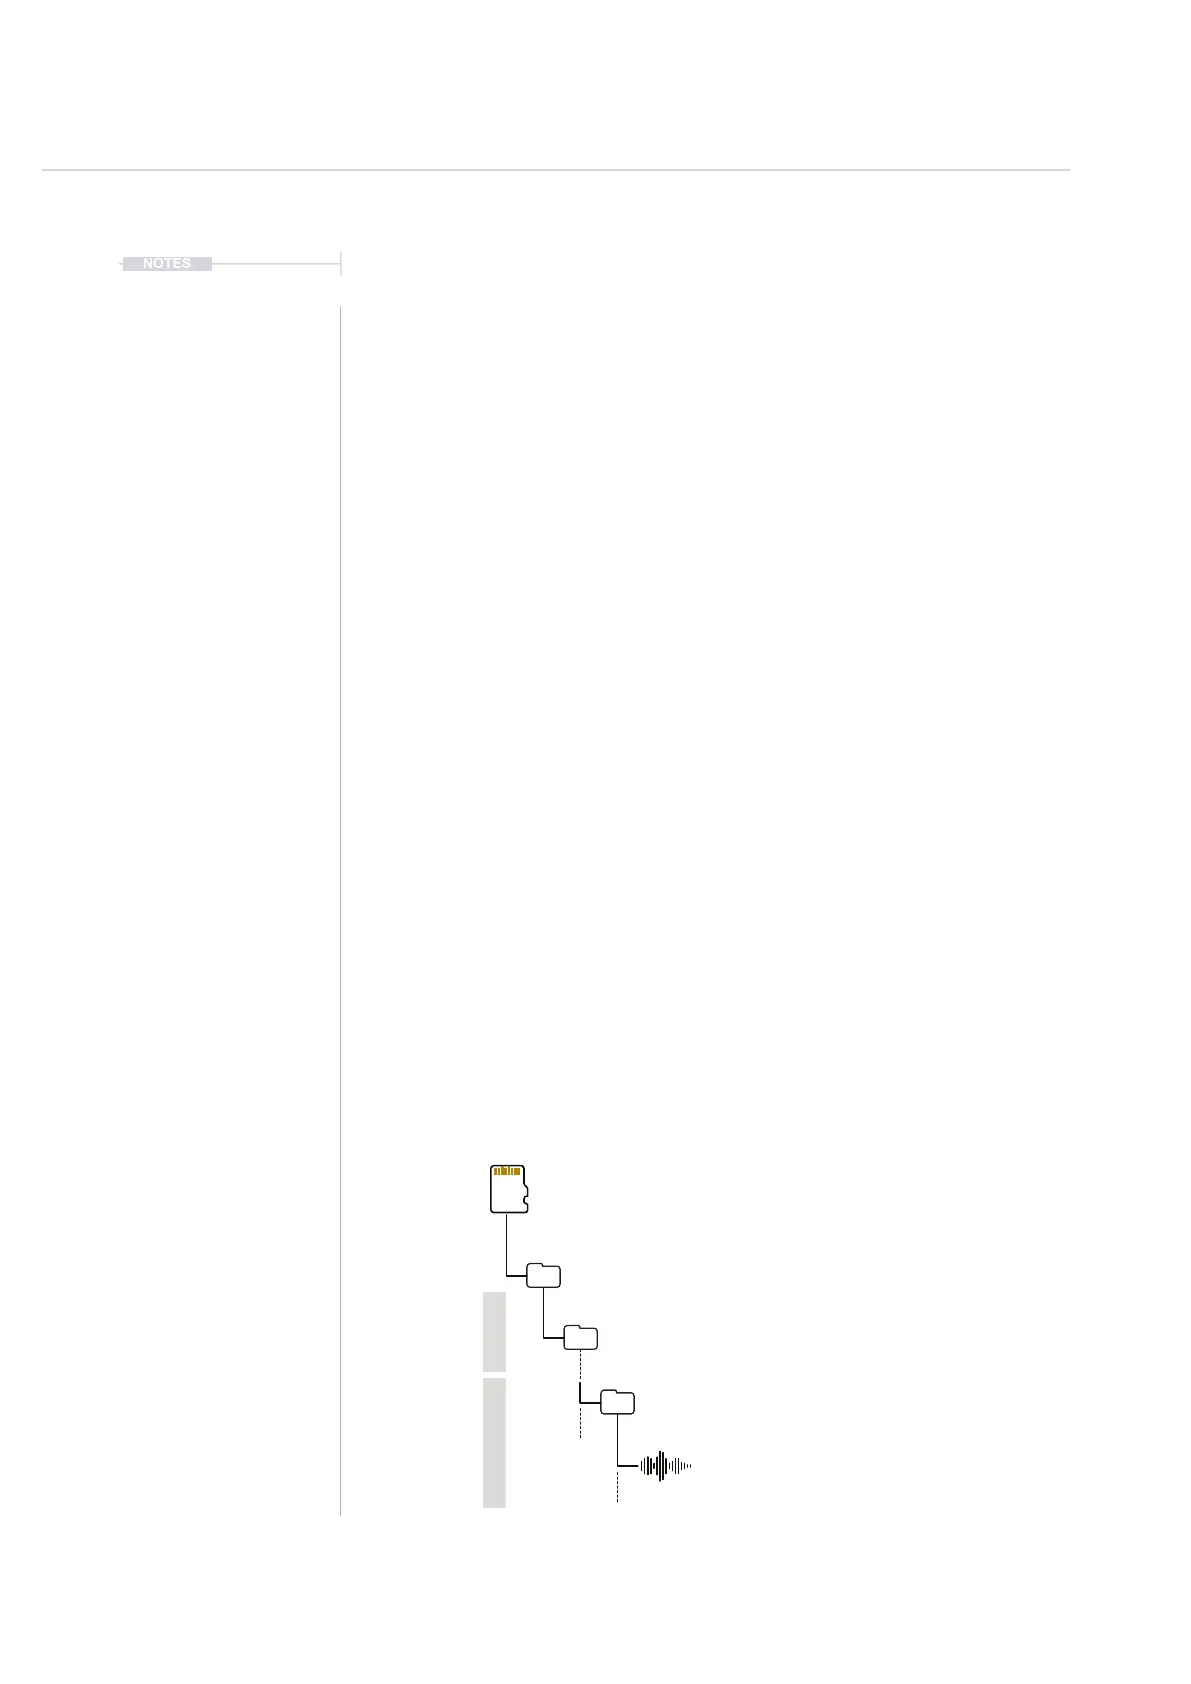
9. The SD Card save location is in the ‘Export/ ProjectName/ Selection’
folder for both render options. Rendered les are 44.1kHz, 16 bit. Files
are accessible from sample loader.
Sub Folders
Represents the Project
Rendered Audio le for the selected part of the pattern
Folder for selected partial pattern renders
SD Card
/Root Directory
/Export
/ProjectName
Selection0001.wav
/Selection
Pattern Selections Project