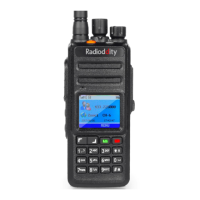
Radioddity Extended manual for Radioddity DB25-D, DB40-D & GD-88 v3.0
© Radioddity 2023 page 175 of 252
13 Setup of channels
A channel is defined by several parameters. Some of them apply both, to analog
as well as digital channels, others apply to analog or digital channels only. This
chapter do explain all those parameters in more detail.
Above the list of channels within a zone, you find four buttons and two input
fields.
13.1 Import channels from CSV-file
If you press the ‘Import’ button, you will be directed to the default file path of the
system in order to directly import a CSV file containing a list of channels.
The format of the CSV file is as follows:
Z-1,CH mode,CH Name,RX Freq,TX Freq,Power,RX Only,Alarm ACK,Prompt,PCT,RX TS,TX TS,RX CC,TX CC,Msg Type,TX Policy,RX Group,Encryption List,Scan List,Contacts,EAS,Relay Monitor,Relay mode,Bandwidth,RX QT/DQT,TX QT/DQT,APRS
Notes: As the above format as well as the sample are probably not readable at all,
you may want to just hit the ‘Save’ button (see next paragraph for details) and
check the resulting file as it does contain the header line as well as the data
for the current channels. Whenever importing Digital-Mode channels, be sure
that referenced entries for ‘RX Group’, ‘Scan List’, ‘Contacts’ and others have
already been created before starting the import process.
We advise to not use Excel but some plain text editor to edit CSV files such as
https://notepad-plus-plus.org/.
13.2 Export channels into CSV-file
What ‘Import’ is for getting CSV file data into the CPS is ‘Save’ for storing it into a
CSV file. If you press the ‘Save’ button, you will be directed to the default file path
of the system in order to directly save the current content of your selected zone
‘Channels’ to a CSV file of your choice.