Radioddity Extended manual for Radioddity DB25-D, DB40-D & GD-88 v3.0
© Radioddity 2023 page 112 of 252
• ID
→
press the [Select]-key to disable the decoding of received Talker
Alias data. Selecting this option will disable ‘Talker Alias ON’. Only data
as available within the internal DMR ID database will be displayed.
• Talker Alias+ID
→
press the [Select]-key to enable the decoding of
received Talker Alias data whilst also checking the data as available
within the internal DMR ID database. Both data (if available) will be
displayed about 1 second each in alternating mode.
• Talker Alias
→
press the [Select]-key to enable the decoding of
received Talker Alias data only. Selecting this option will disable the
other two options. Only Talker Alias data will be displayed.
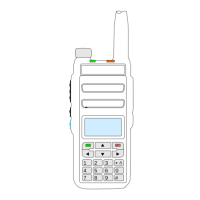
The Taker Alias will be displayed using green
color with the label ‘ALIASNAME’ underneath
the Talker Alias data as shown on the following
picture.
Notes: Talker Alias is only supported within DMR networks. Talker Alias is only
available up from firmware 909E.D4.EARSAB.017 (Radioddity DB25-D)
and B49E.D64.EHRSAB.007 (Radioddity GD-88).
Within the Brandmeister DMR network the TX generation of Talker Alias
should not be activated as Talker Alias inband data is generated
automatically by the Brandmeister network.
If dual VFO-mode is selected, only part of the Talker Alias data can be
displayed. Whereas if single VFO mode is selected more Talker Alias data
can be displayed. For more details on the display mode see chapter 10.6.5
DisplayMode on page 91.
10.12 Channel Edit
It is supported to check and modify the parameters of Channel or VFO mode by
accessing the Channel Edit mode.
1. In Standby Mode, press and hold the [B/E]-key for 3 seconds to enter the
Channel Edit mode.
or
1. Access the menu, press the [Menu]-key and rotate the [ENC] knob or use the
[▲/▼]-keys to choose Channel Edit , and then press the [Select]-key to enter.
2. Rotate the [ENC] knob or use the [▲/▼]-keys to select the one of the listed
parameters.