Radioddity Extended manual for Radioddity DB25-D, DB40-D & GD-88 v3.0
© Radioddity 2023 page 219 of 252
7. Set the output ‘Power’ to ‘Low’ as your hotspot is quite likely very close to your
Radioddity DB25-D, DB40-D or GD-88.
8. Set ‘PCT’ to ‘Patcs’
9. Set ‘RX TS’ and ‘TX TS’ both to ‘On’ in order to not use TDMA for dividing the
channel into 2 slots.
10. Set ‘RX CC’ and ‘TX CC’ both to the very same value as your hotspot (normally
‘1’).
11. Set ‘TX Policy’ to ‘Impolite’
12. Set ‘RX Group’ to the previously defined RX group ‘My RX Grp’.
13. Within the field ‘Contacts’ of the channel definition select the TalkGroup as
previously defined (e.g., ‘TG 99’).
14. Set Encryption to ‘Off’
15. Set APRS to ‘Off’ for now
Write your settings to the radio. Do not forget to switch to Zone ‘simplex HS’ and
select channel ‘HS TG 99’ at your Radioddity DB25-D, DB40-D or GD-88. Now you
are ready for your very first simplex digital DMR QSO using your hotspot.
16.6 Duplex digital DMR operation with a Dual-HAT hotspot
In order to setup the radio for duplex digital DMR operation, follow these steps:
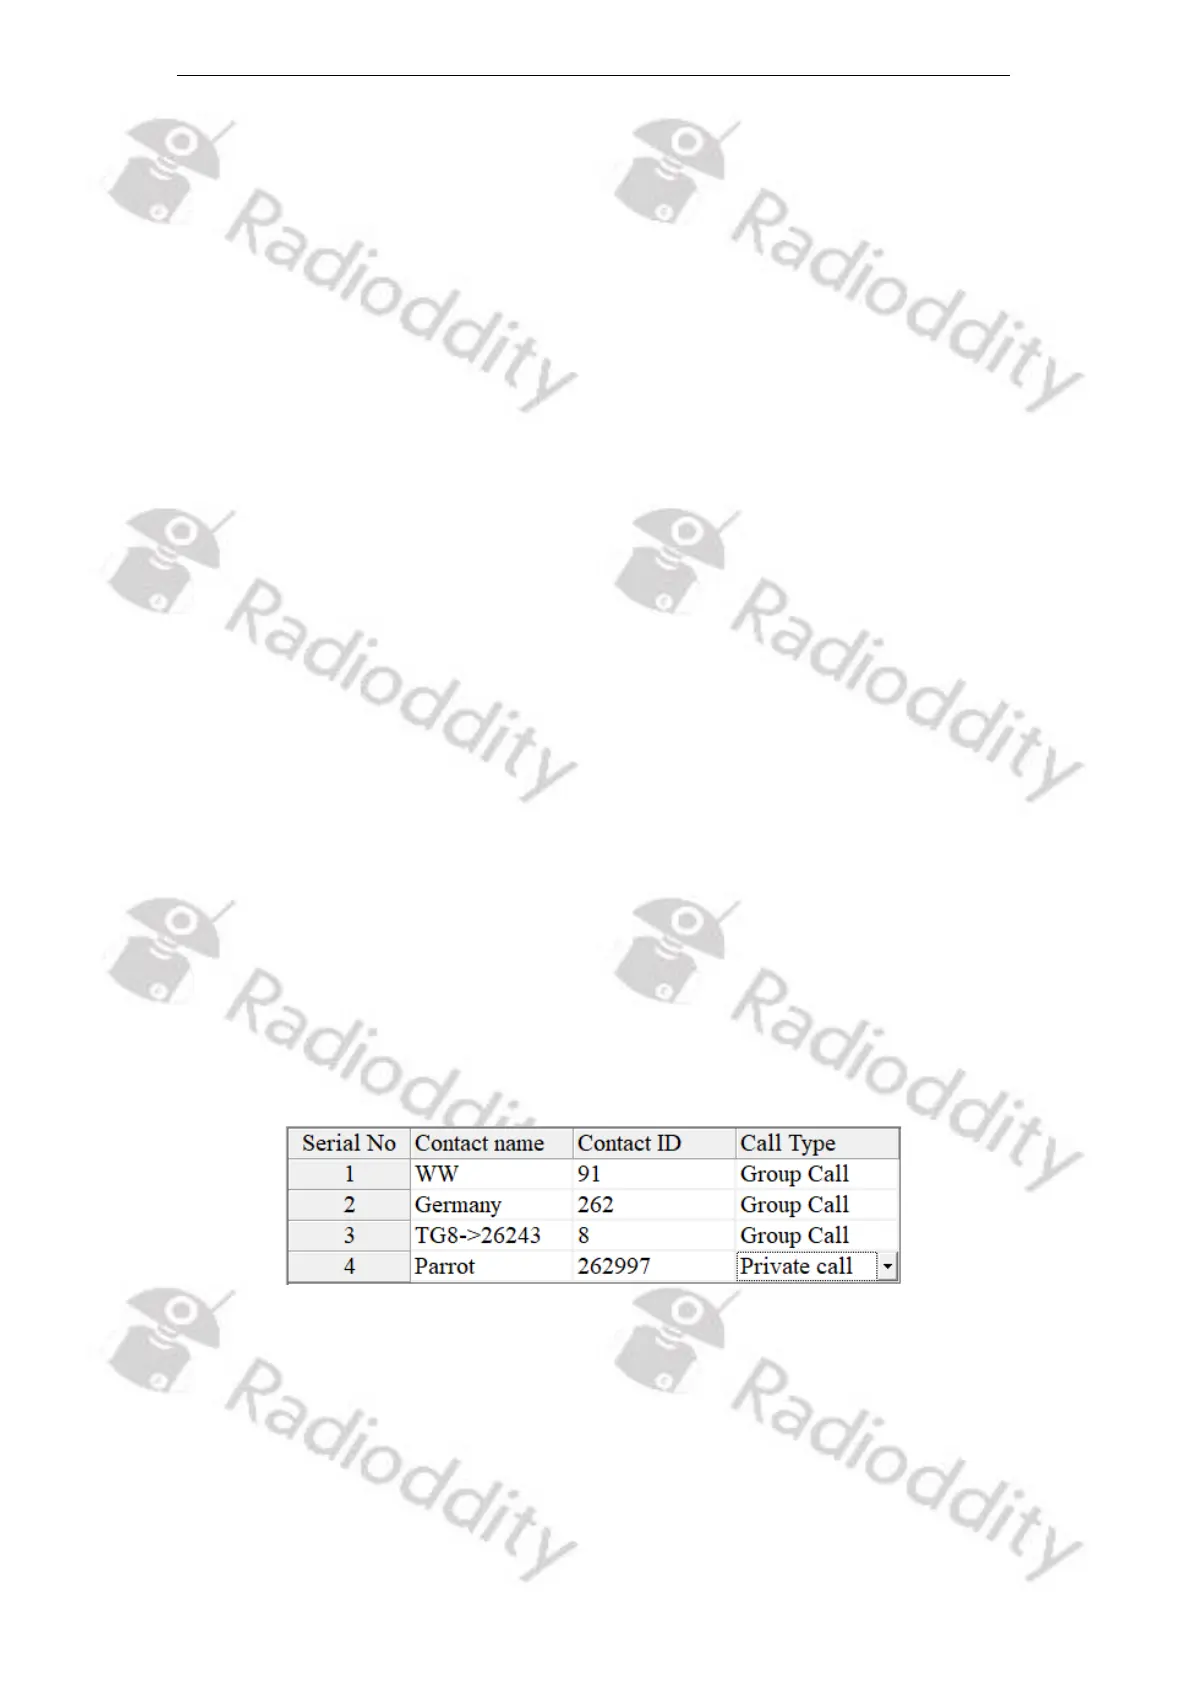
1. Within the ‘Contacts’ menu define a ‘Contact Name’ with the corresponding
‘Contact ID’ (DMR ID) of the other station or TalkGroup you plan to call. Set
the ‘Call Type’ to the required Call Type. Normally other stations require a
Private Call, whereas TalkGroups require a Group Call. e.g.
2. Next Create at an RX Group that does contain the previously created
TalkGroup(s). We advise to create two RX-groups, one acting as a container
for all TalkGroups that you statically assigned (using your hotspot
configuration program and or DMR-network dashboard) to your hotspots
TimeSlot 1 (name that one ‘TS 1’) and the second RX-group for those
TalkGroups that will require TimeSlot 2 according to your hotspot
configuration (name that one ‘TS 2’ accordingly). e.g.